Dogwood Blossom
January 11, 2026
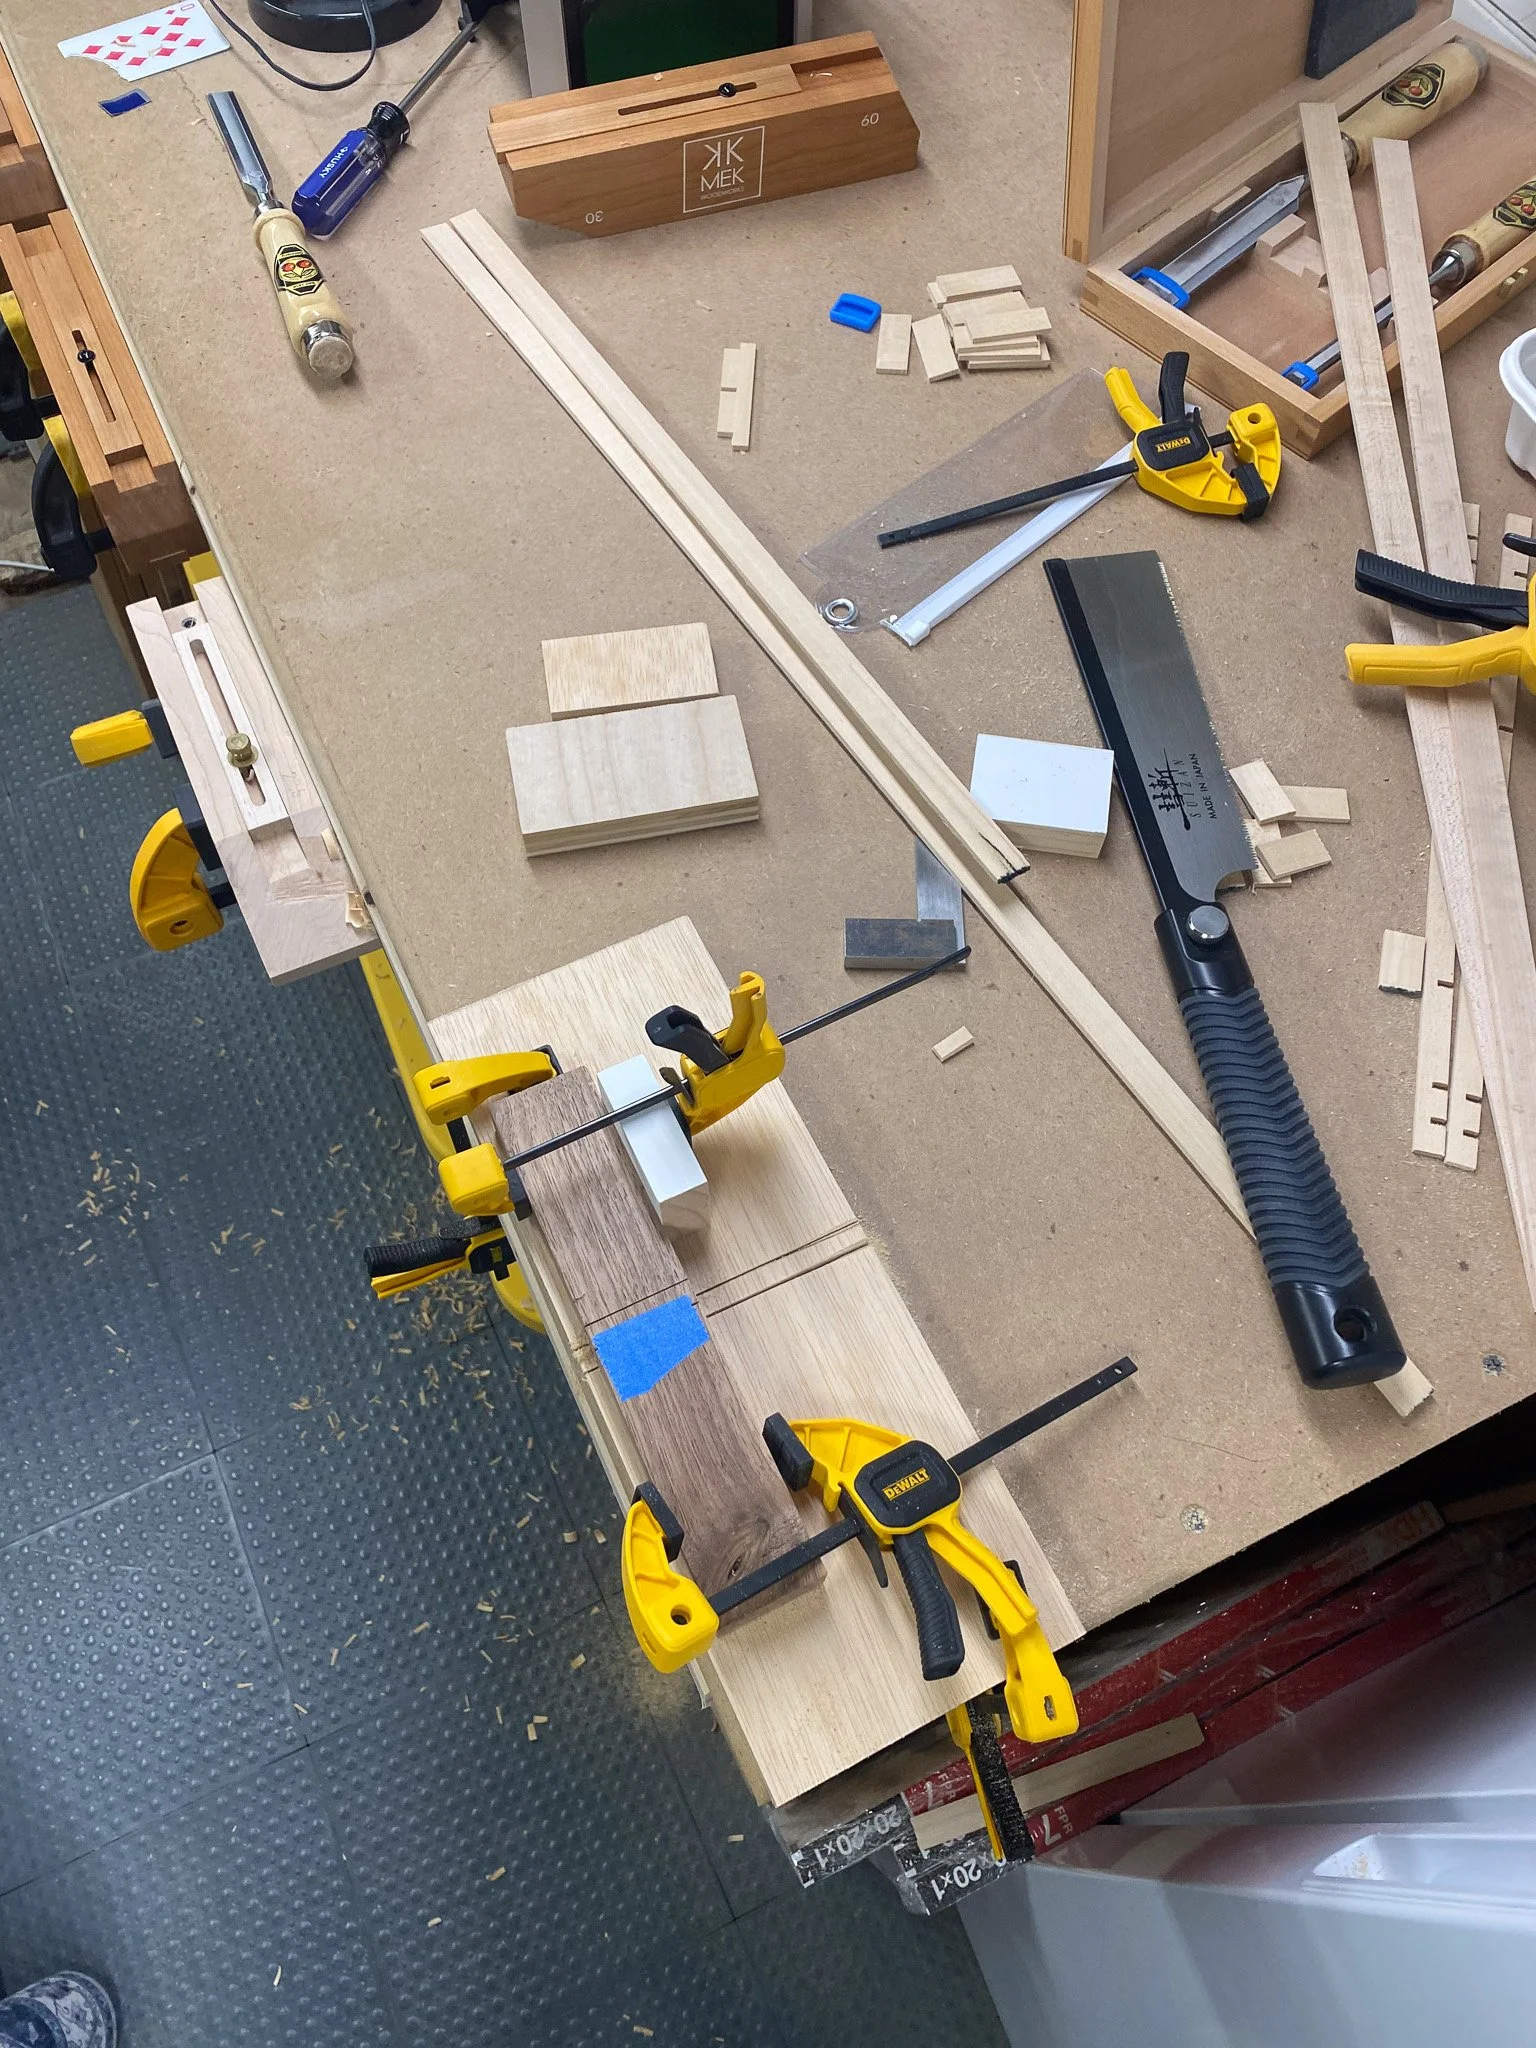
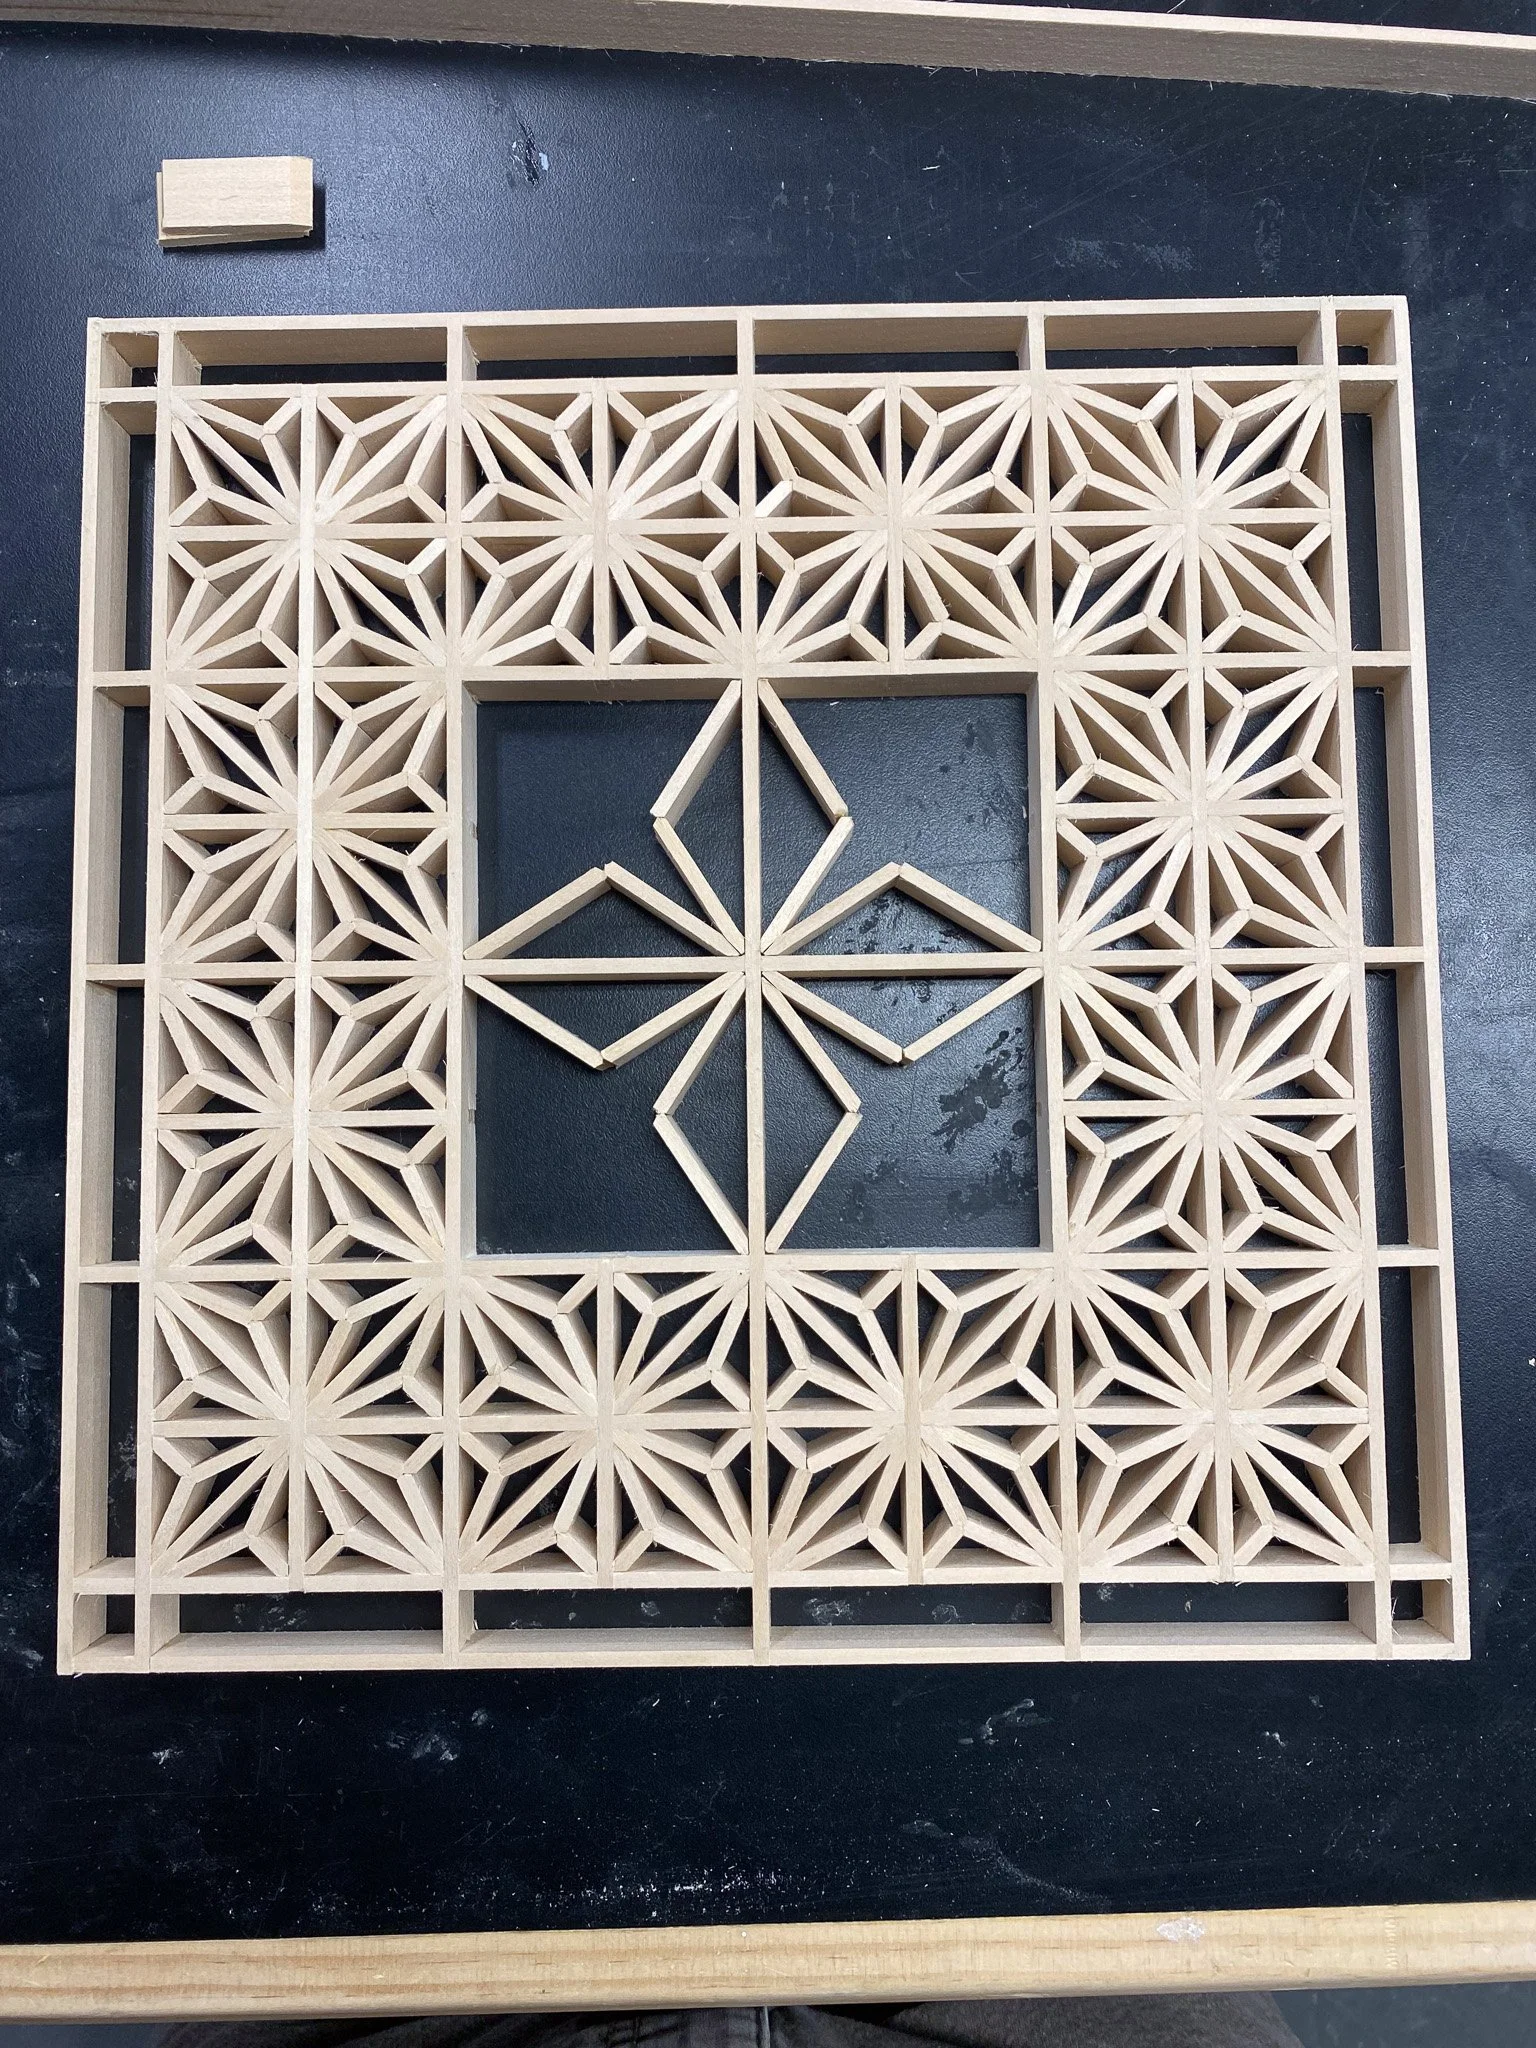
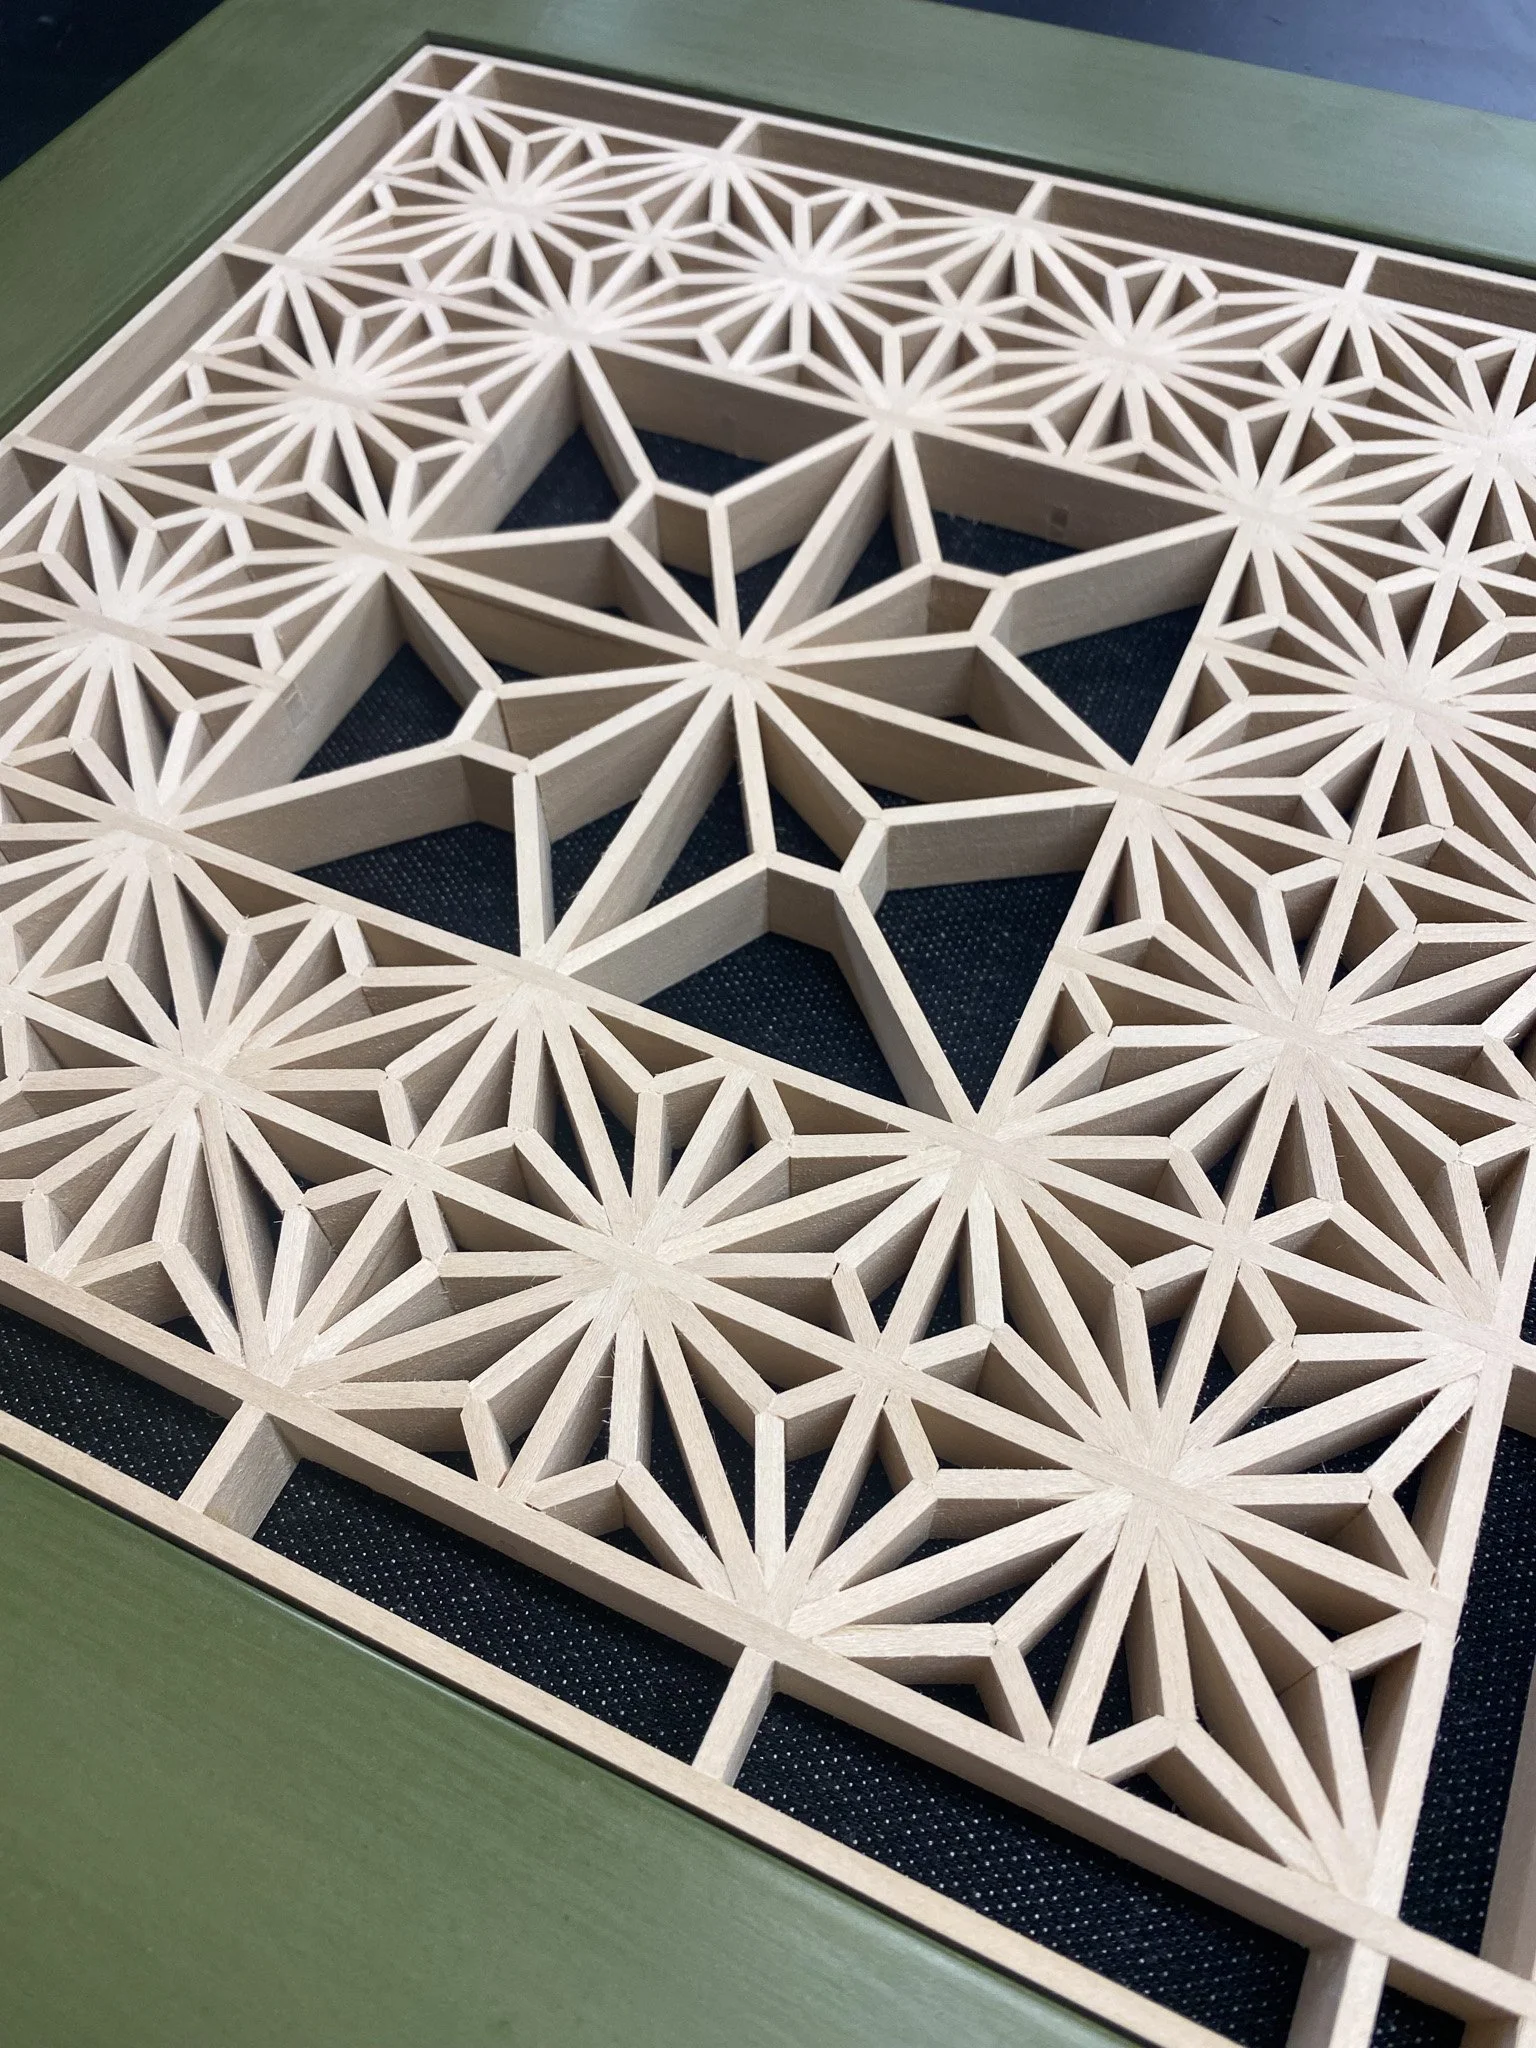
Shortly after finishing the asa-no-ha wall panel, I started right up on another kumiko panel of the same size - from the same Matt Kenney book. This one had a new pattern for me, the dogwood blossom, as the center section, surrounded by repeating sections of the asa-no-ha pattern that I have done previously. There were a few new challenges to this build. Like most kumiko, it starts with making strips. Based on the remaining basswood that I had left, this panel had strips that were “taller” if that is the right descriptor? When you look at the finished panel, it has more depth, as the strips are taller. I am not sure that worked to my favor as it made some of the pieces very difficult to hold while chiseling the angle on the end. I don’t think the depth adds much, so maybe for the next. I will go closer to the first panel.
After cutting and sanding the strips, it was time to cut the half lap joints in them. This one had an extra twist in that not all the grid pieces went all the way from one side to the other, like they had on all of my previous kumiko projects. To create the larger center openings, the outer grid and the inner are based on a different “square” size. You can see this in the early pictures where each individual square around the outside is quite a bit smaller than the four squares in the middle.

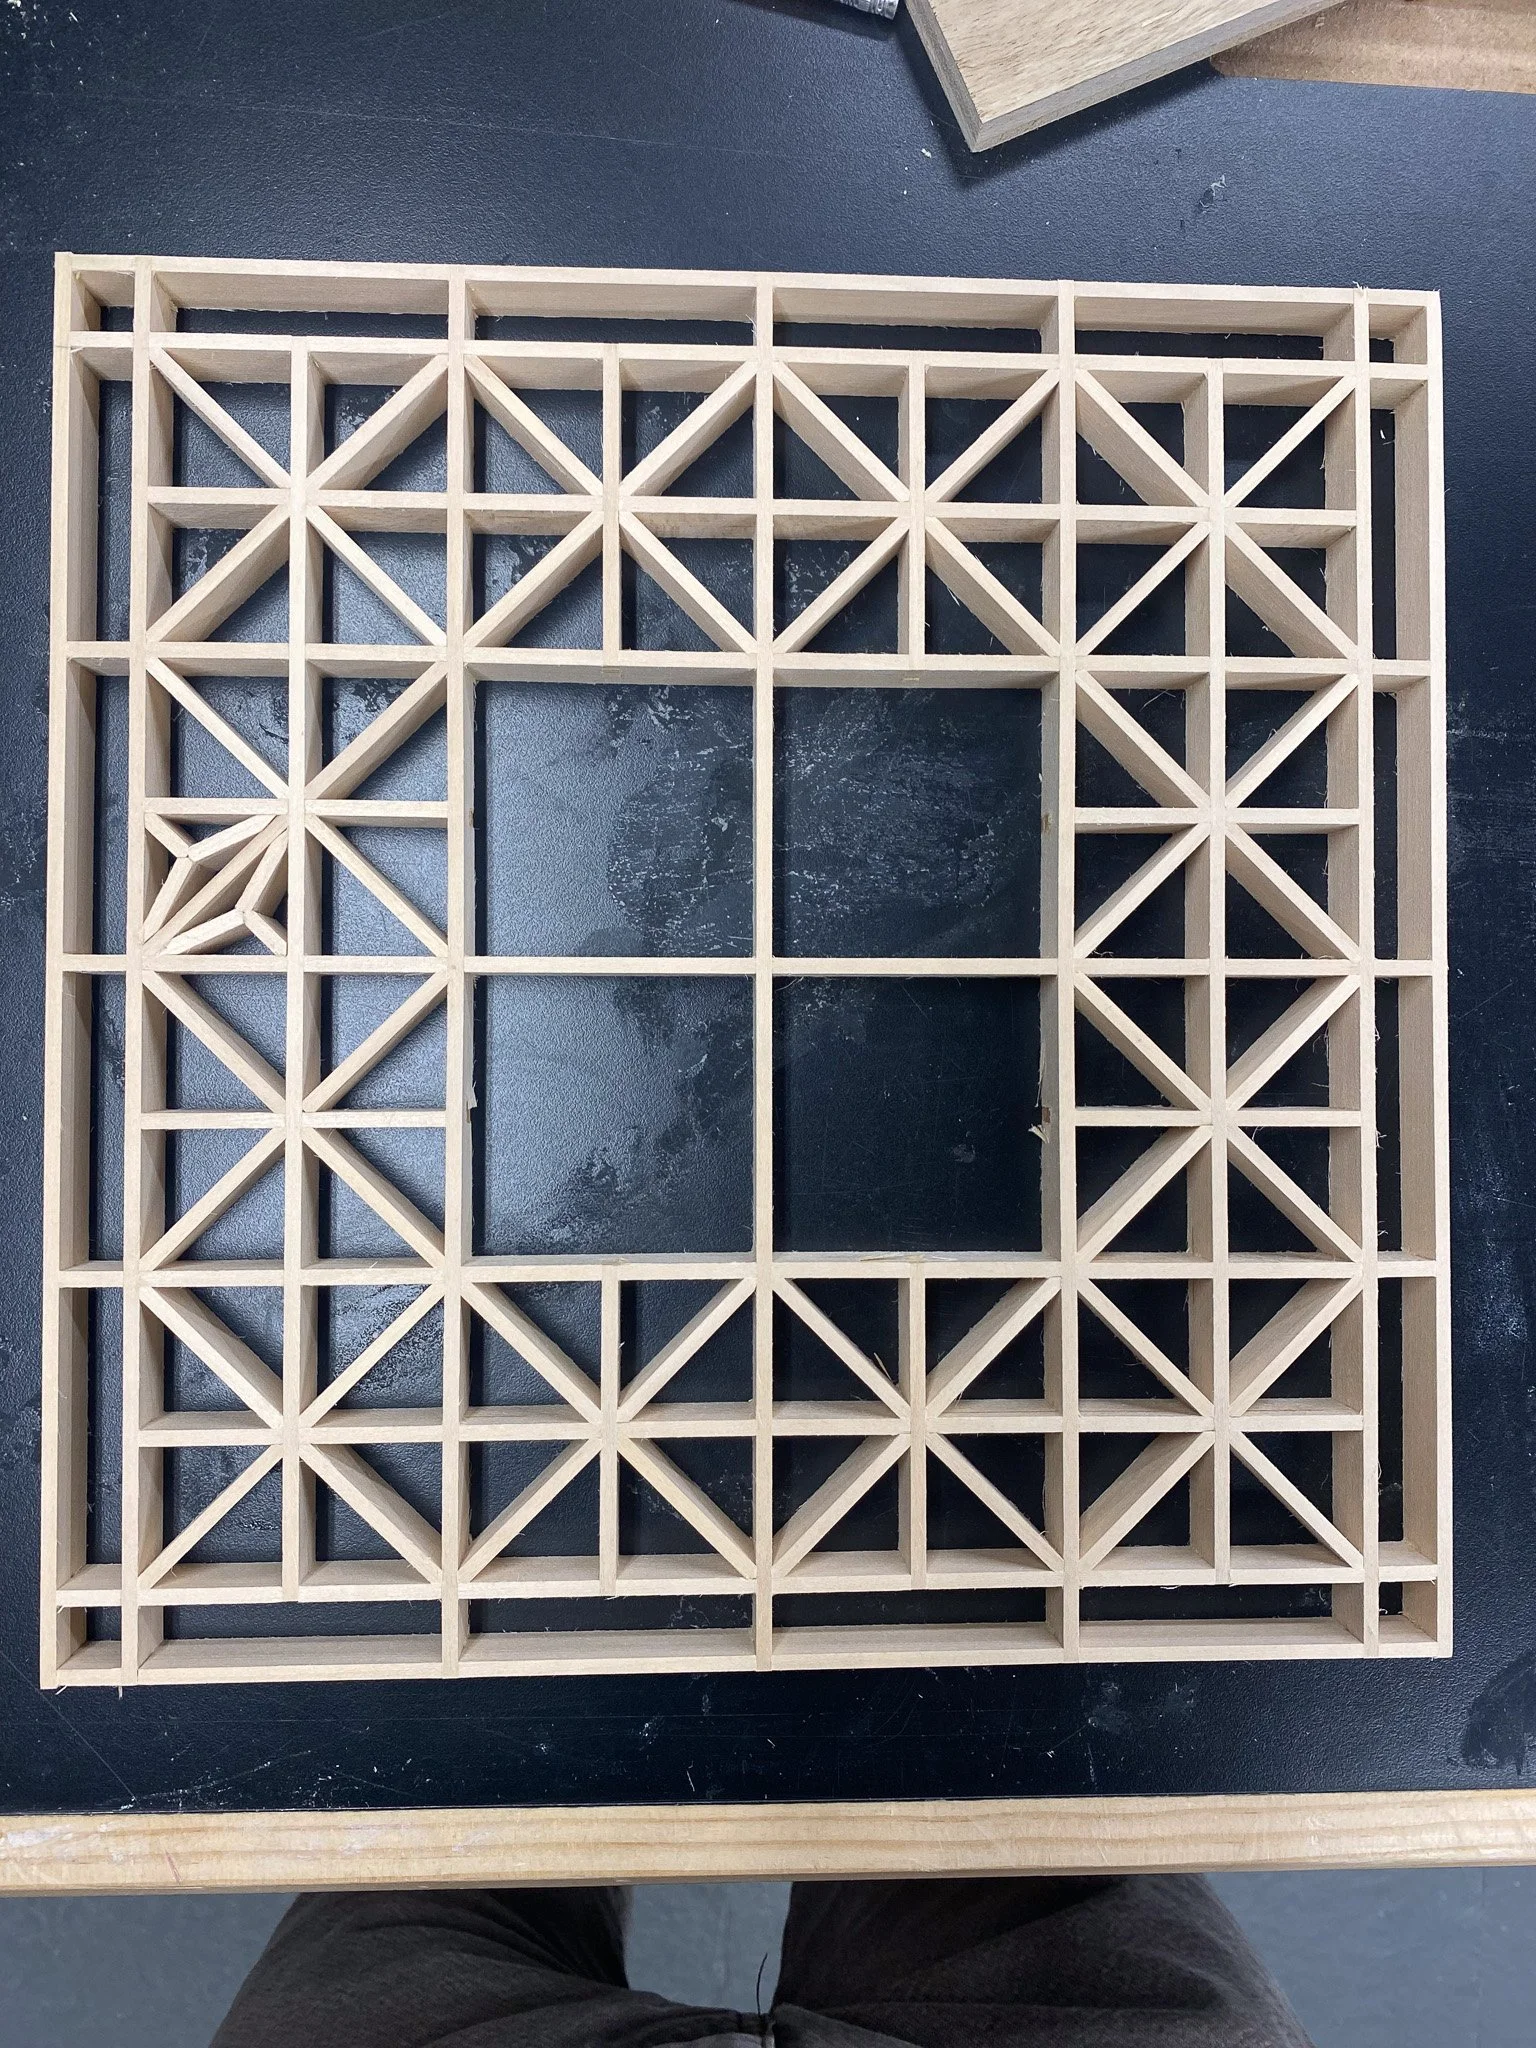
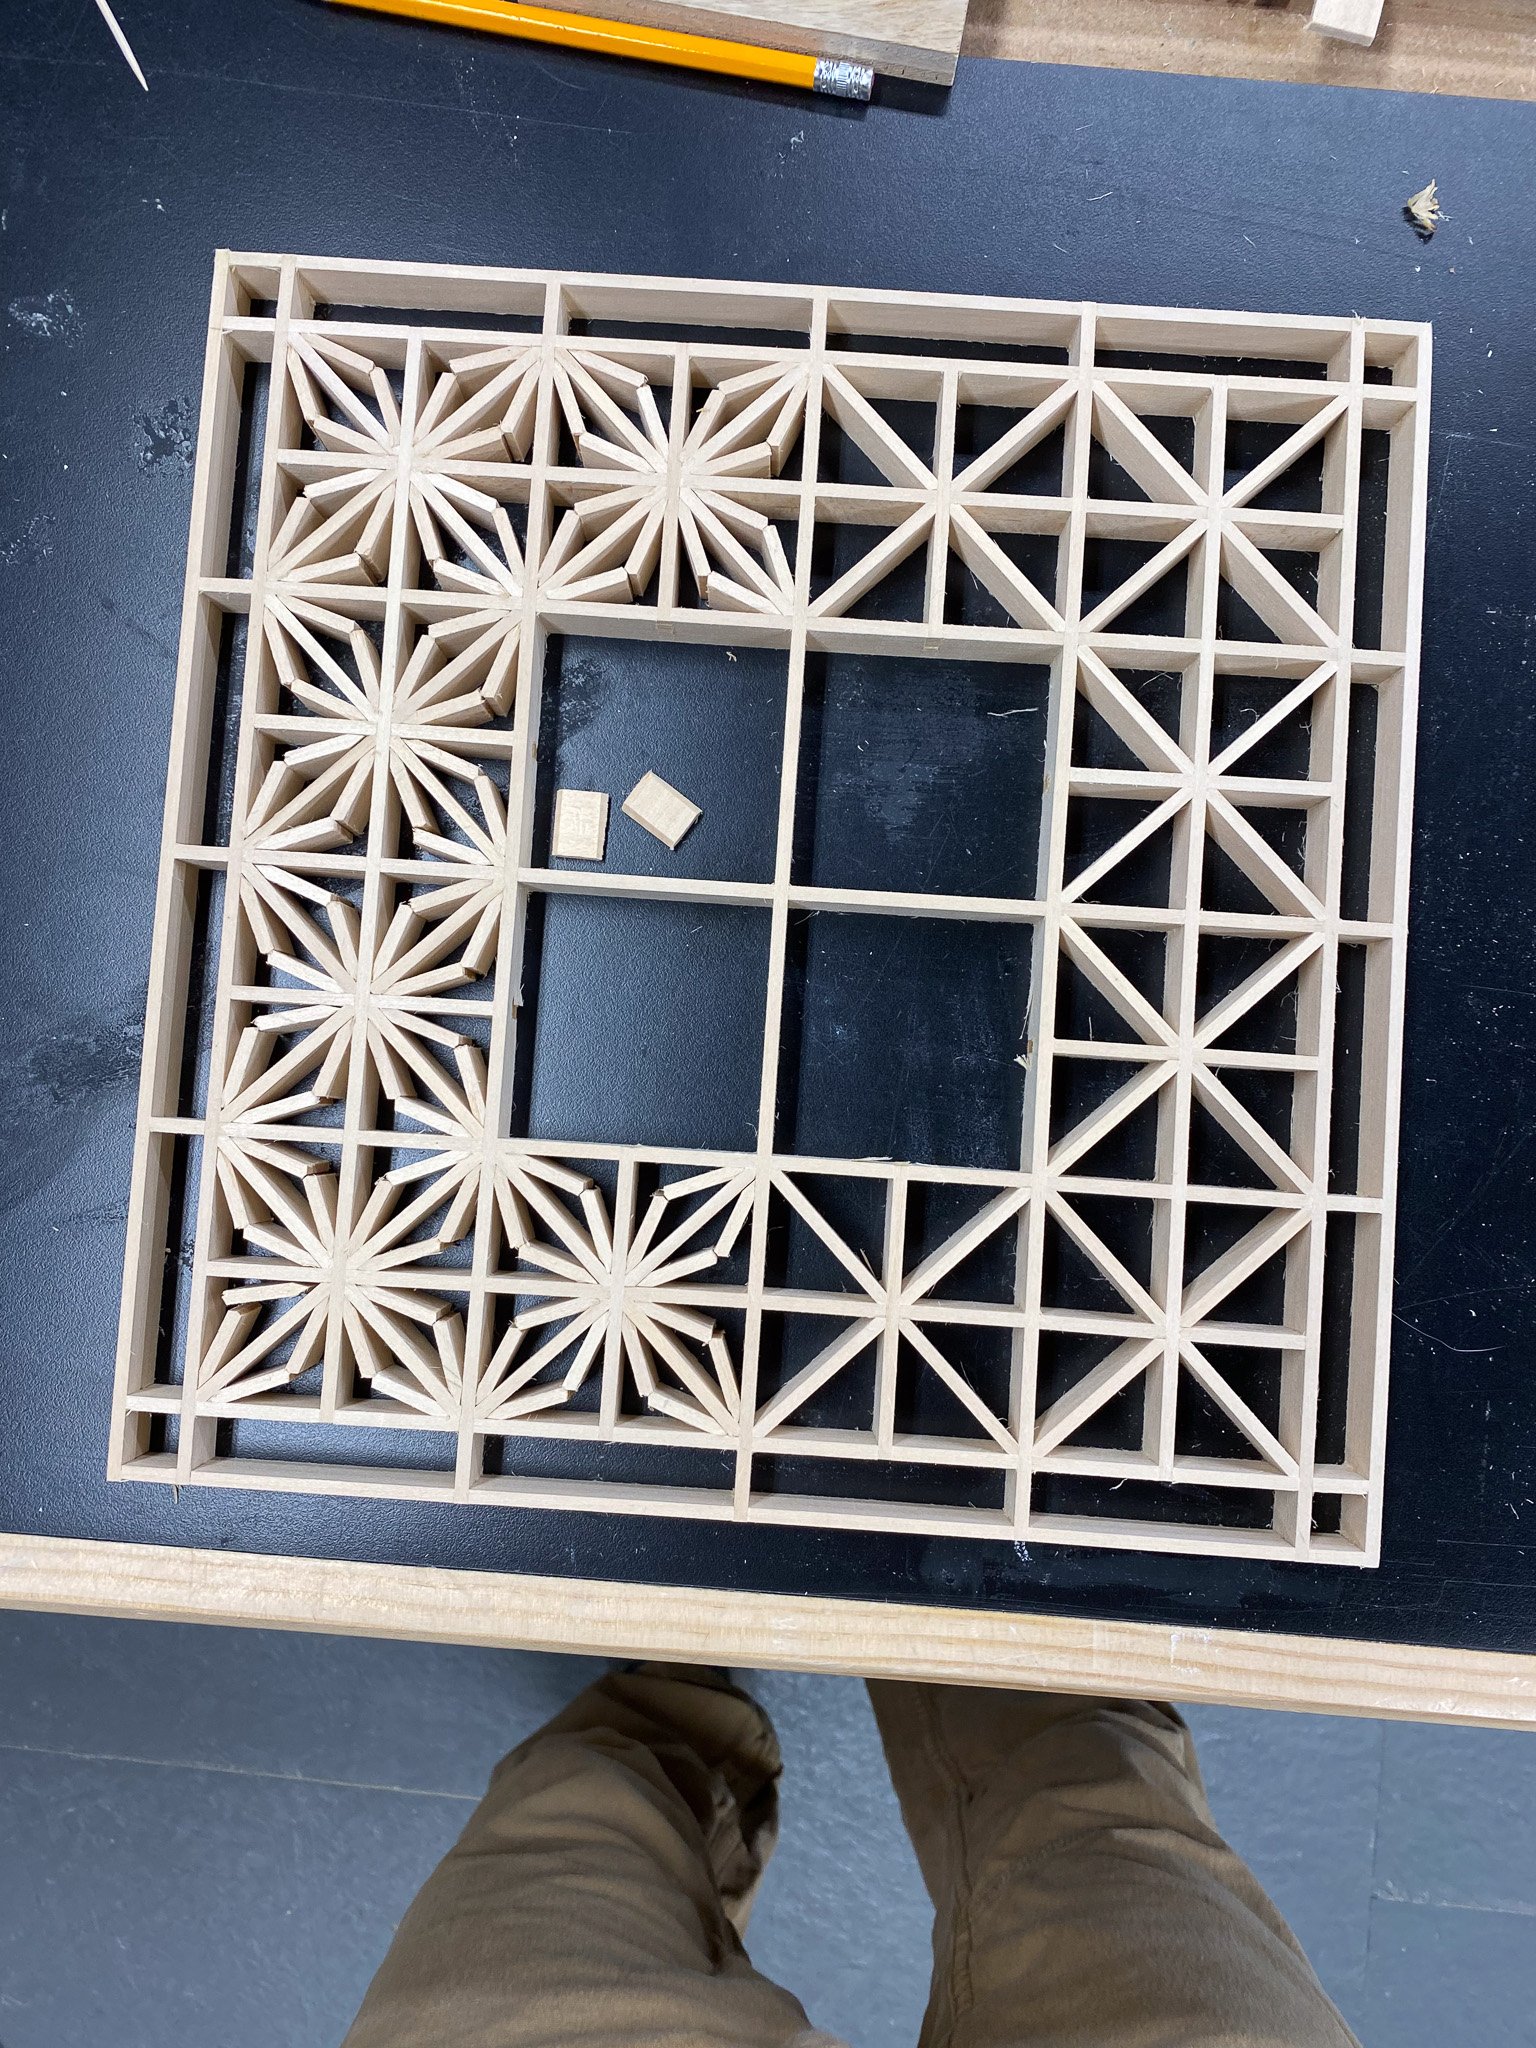
Once the grid was set, it was on to the infill pieces. I started with the asa-no-ha surround as I knew how to do that part. The combination of extra height, and very small in height pieces made cutting them more difficult than I anticipated. I struggled finding a good way to hold the little pieces with the tip of my finger, while still getting a clean cut from the chisel that seemed ever so close to my finger. I feel like there is room for improvement here, once I figure out what I should change.
Once the surround was complete, it was on to the center section. As the pieces are essentially pressure fit - they hold themselves in place by the pressure of wedging them together - getting the size and angles correct took a fair bit of trial and error as there were joints that required several pieces to all work together. Eventually I figured it out. That is the challenge of the new patterns for me, working out how to size and cut each of the new kinds of pieces.
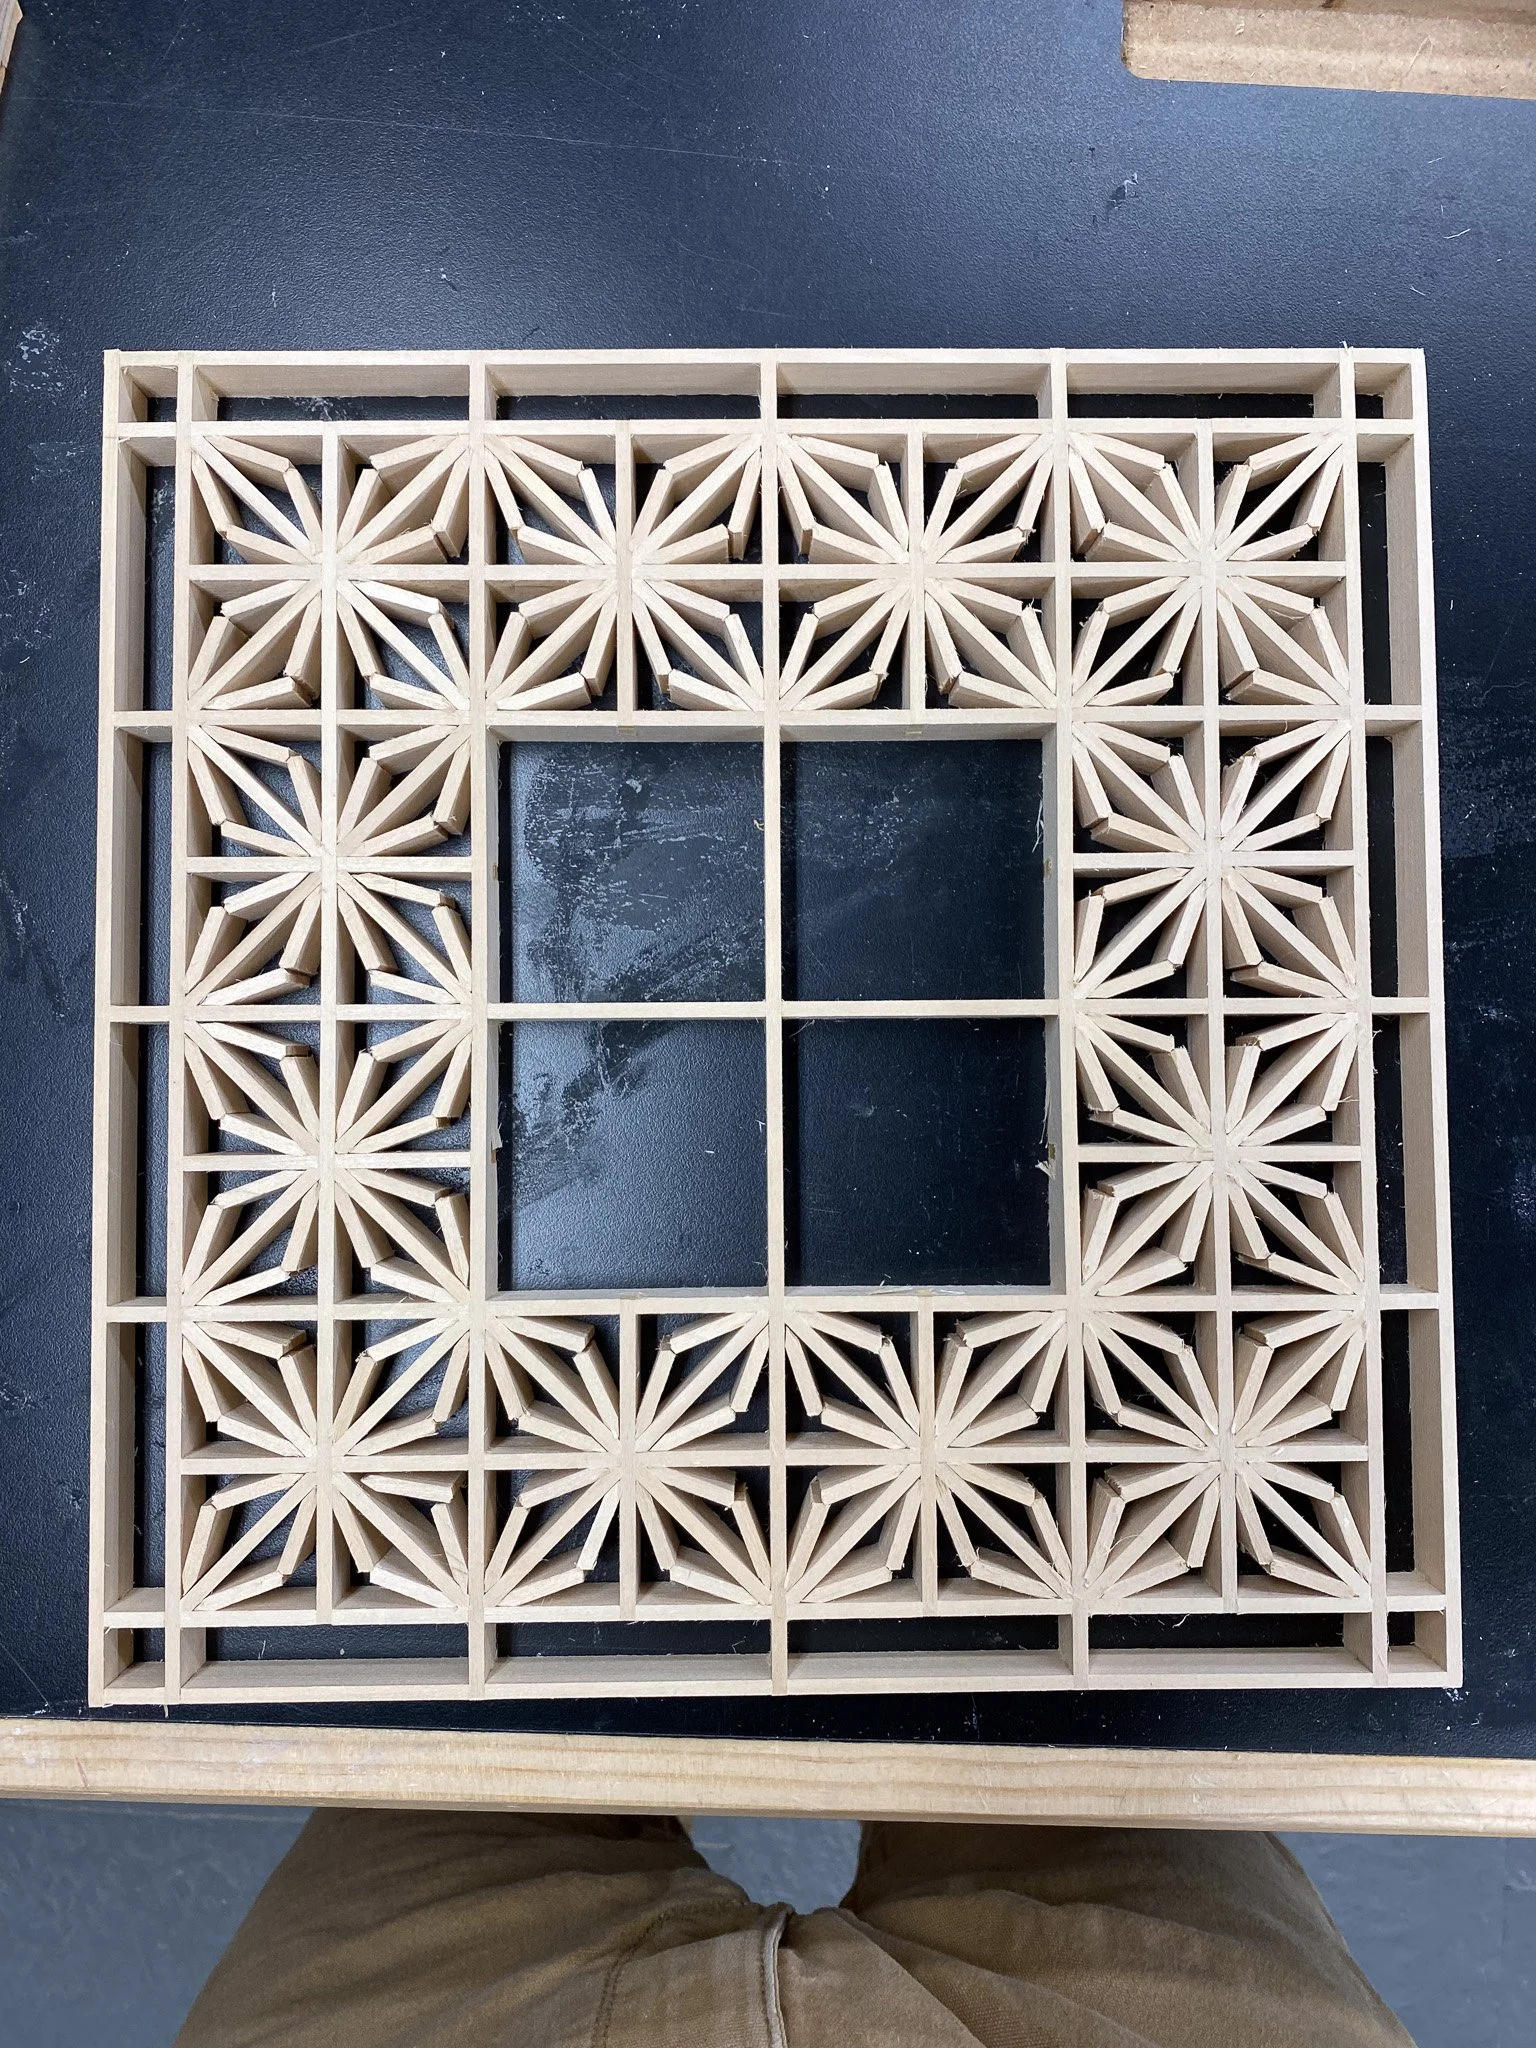
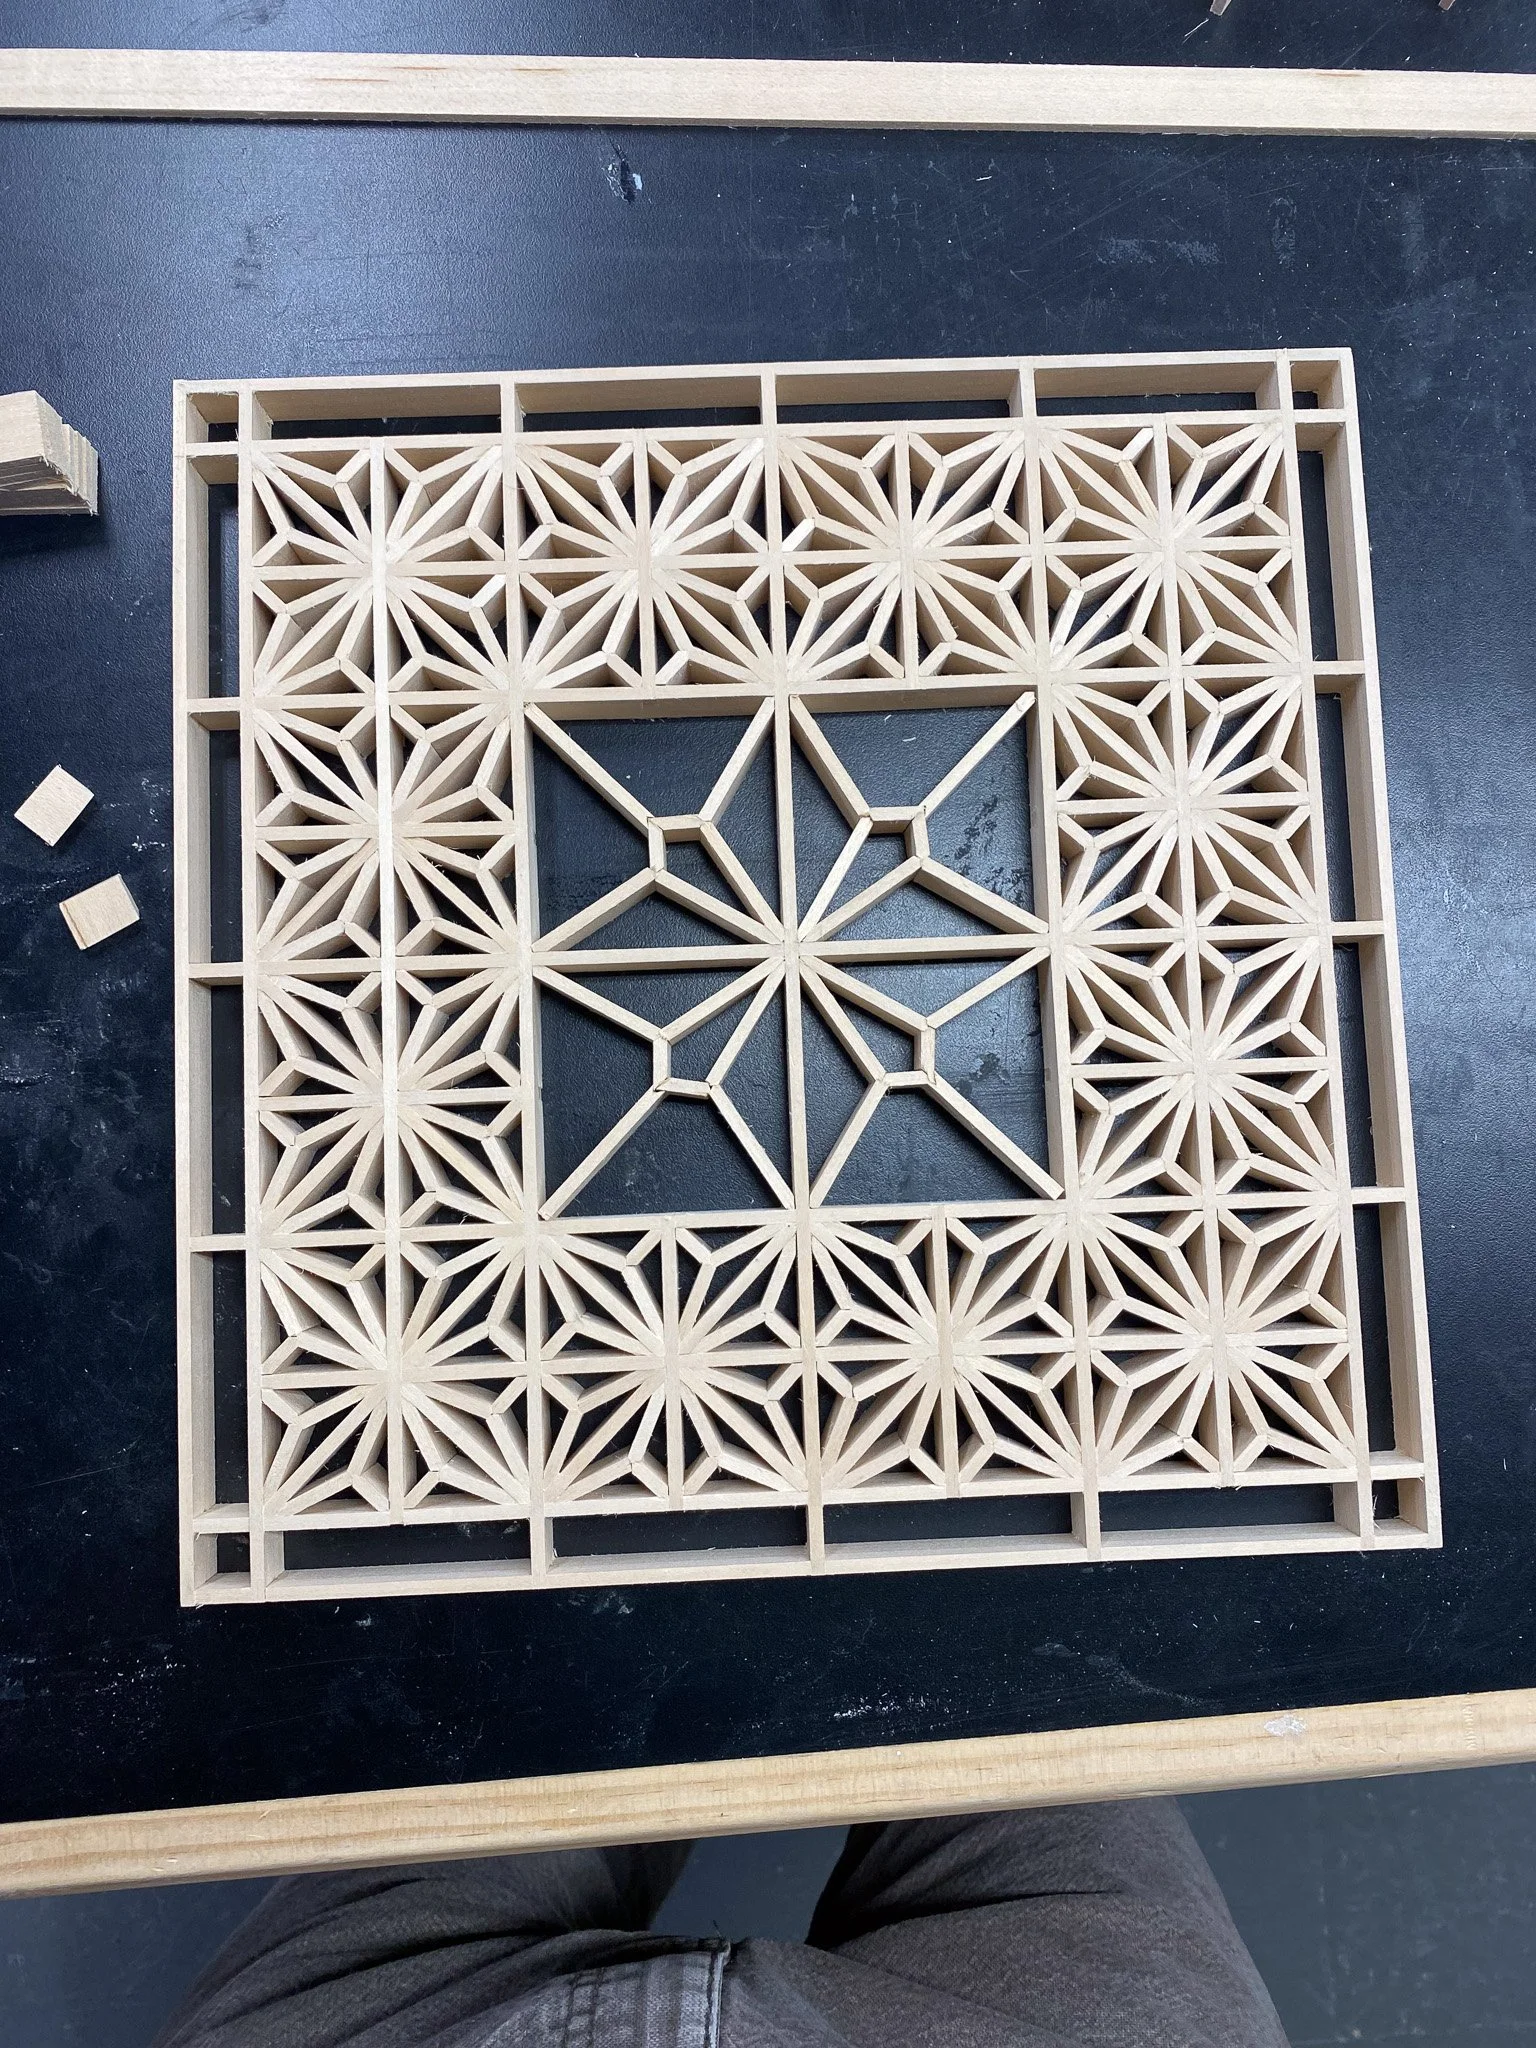
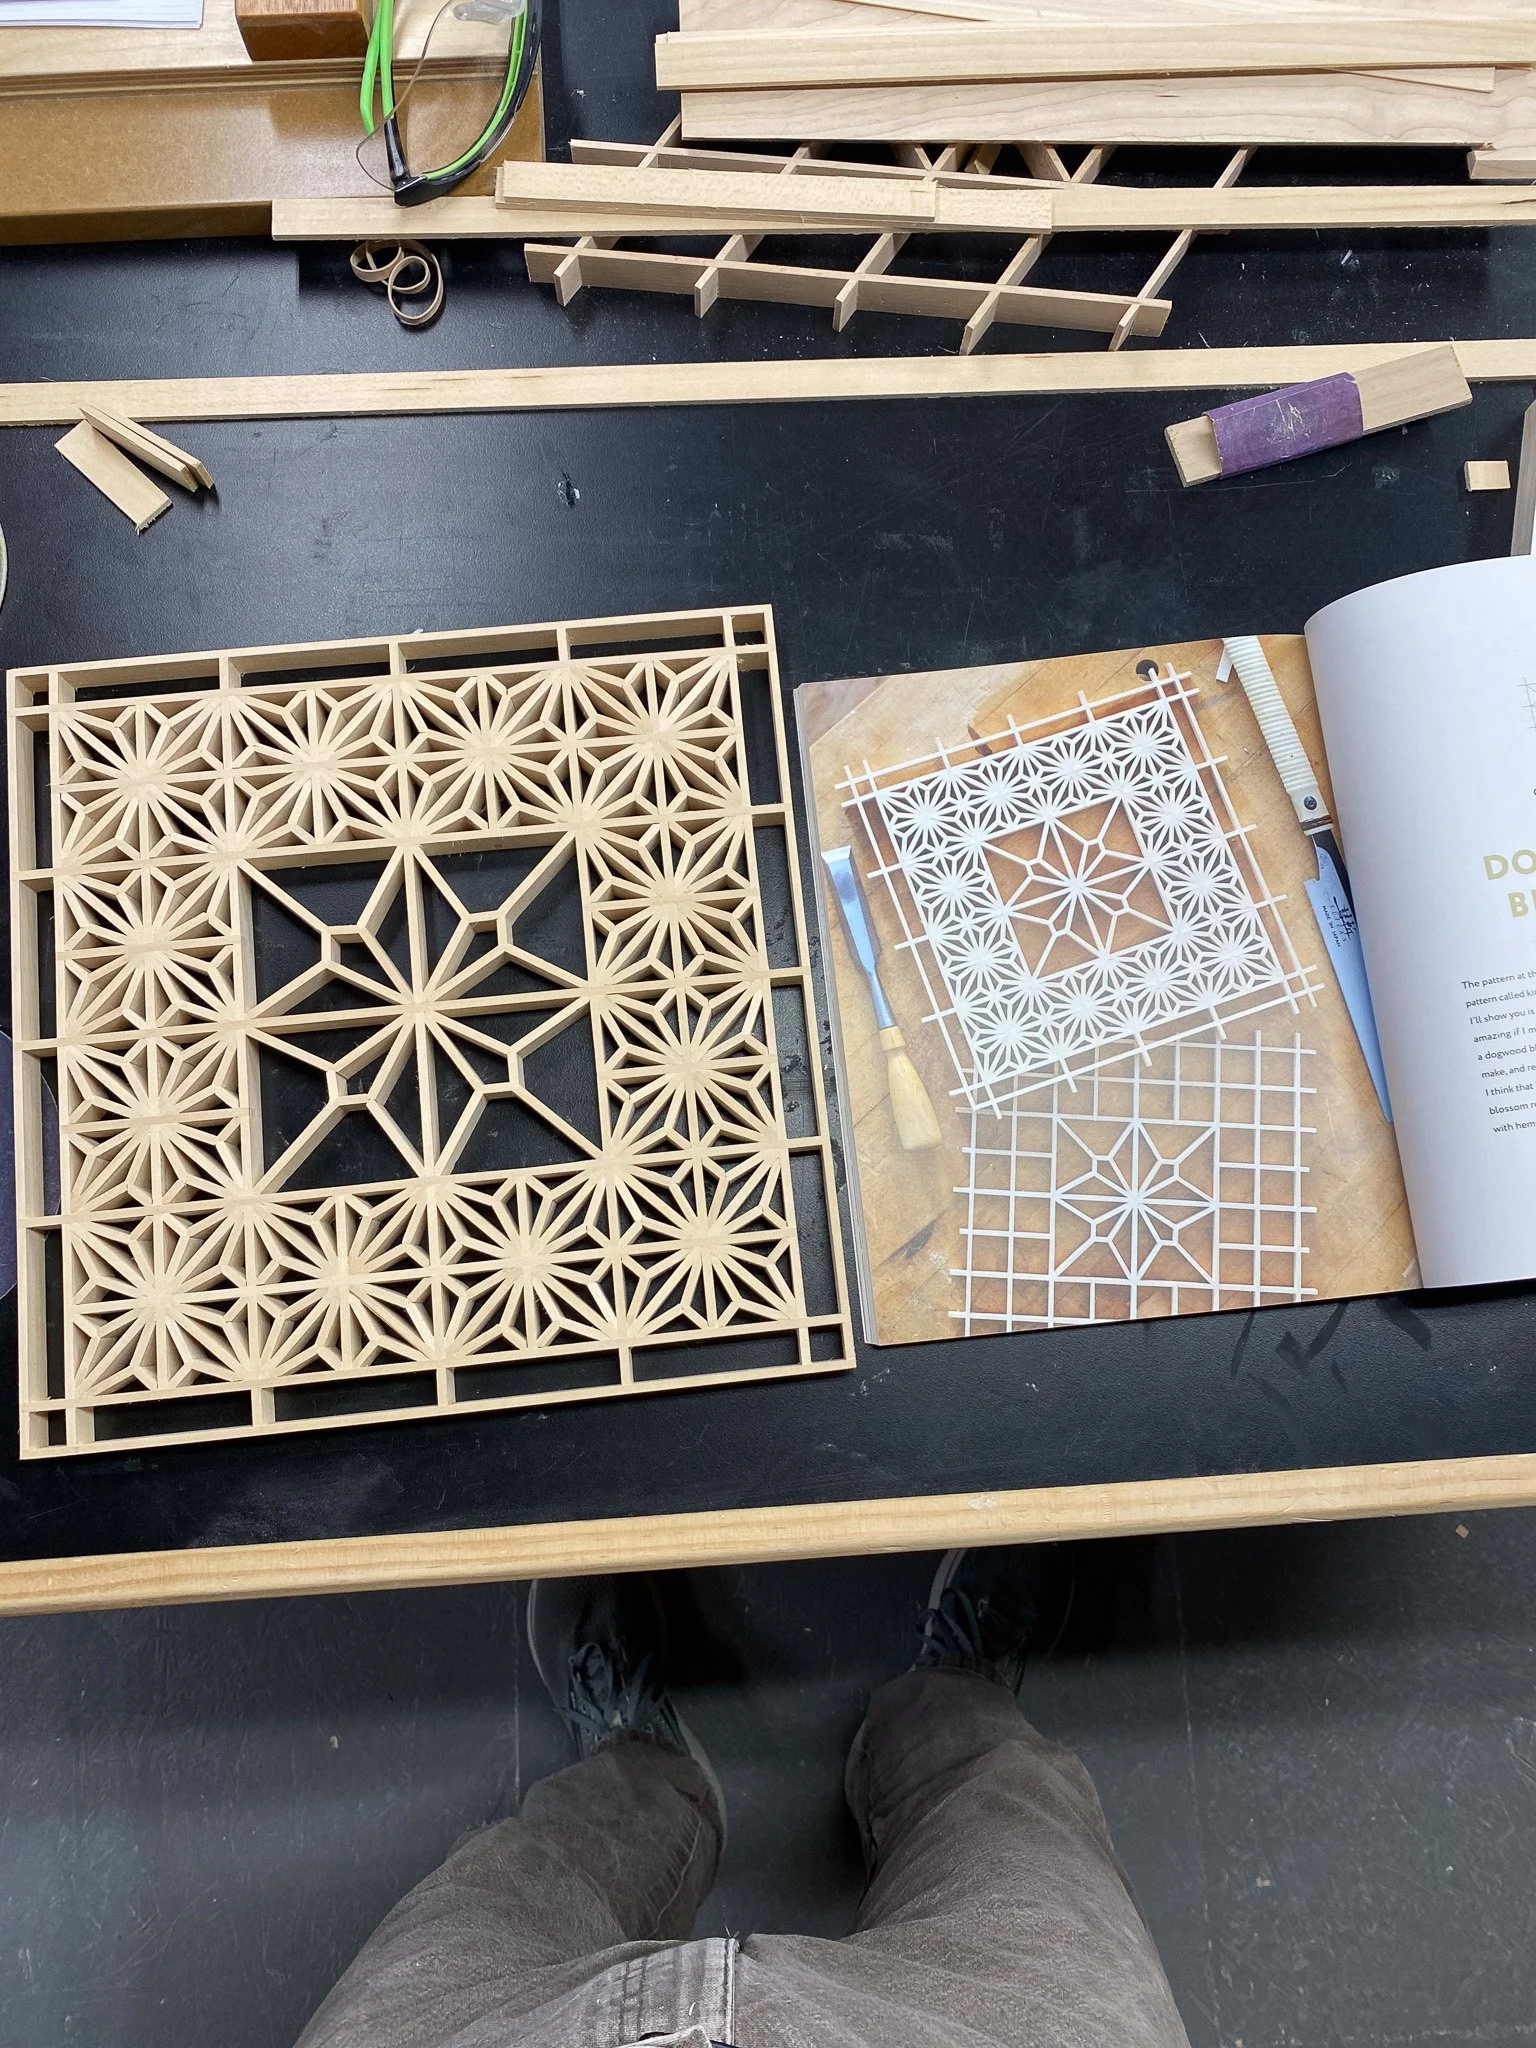
After one of the four center sections was complete, it was rinse and repeat for the other 3 center sections. Once you have the jigs set for the size and angle you can usually repeat them pretty quickly - it is getting the initial ones dialed in that is the most time consuming. After dry fitting everything together, each piece was removed and a tiny dot of glue was added to each joint to keep things in place. Then the surface was sanded and the kumiko was complete.
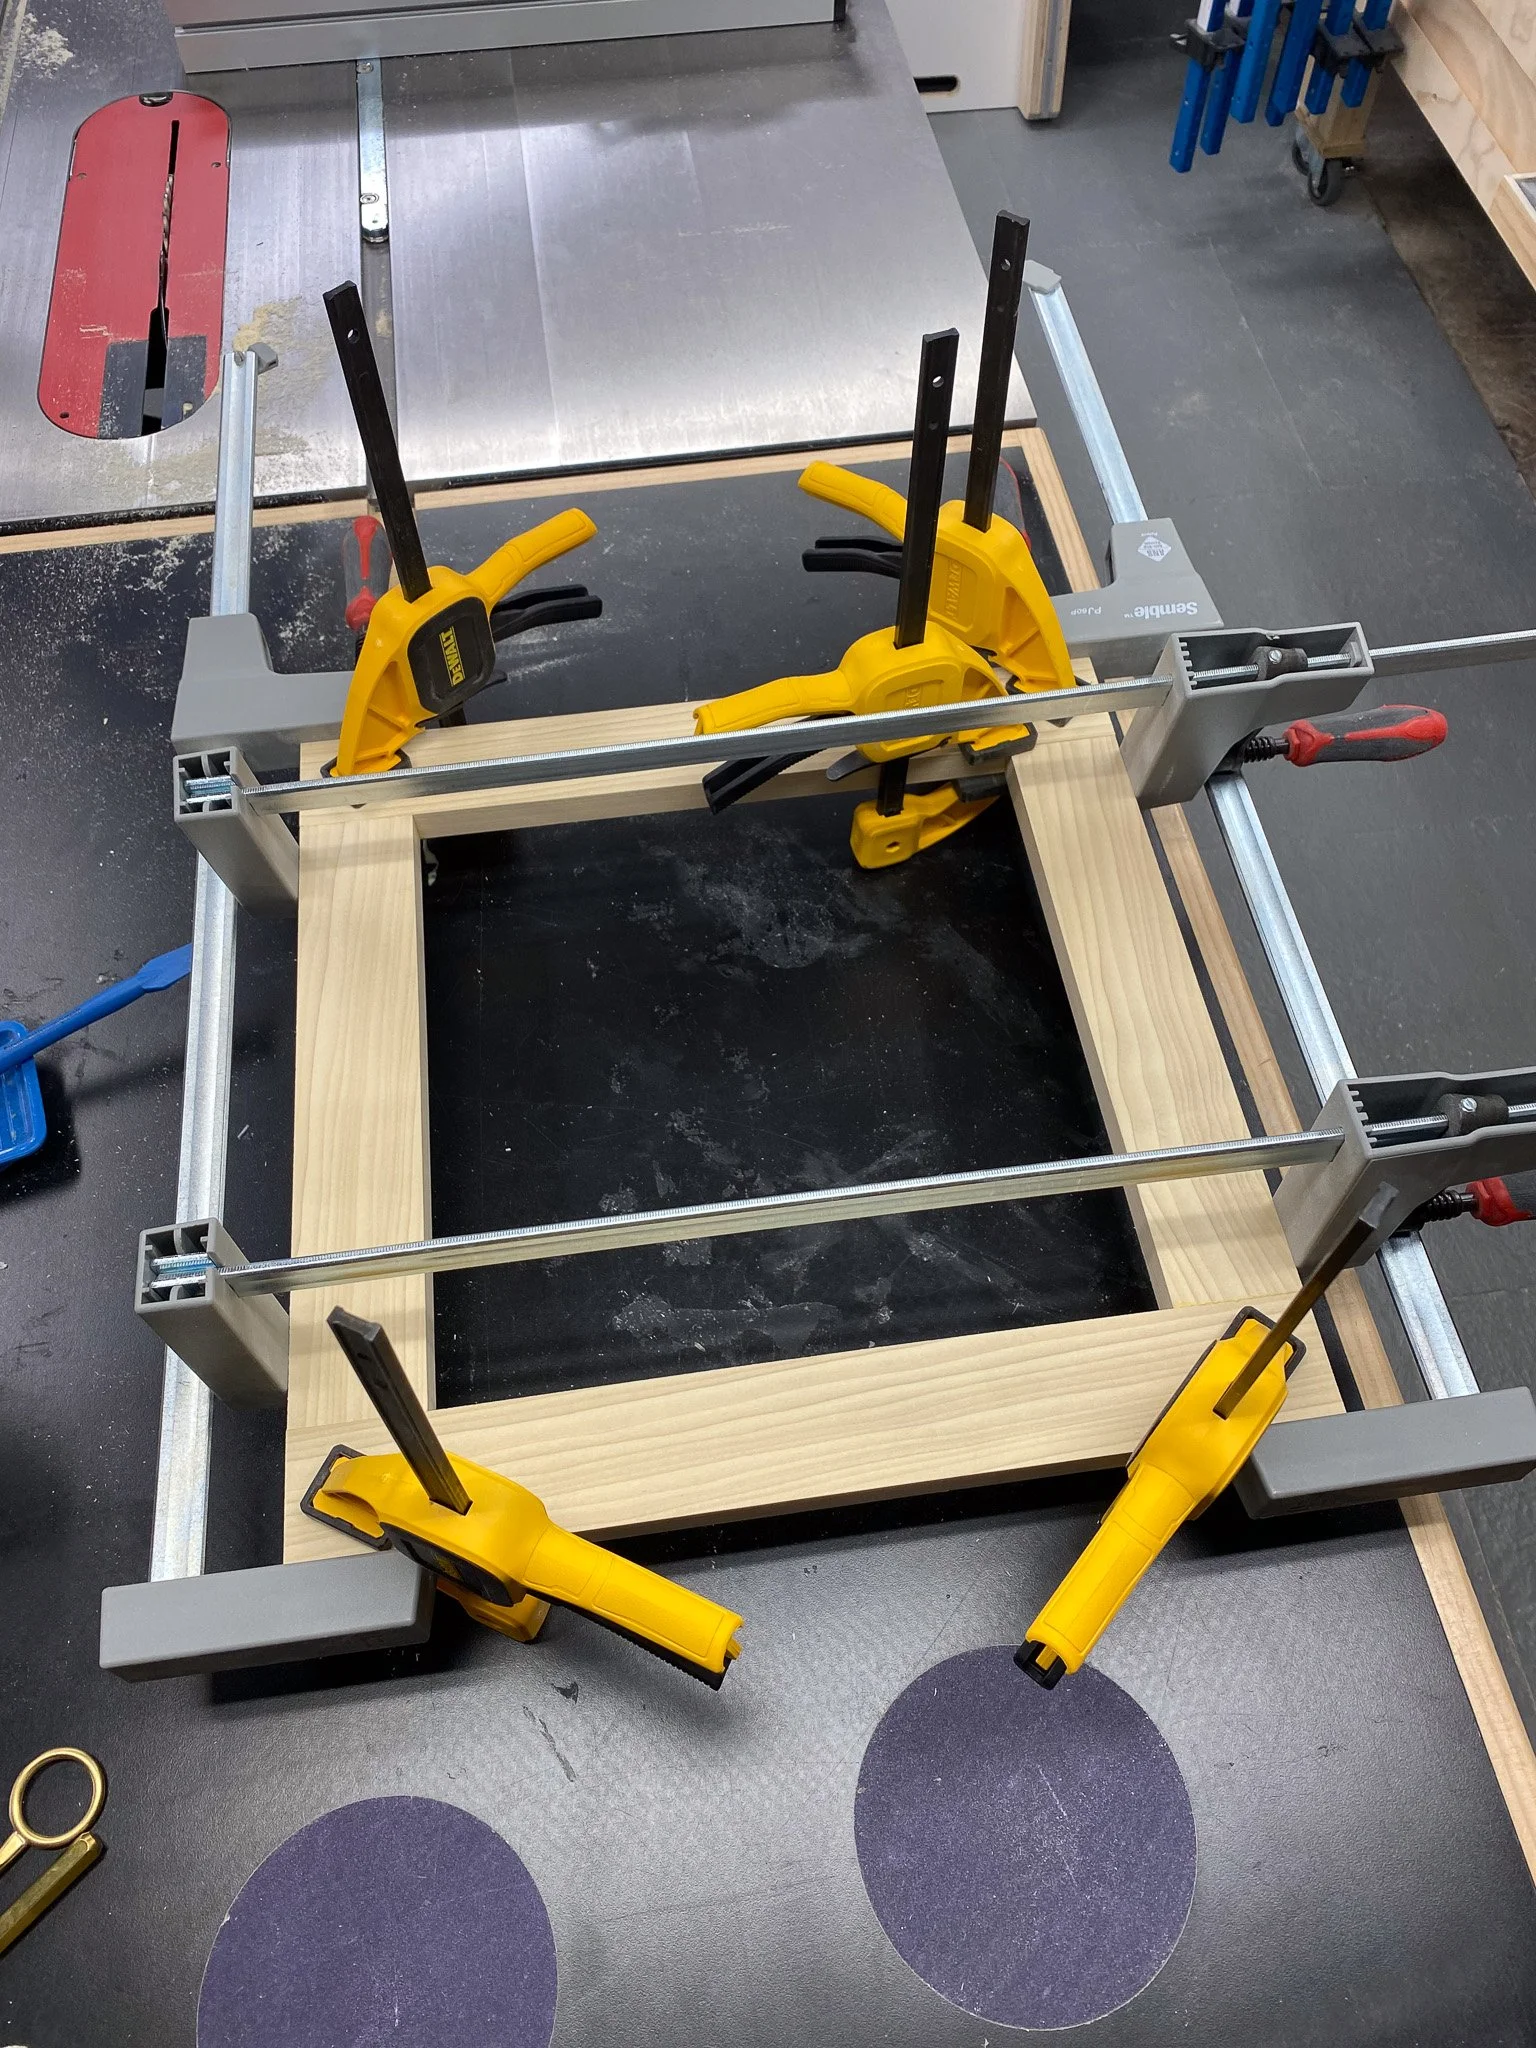
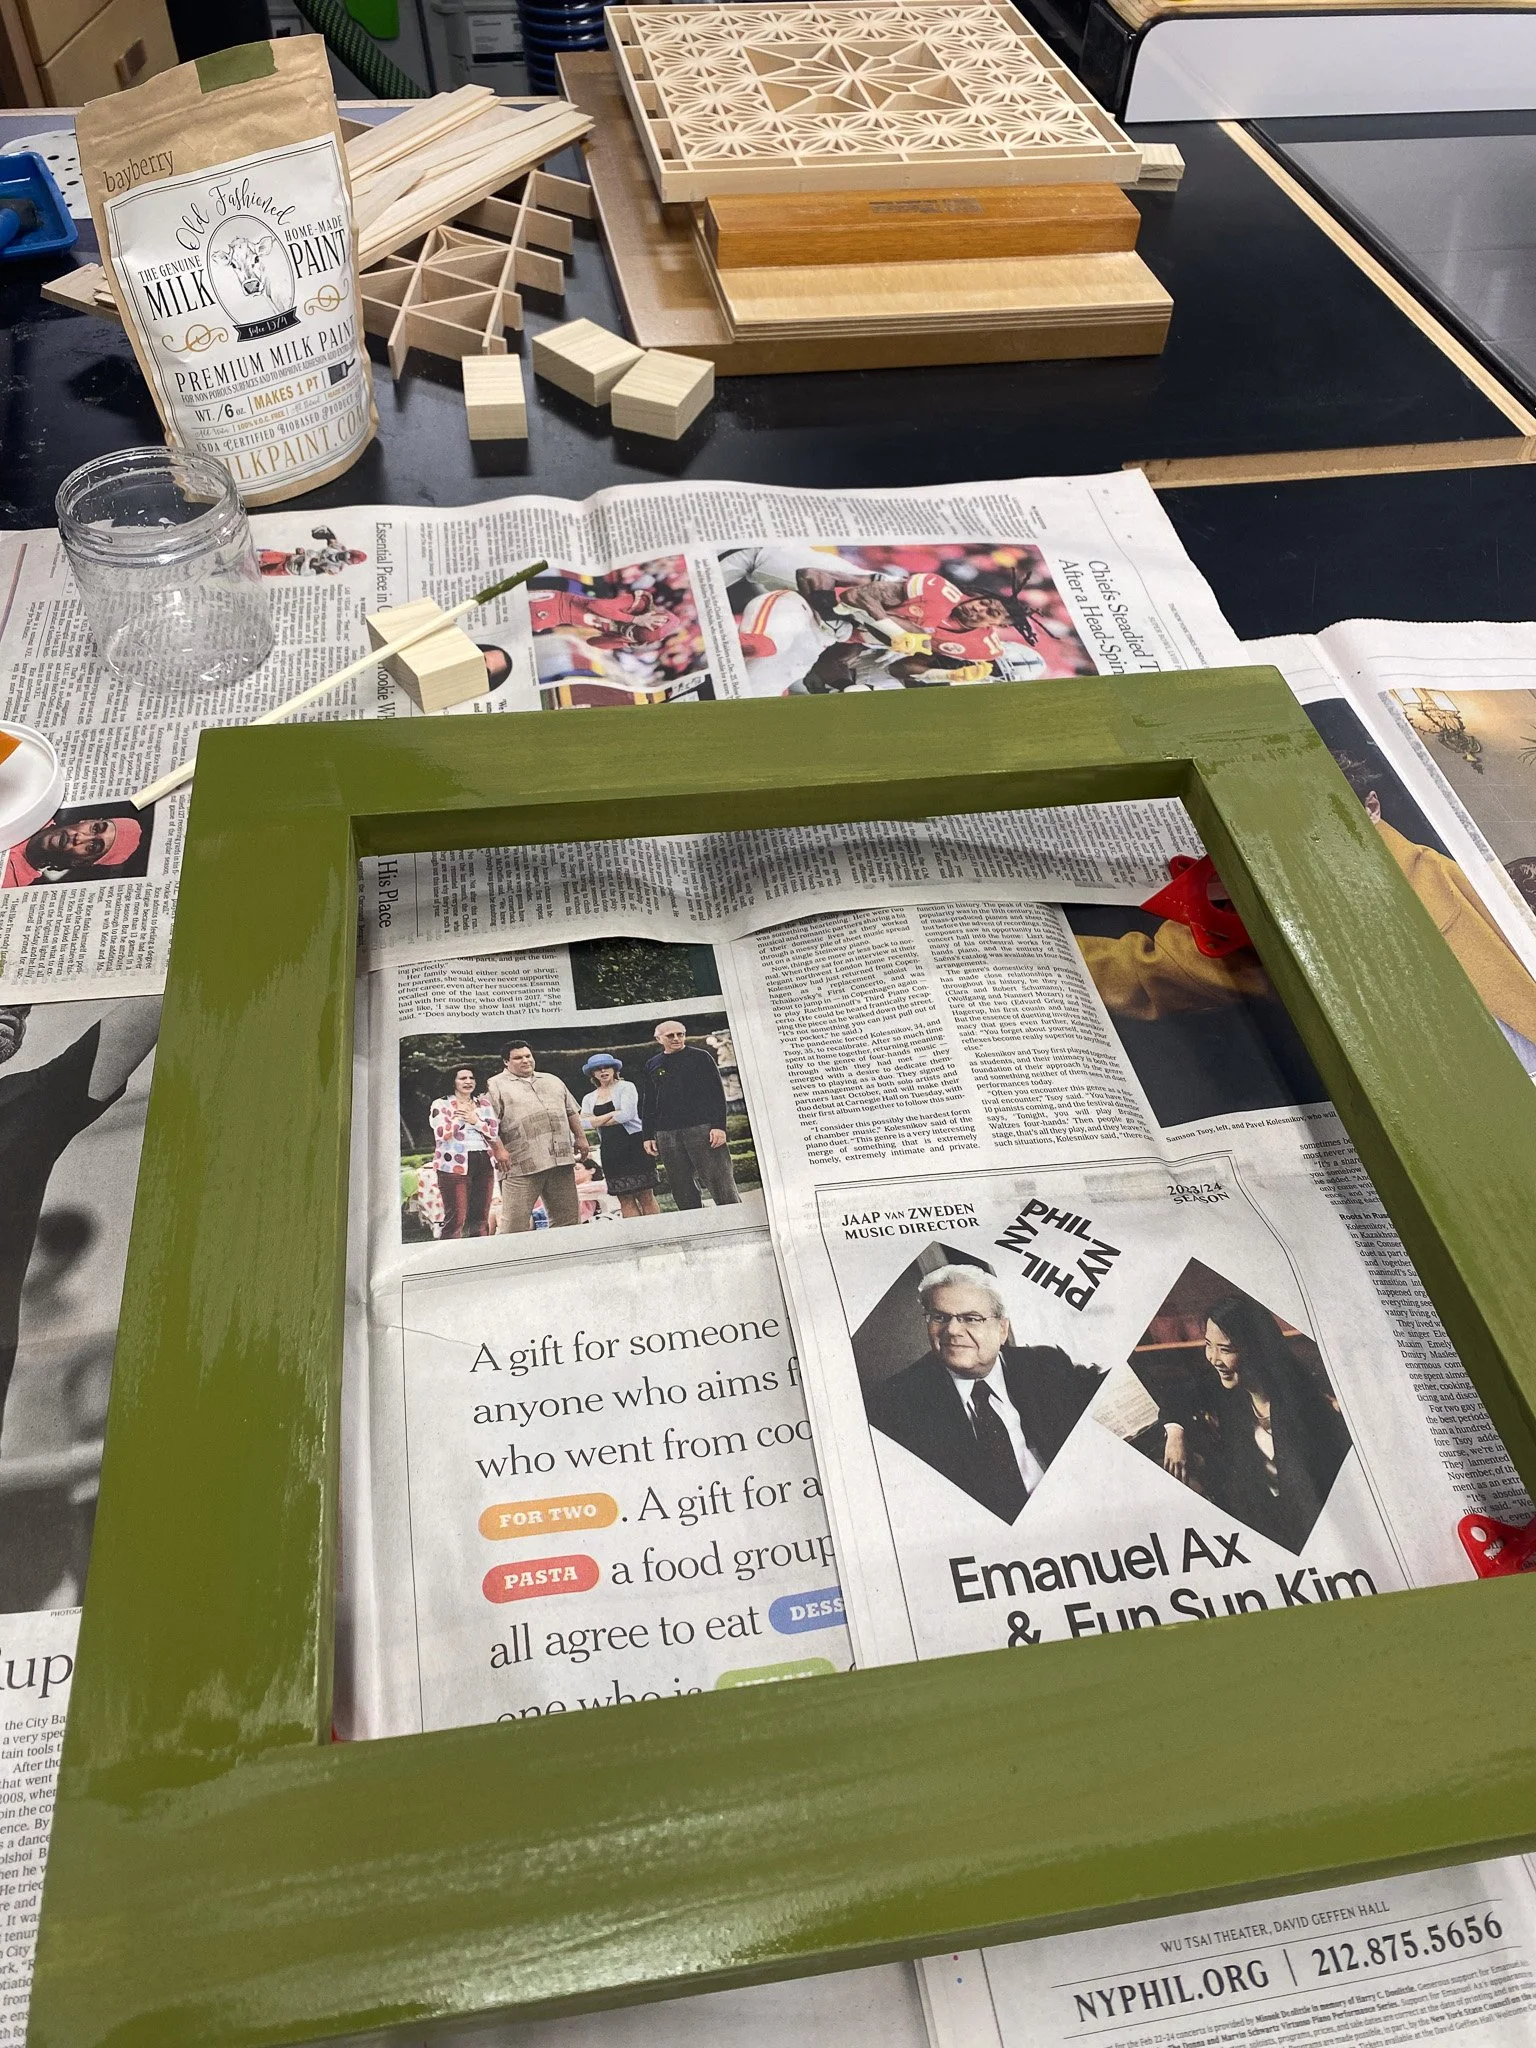
For this one, I made another frame to match the one from the asa-no-has pattern I already did. Once again the frame is poplar, with a green milk paint on the outside that was then covered by paste wax, and buffed out with 0000 steel wool to get a nice matte finish. It matches quite well with the first. Then it was on to the fabric background that I applied behind the kumiko. I had purchased the fabric at Michael’s, and when I went back for more - no luck. I found myself on a quest - stopping at each location I could find - even one on a business trip - trying to find more, all unsuccessful. 8, 9, maybe 10 different tries. In the end, I gave up and went to a fabric store - where they also did not have anything like what I was looking for. In the end, I found a different fabric, that I thought would work - and I got a bunch extra. Finally after a multiple month quest to find fabric, I could finish the assembly, put it in the frame and hang it on the wall.


Thank you for reading along.