Bathroom renovation
December 31, 2025
Continuing with my catch up… my 100 year old house was leaking in big rain storms and it had caused damage to a bathroom, and the living room right below. Once the leaks had been properly fixed (a long and winding process) it was time to set about fixing what had been damaged. This meant ripping off drywall and insulation, fixing a few studs that were rotting, and generally putting things back as they should be. The plan was to do the bathroom first, and then renovate the living room underneath, after the bathroom was done. I did the demo work myself, but hired a contractor to fix any structural issues, and in the interests of speed, to do the insulation and drywall. Then it was back in my hands to replace the tile floor, redo the shower, install all new trimwork, paint the vanity - and replace the stone top - and build some drawers where some extra deep shelves were. Still plenty of work for me to do.
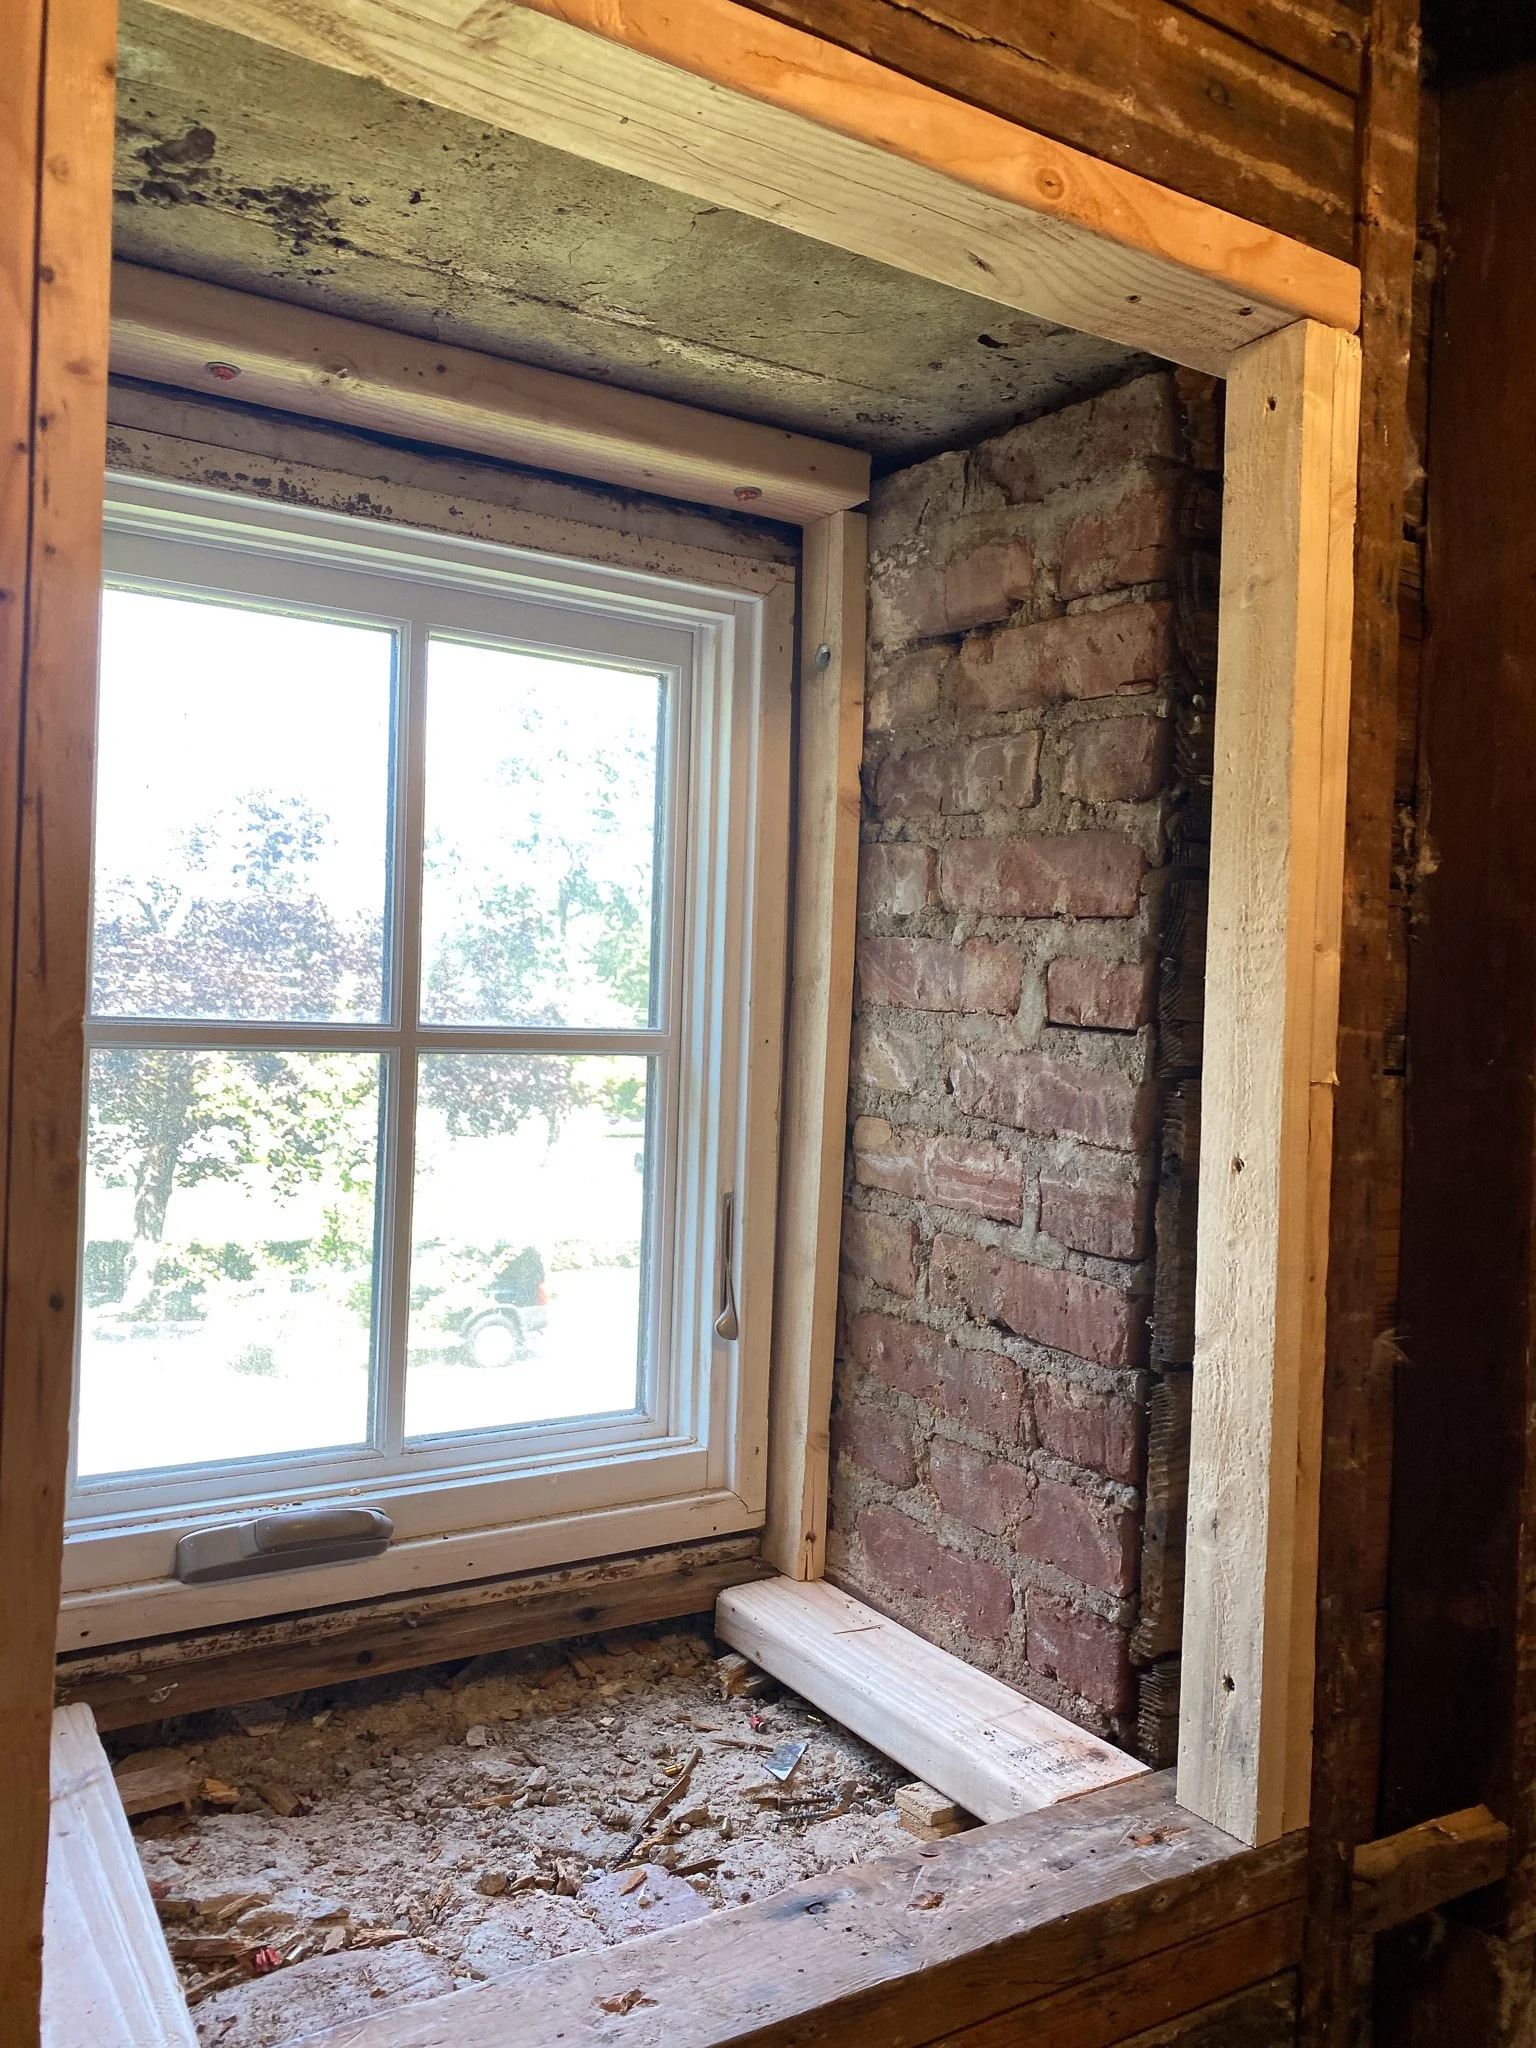
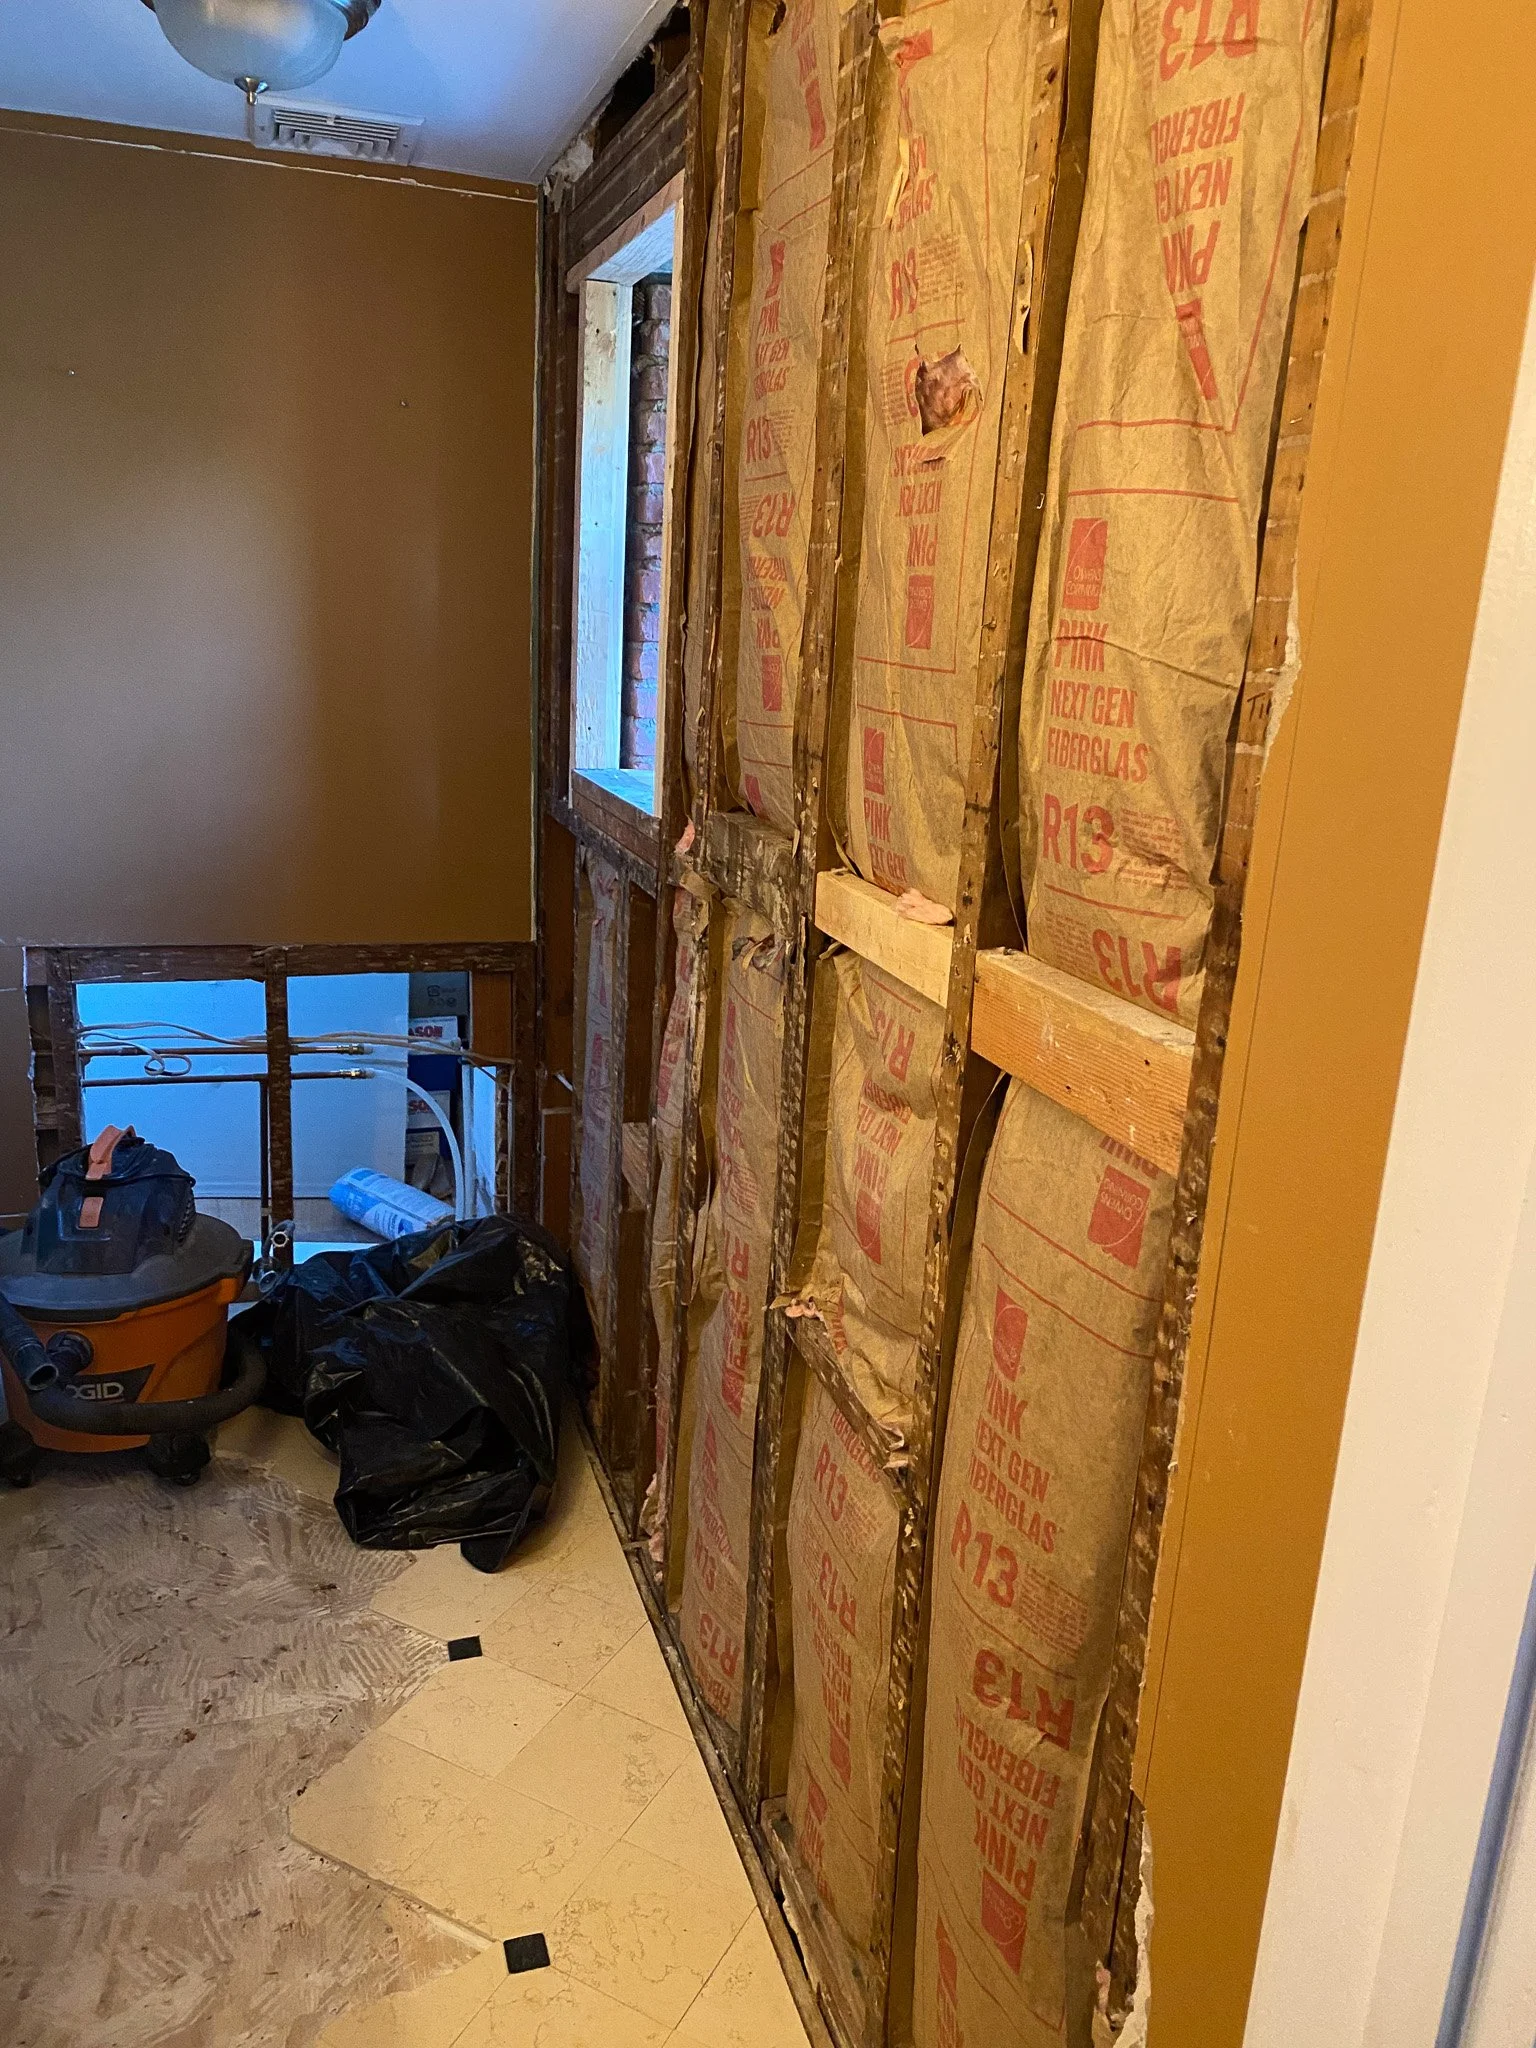
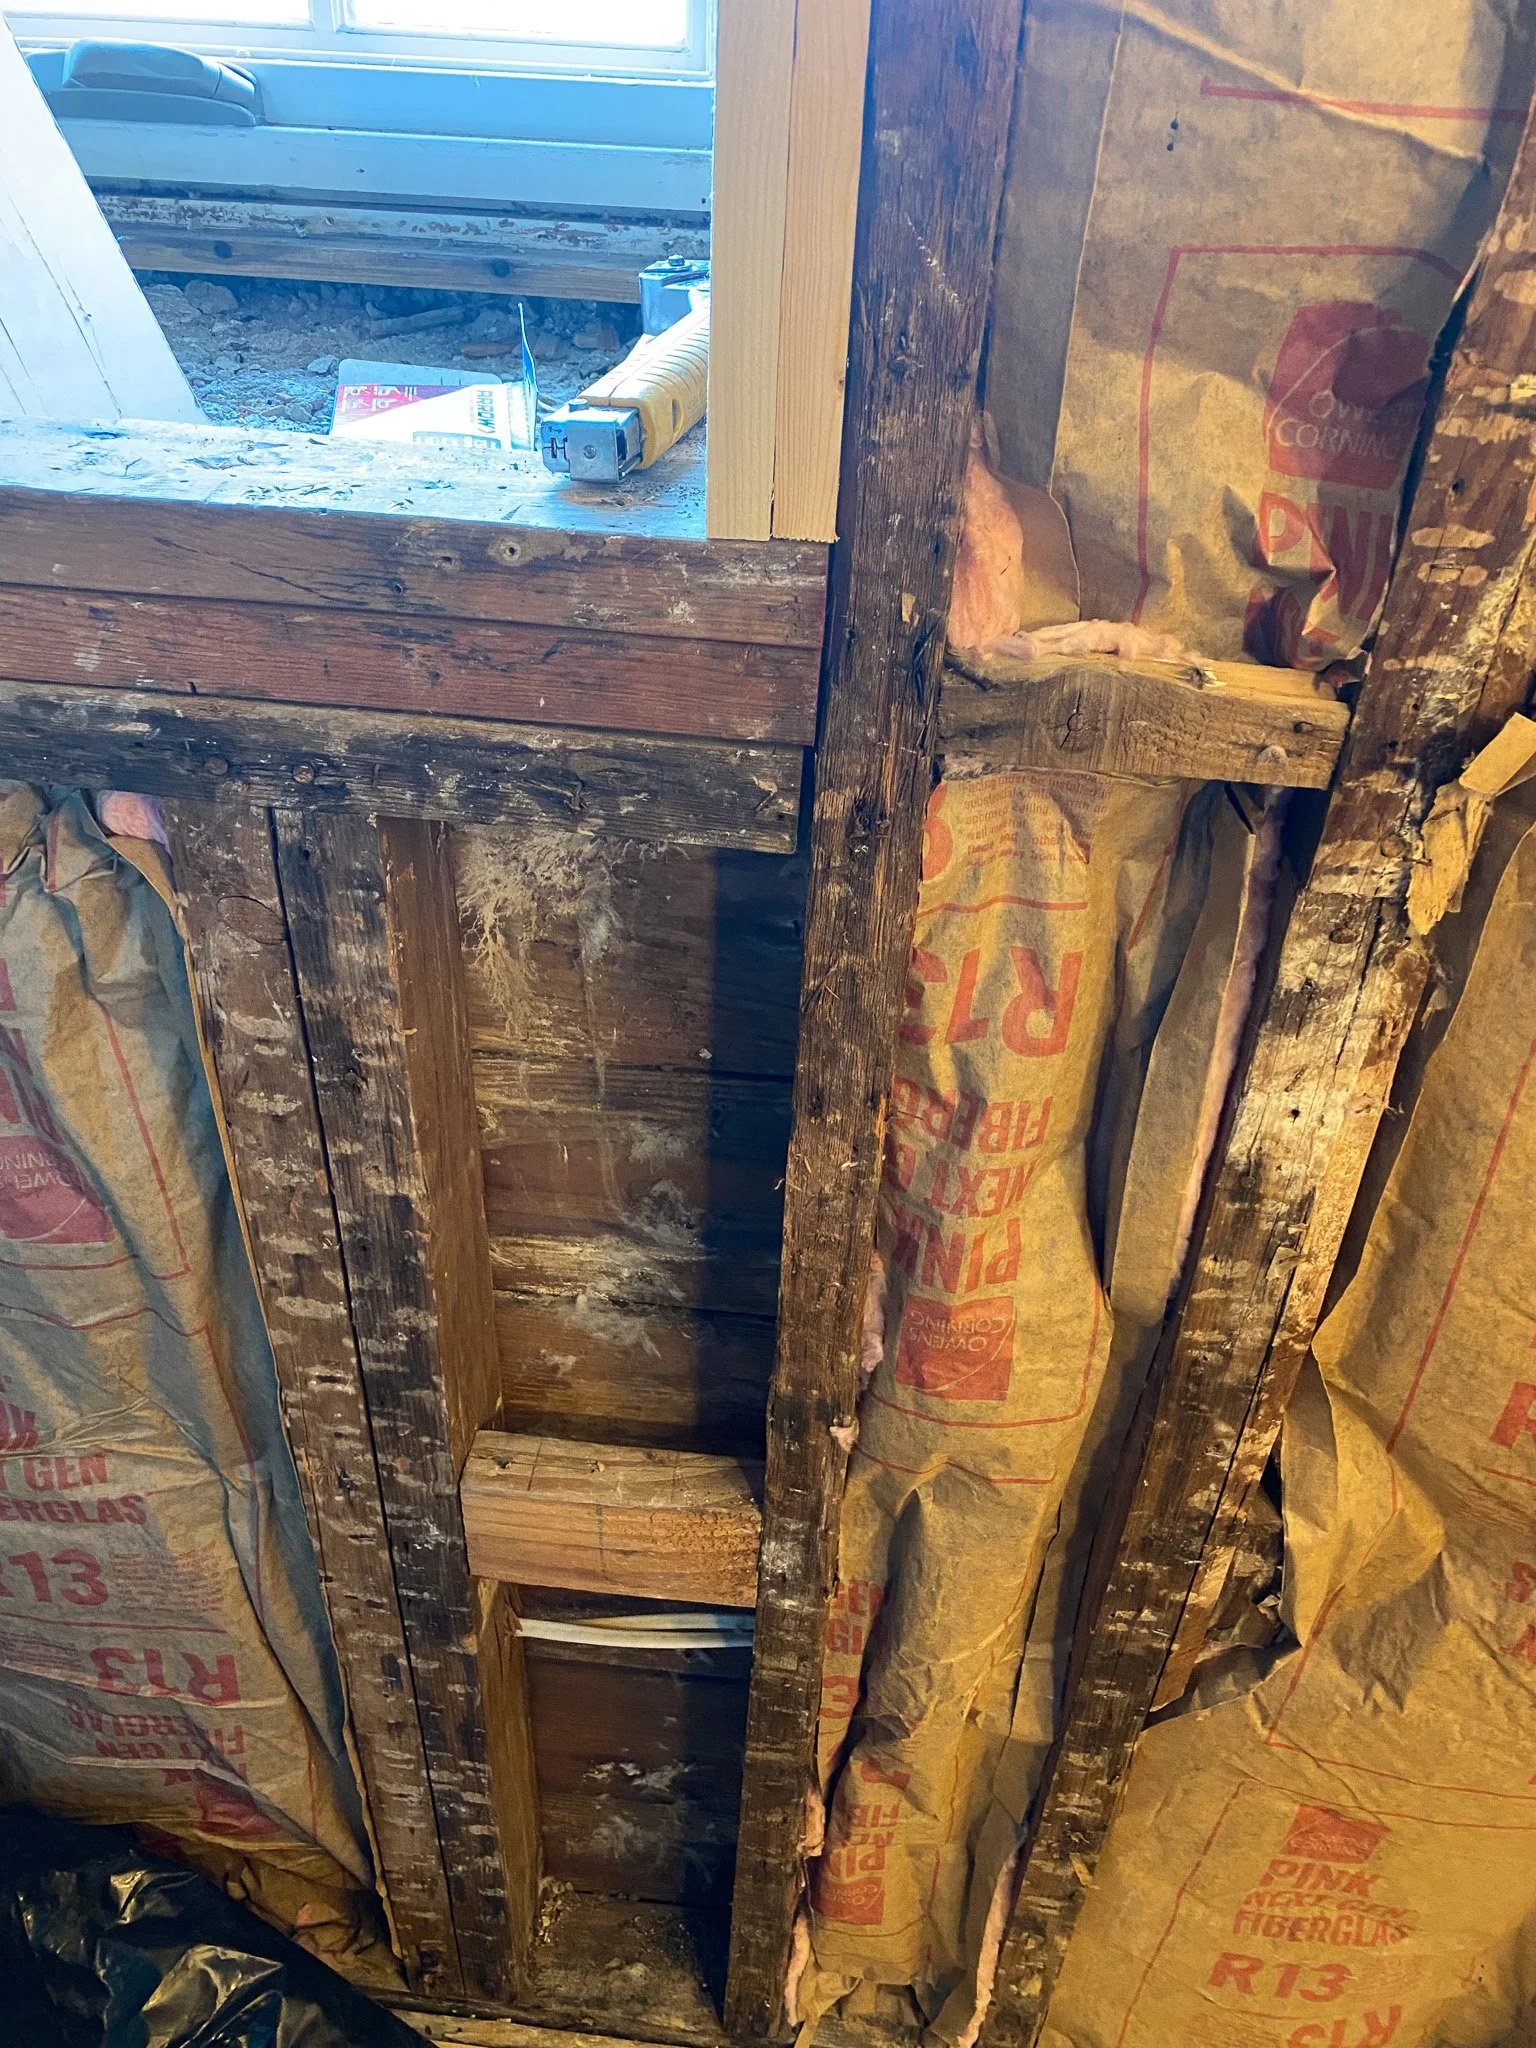
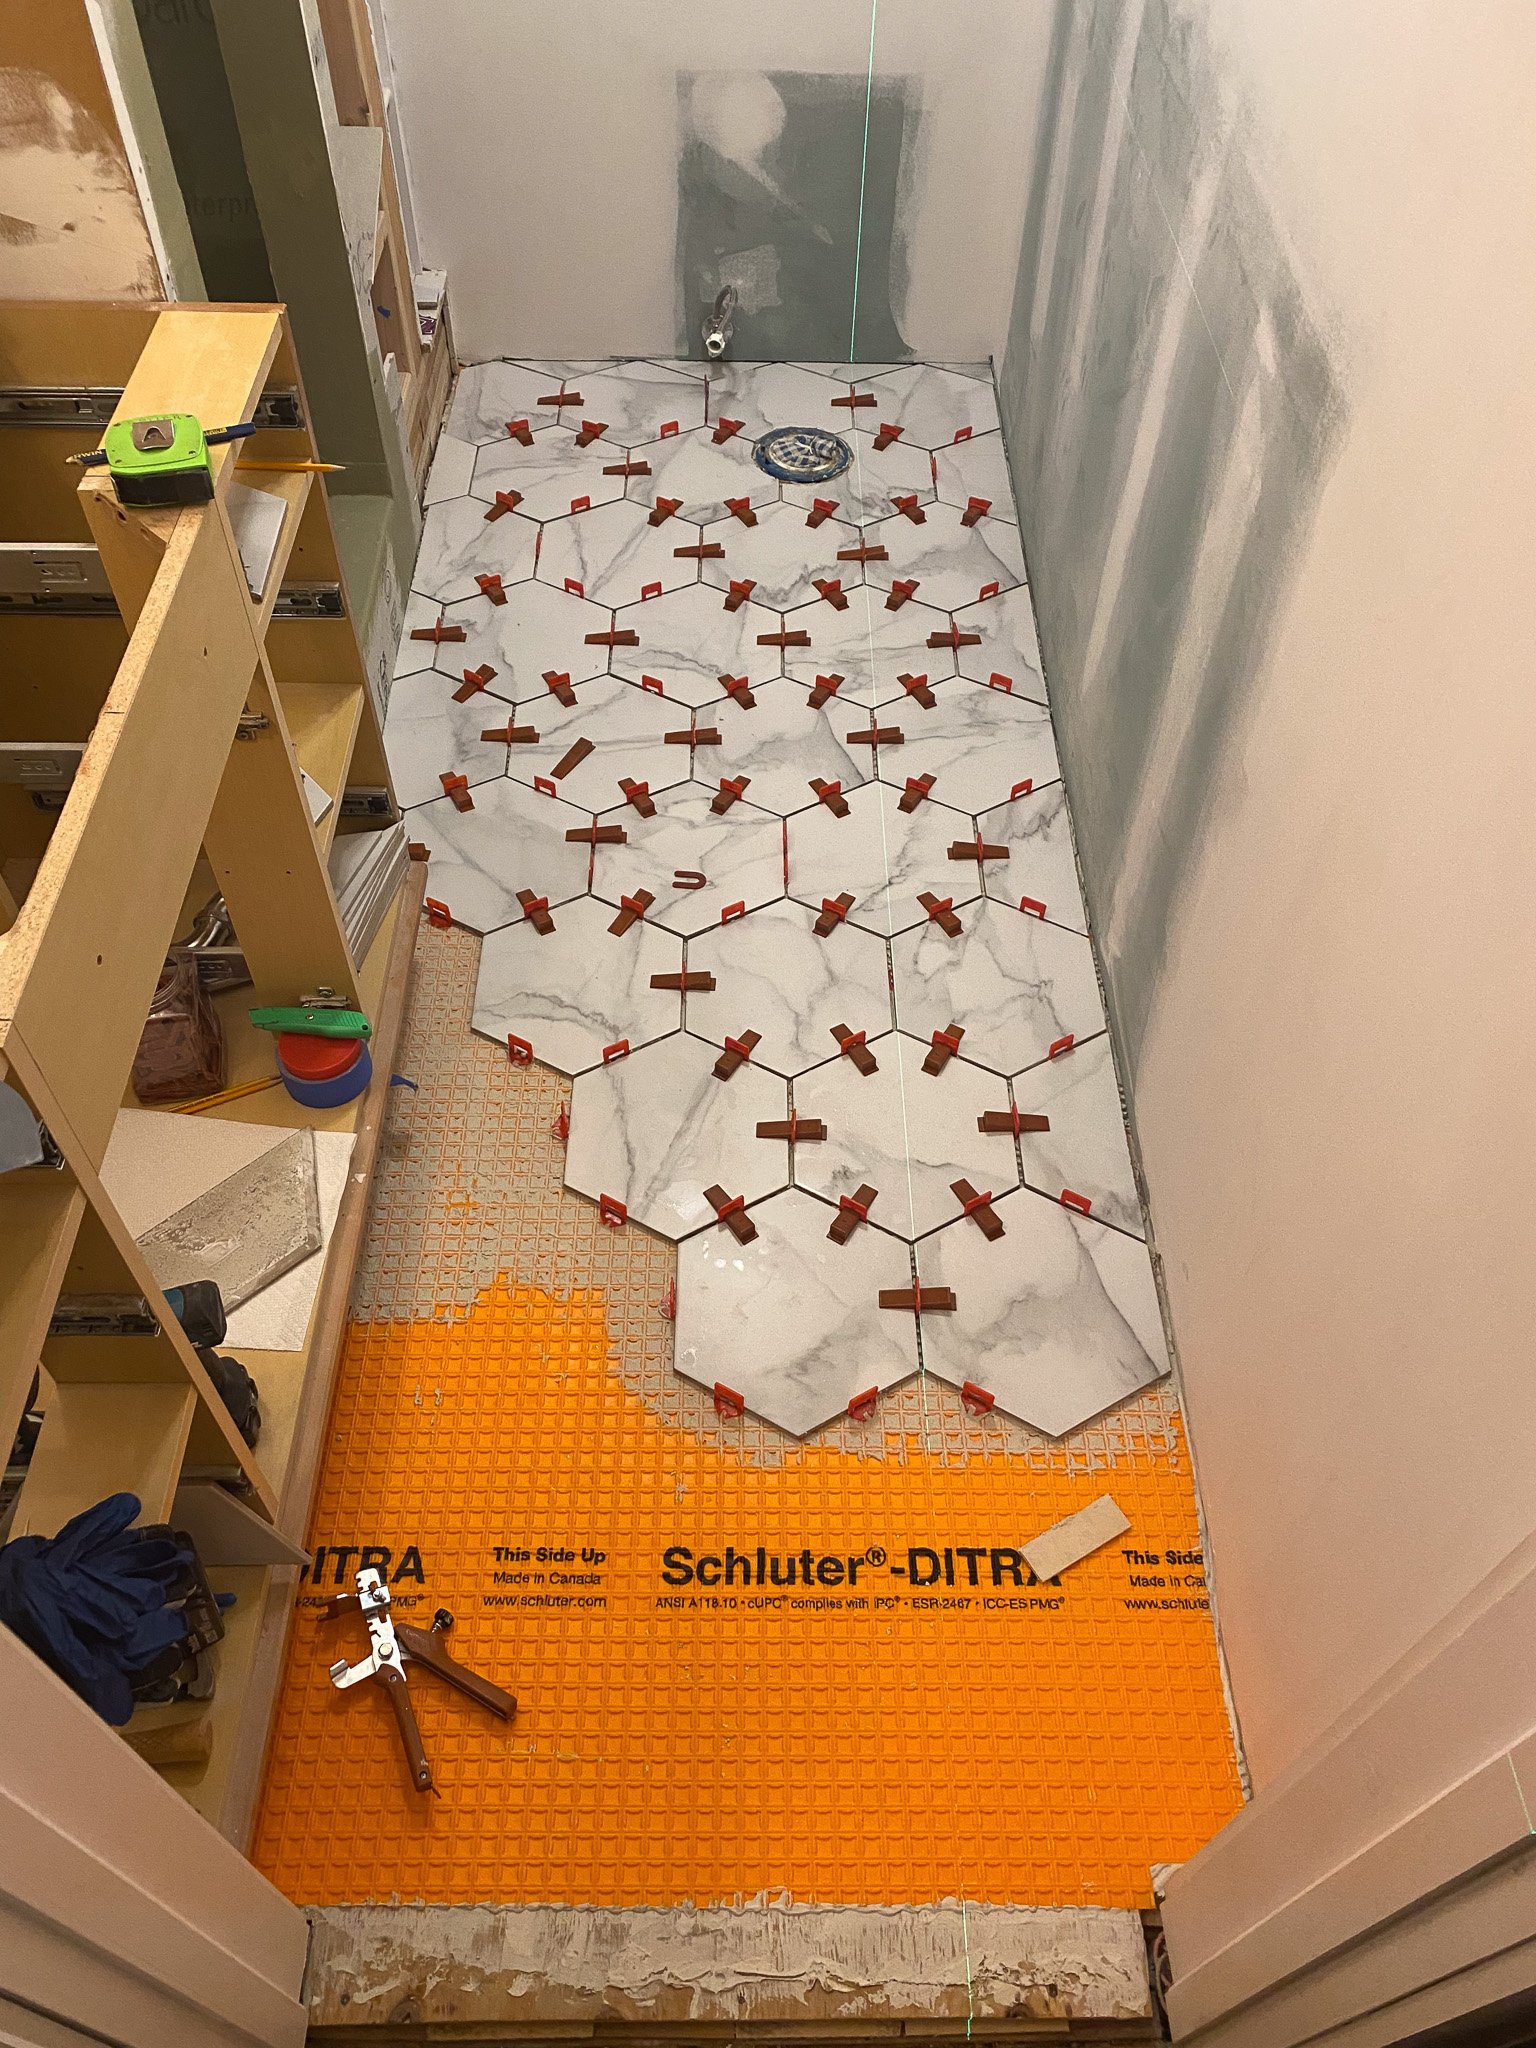
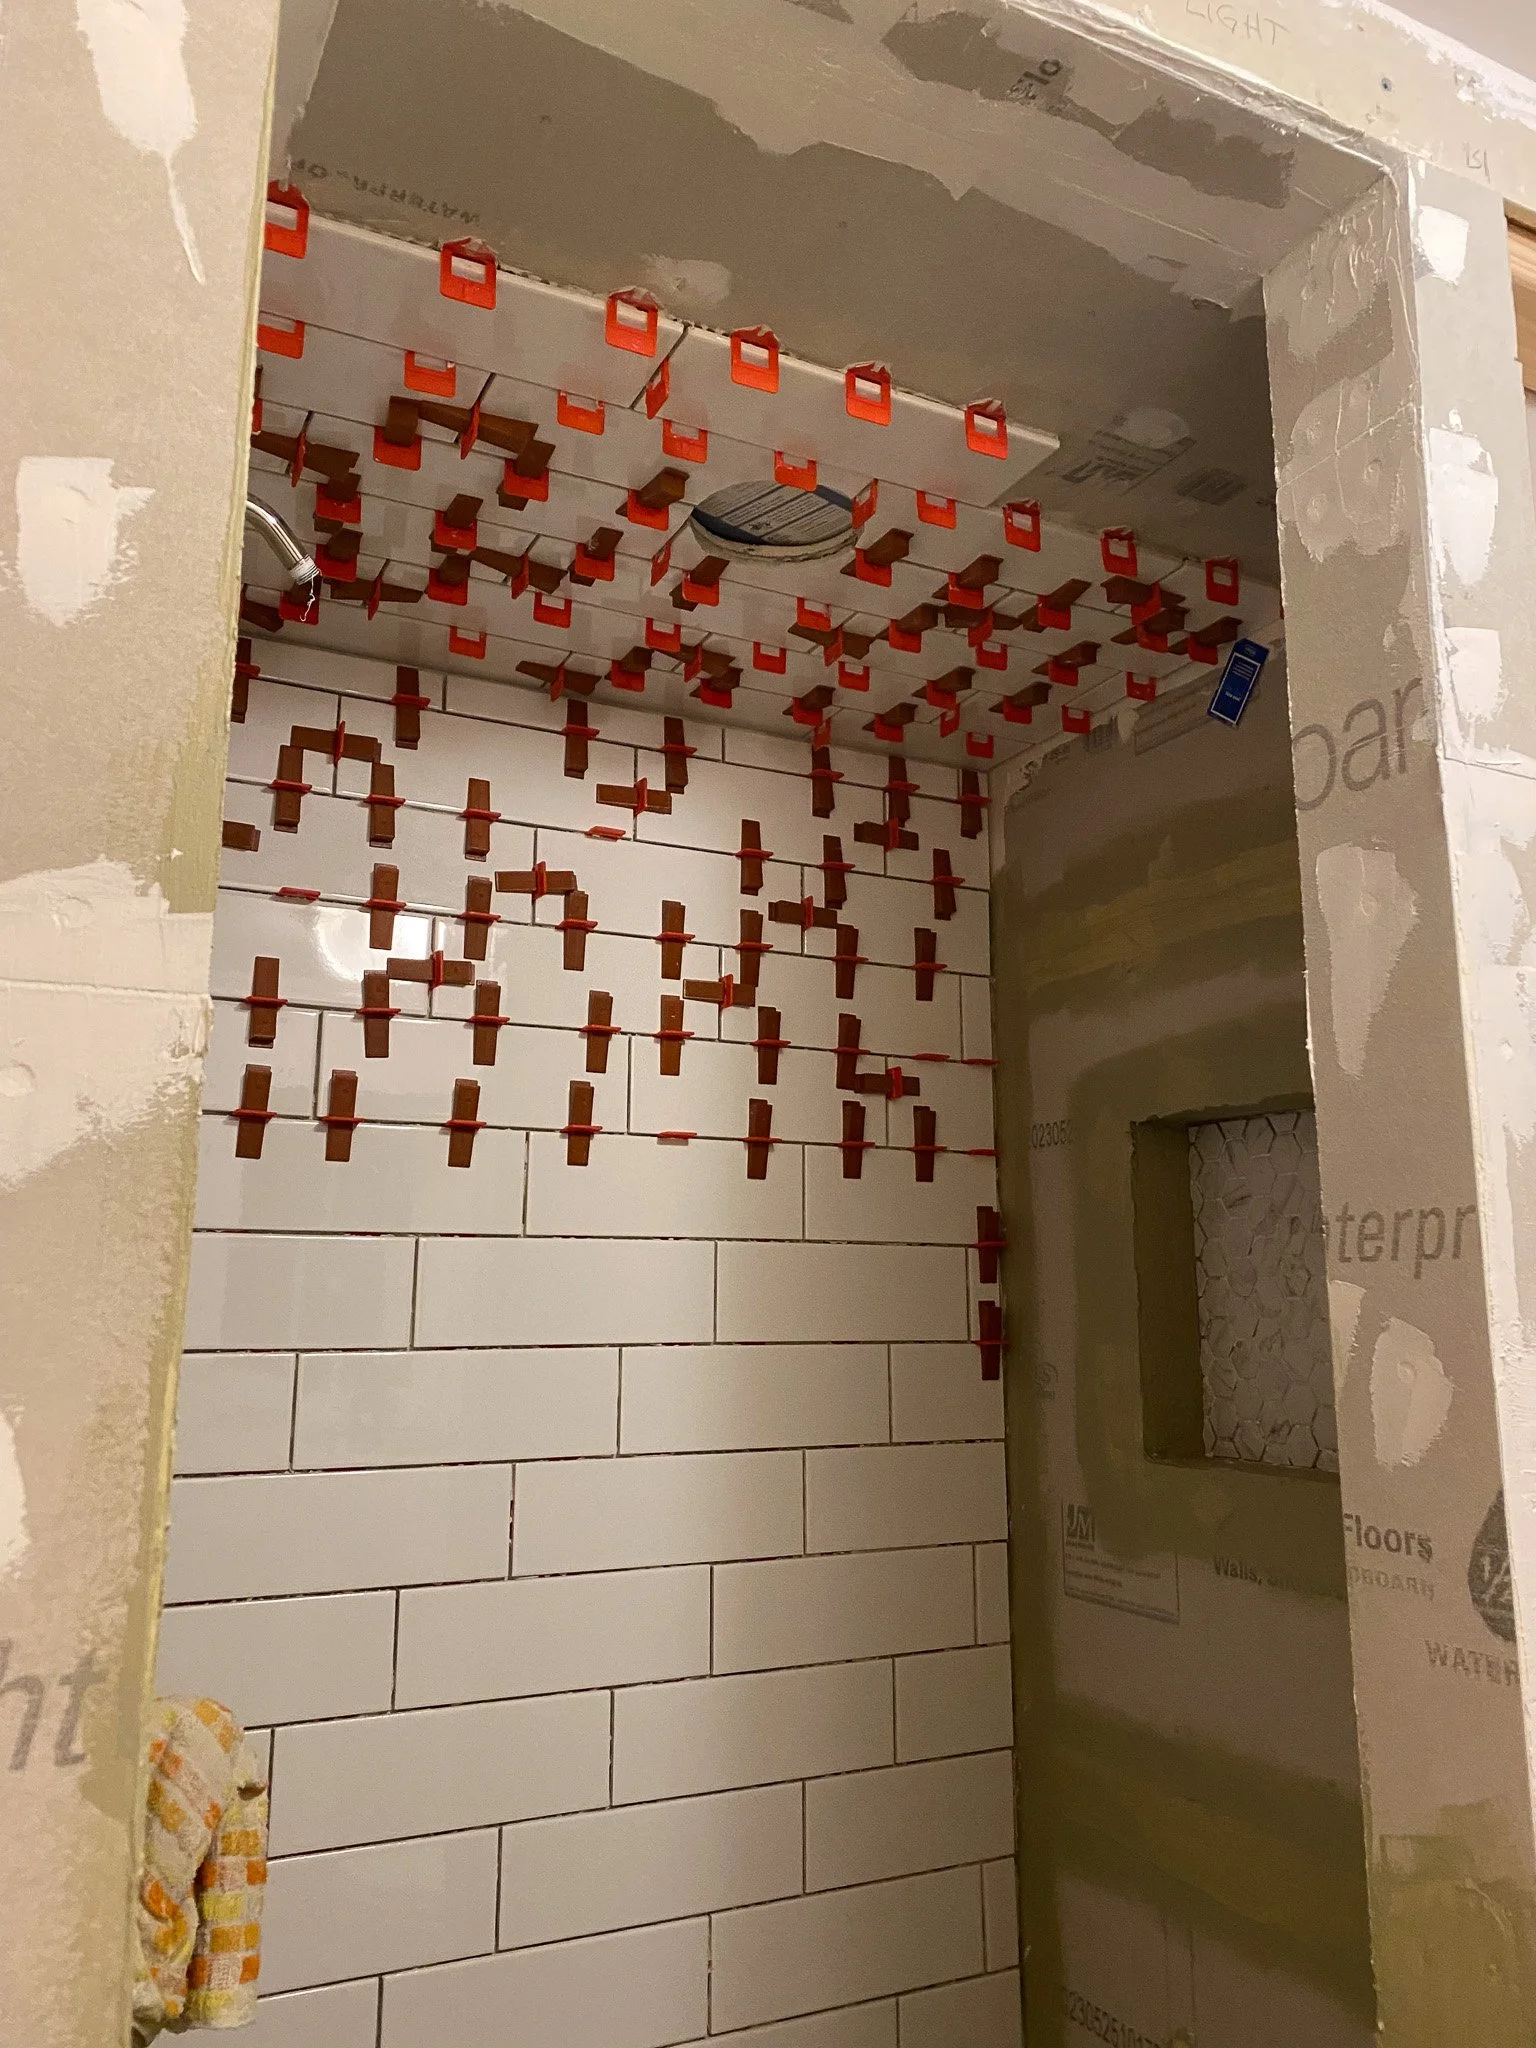
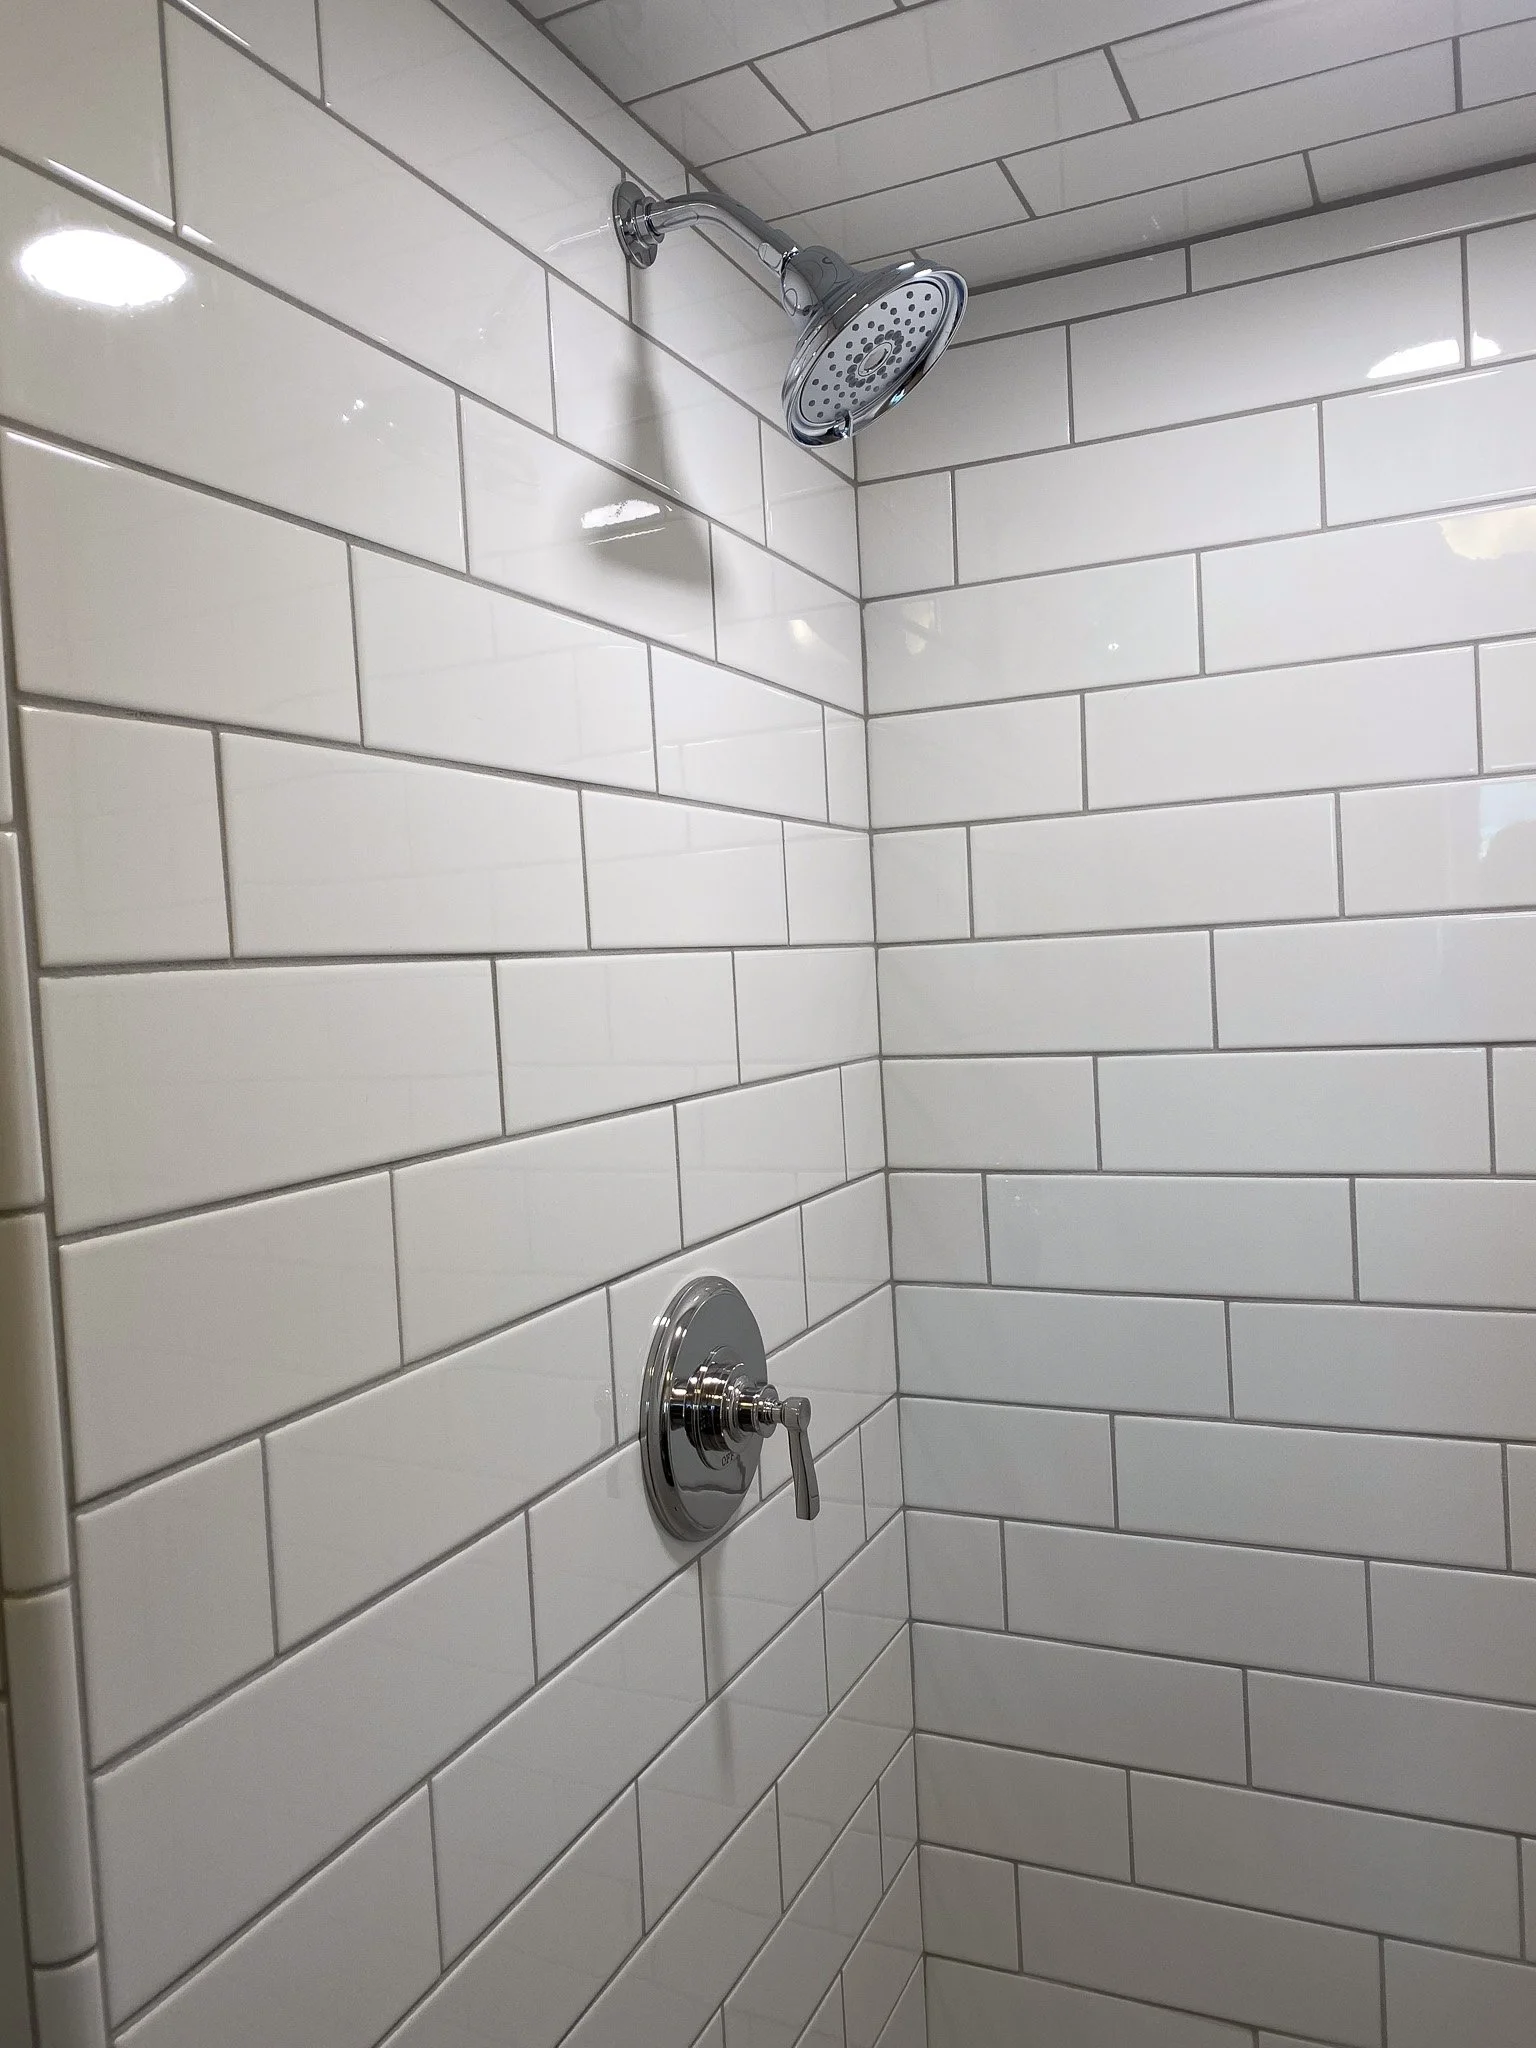
Once the demo work was done, the contractor quickly set about fixing what needed fixing, and replacing any damaged insulation. That was rapidly followed by drywall, and then it was back to me to get to work on the tile. For that I had to disconnect the vanity and raise it up a bit, so that I could get an edge of the tile underneath.

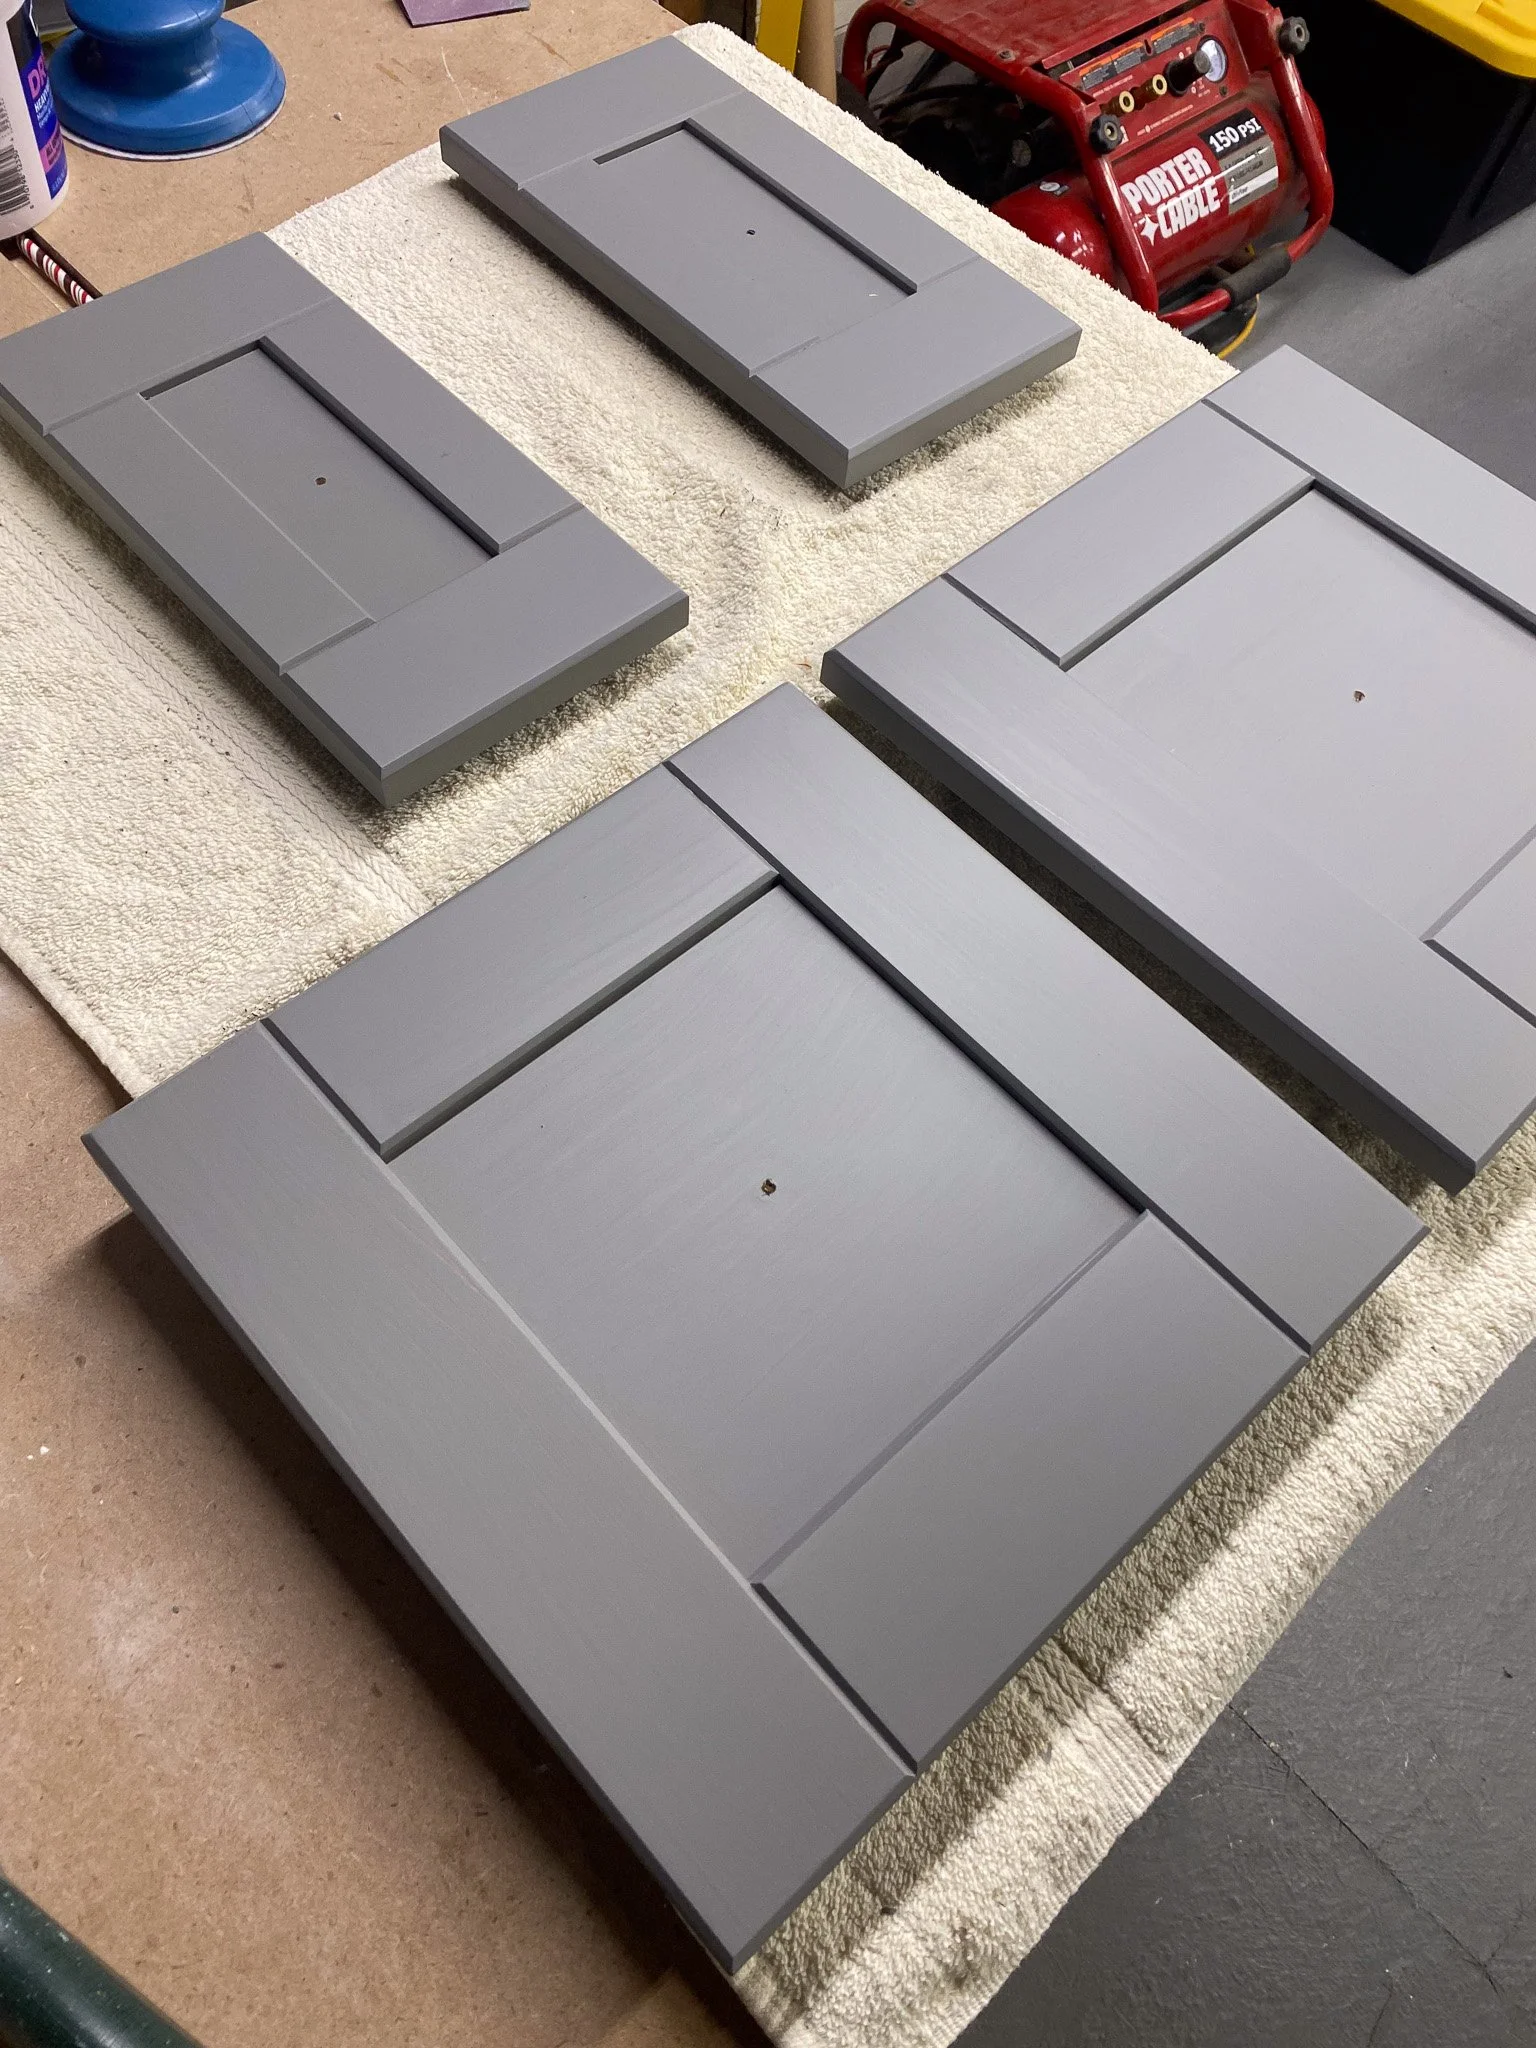
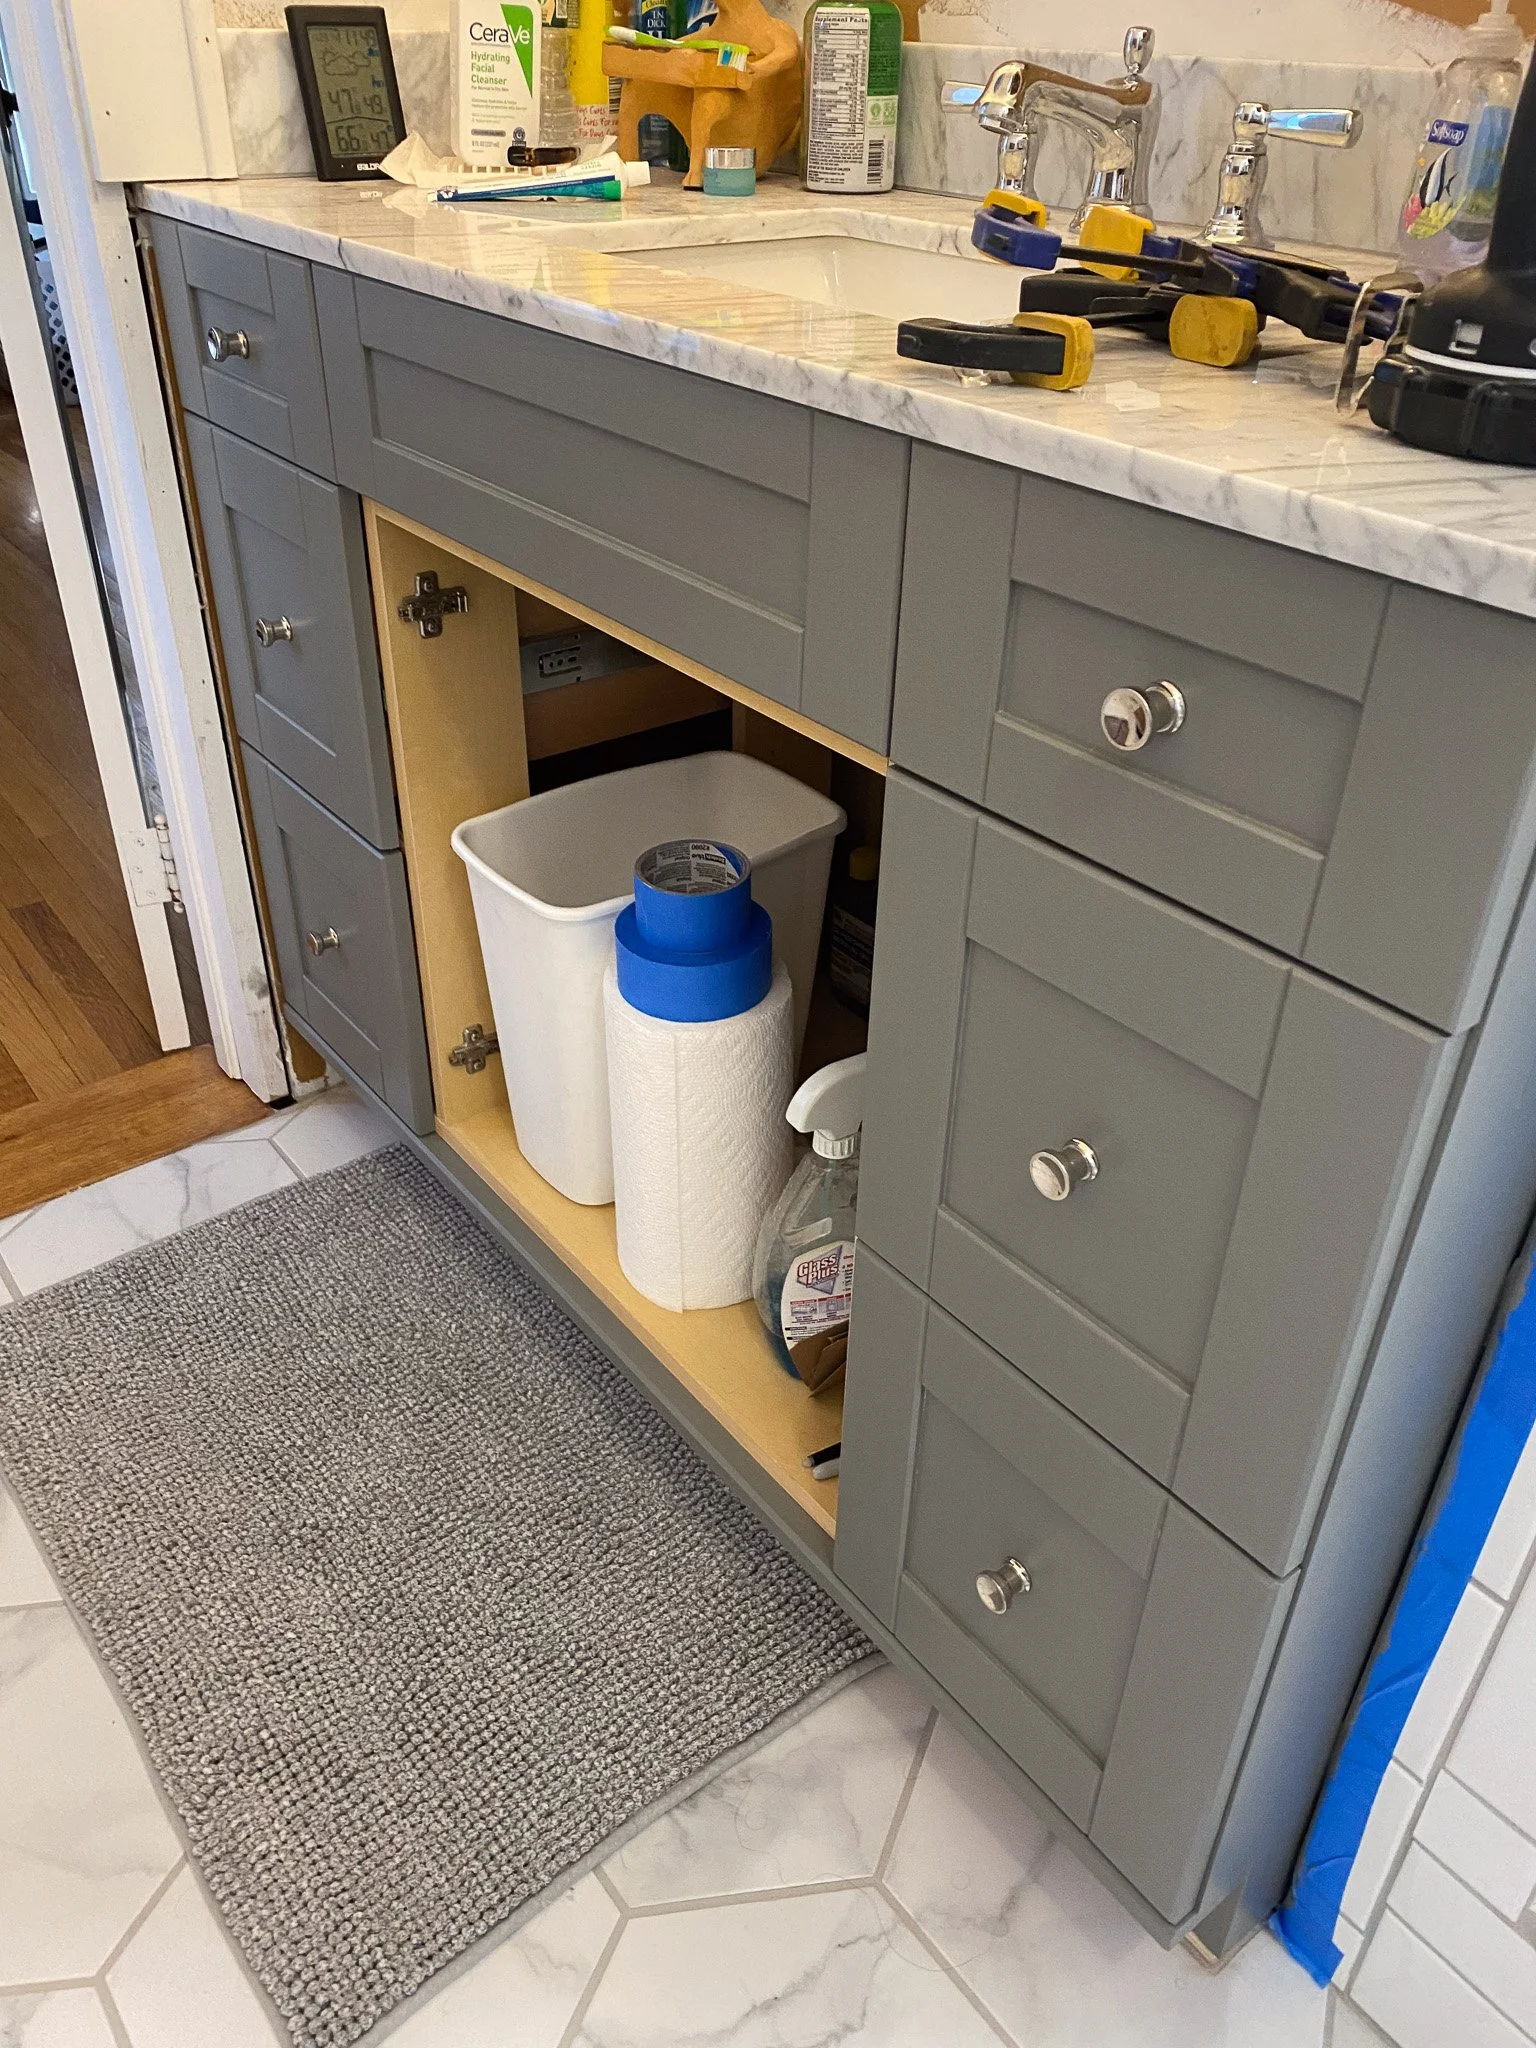
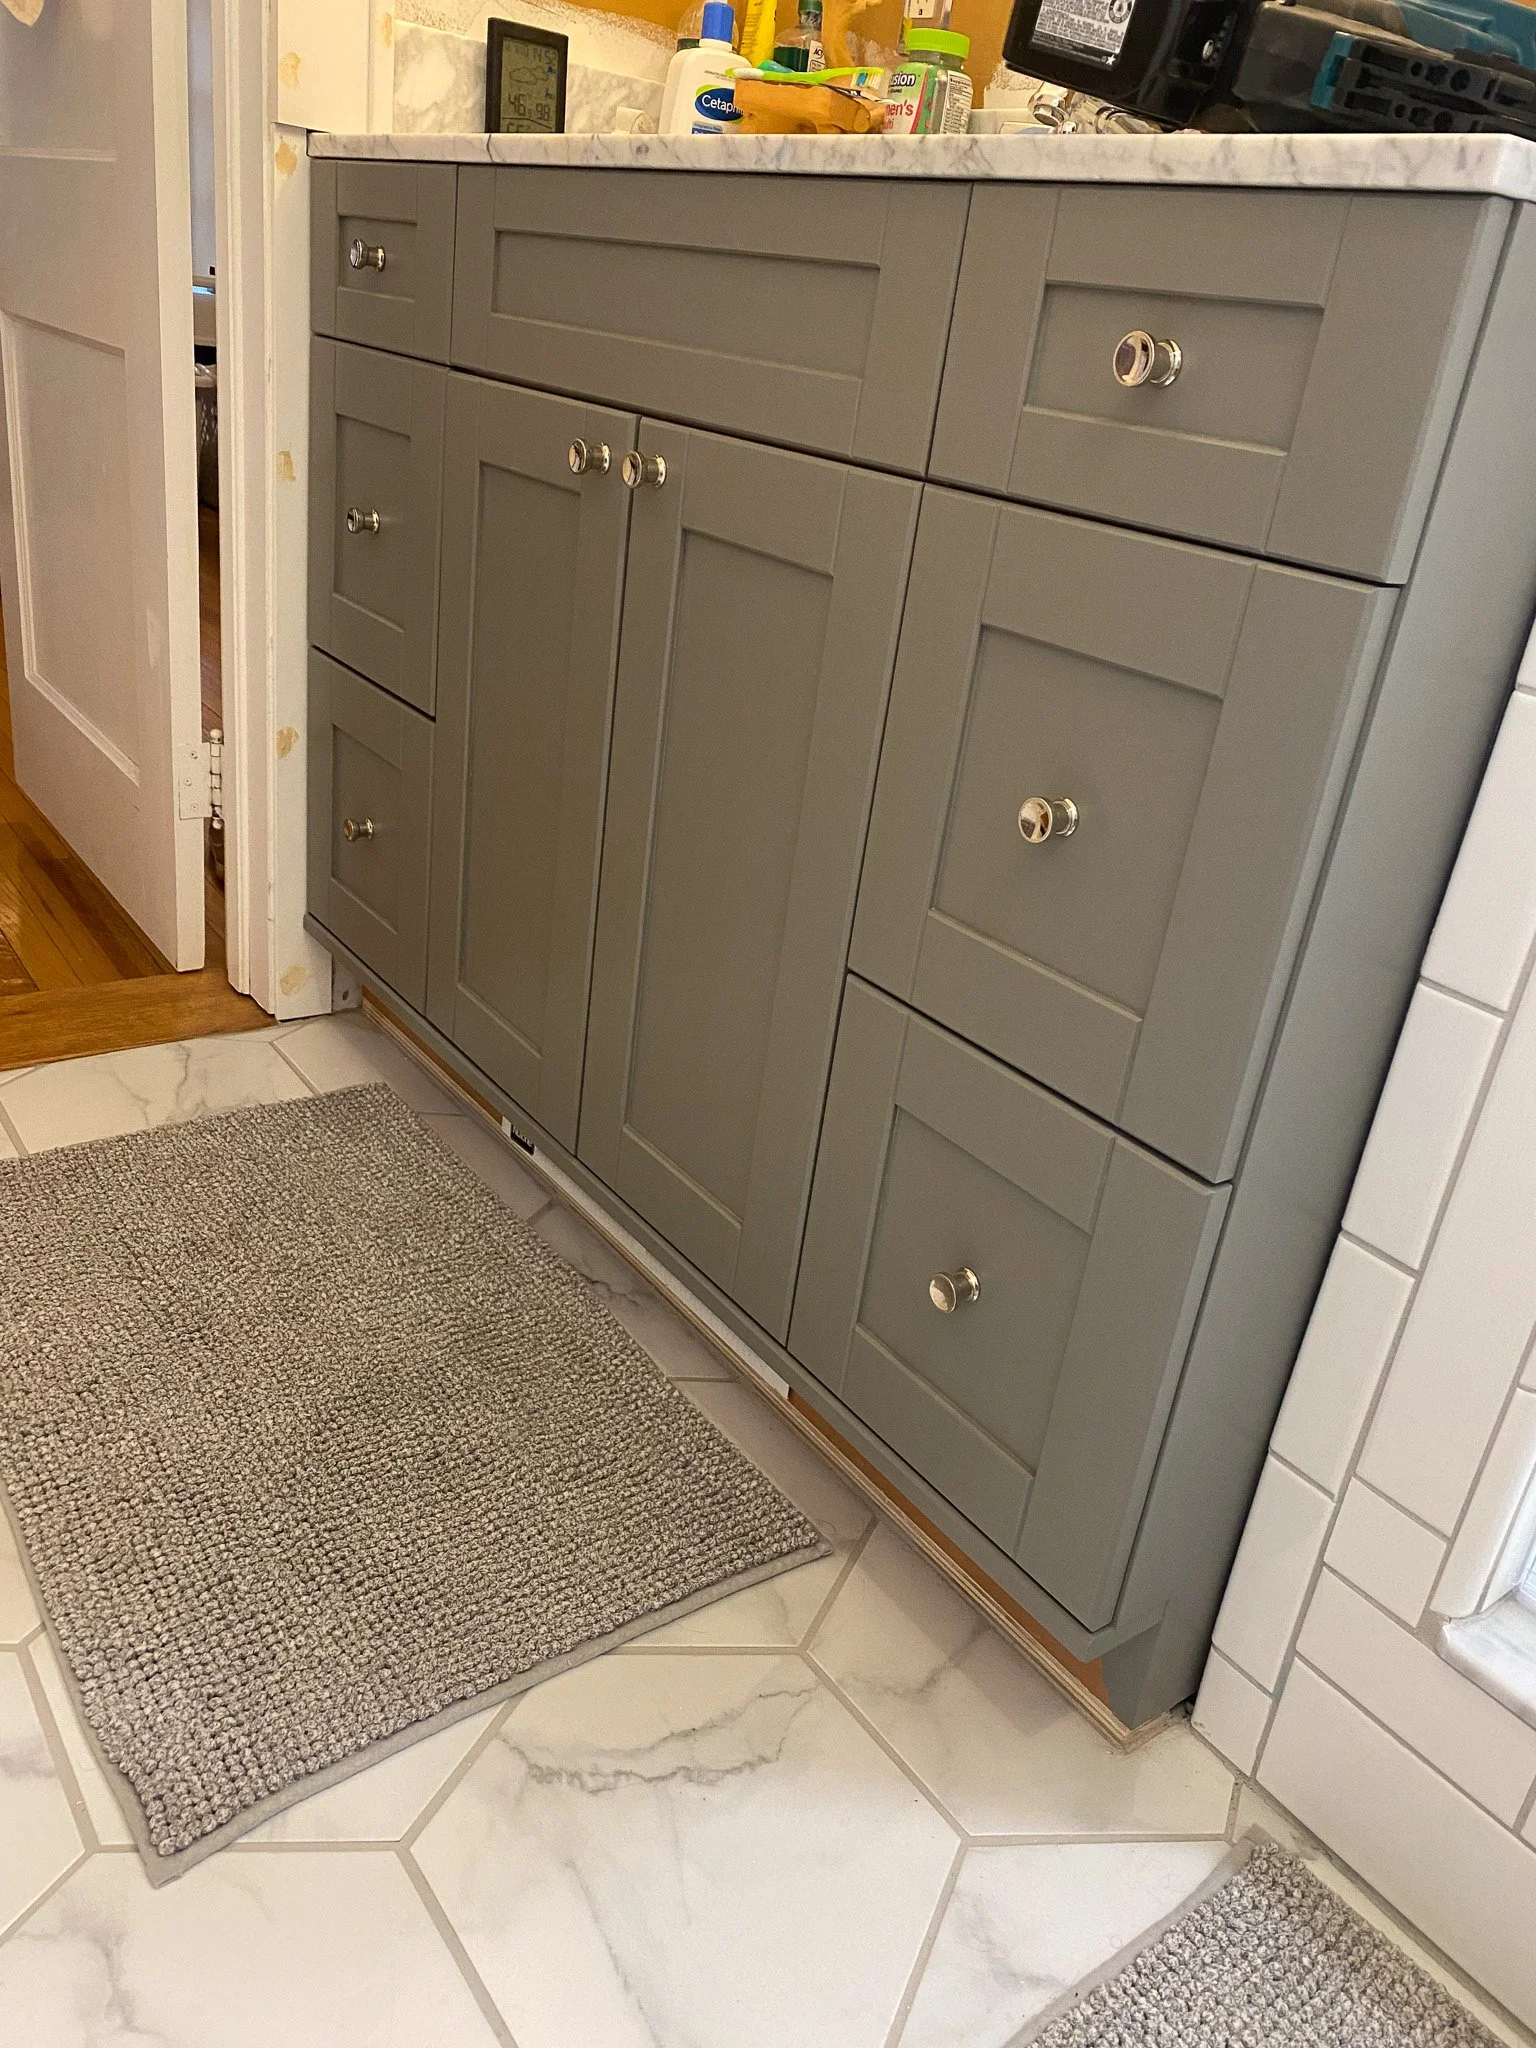
Once the tile was done I could get to work on the vanity. My plan was to refinish it so all the doors and drawer fronts had to come off. Each was sanded - as well as any exposed sections of the unit itself. Once cleaned, I applied several coats of a thick grey milk paint, and then a top coat of clear varnish. Once dried, they could all be reinstalled. I also replaced the green stone top, with a white marble top that had an integrated sink.
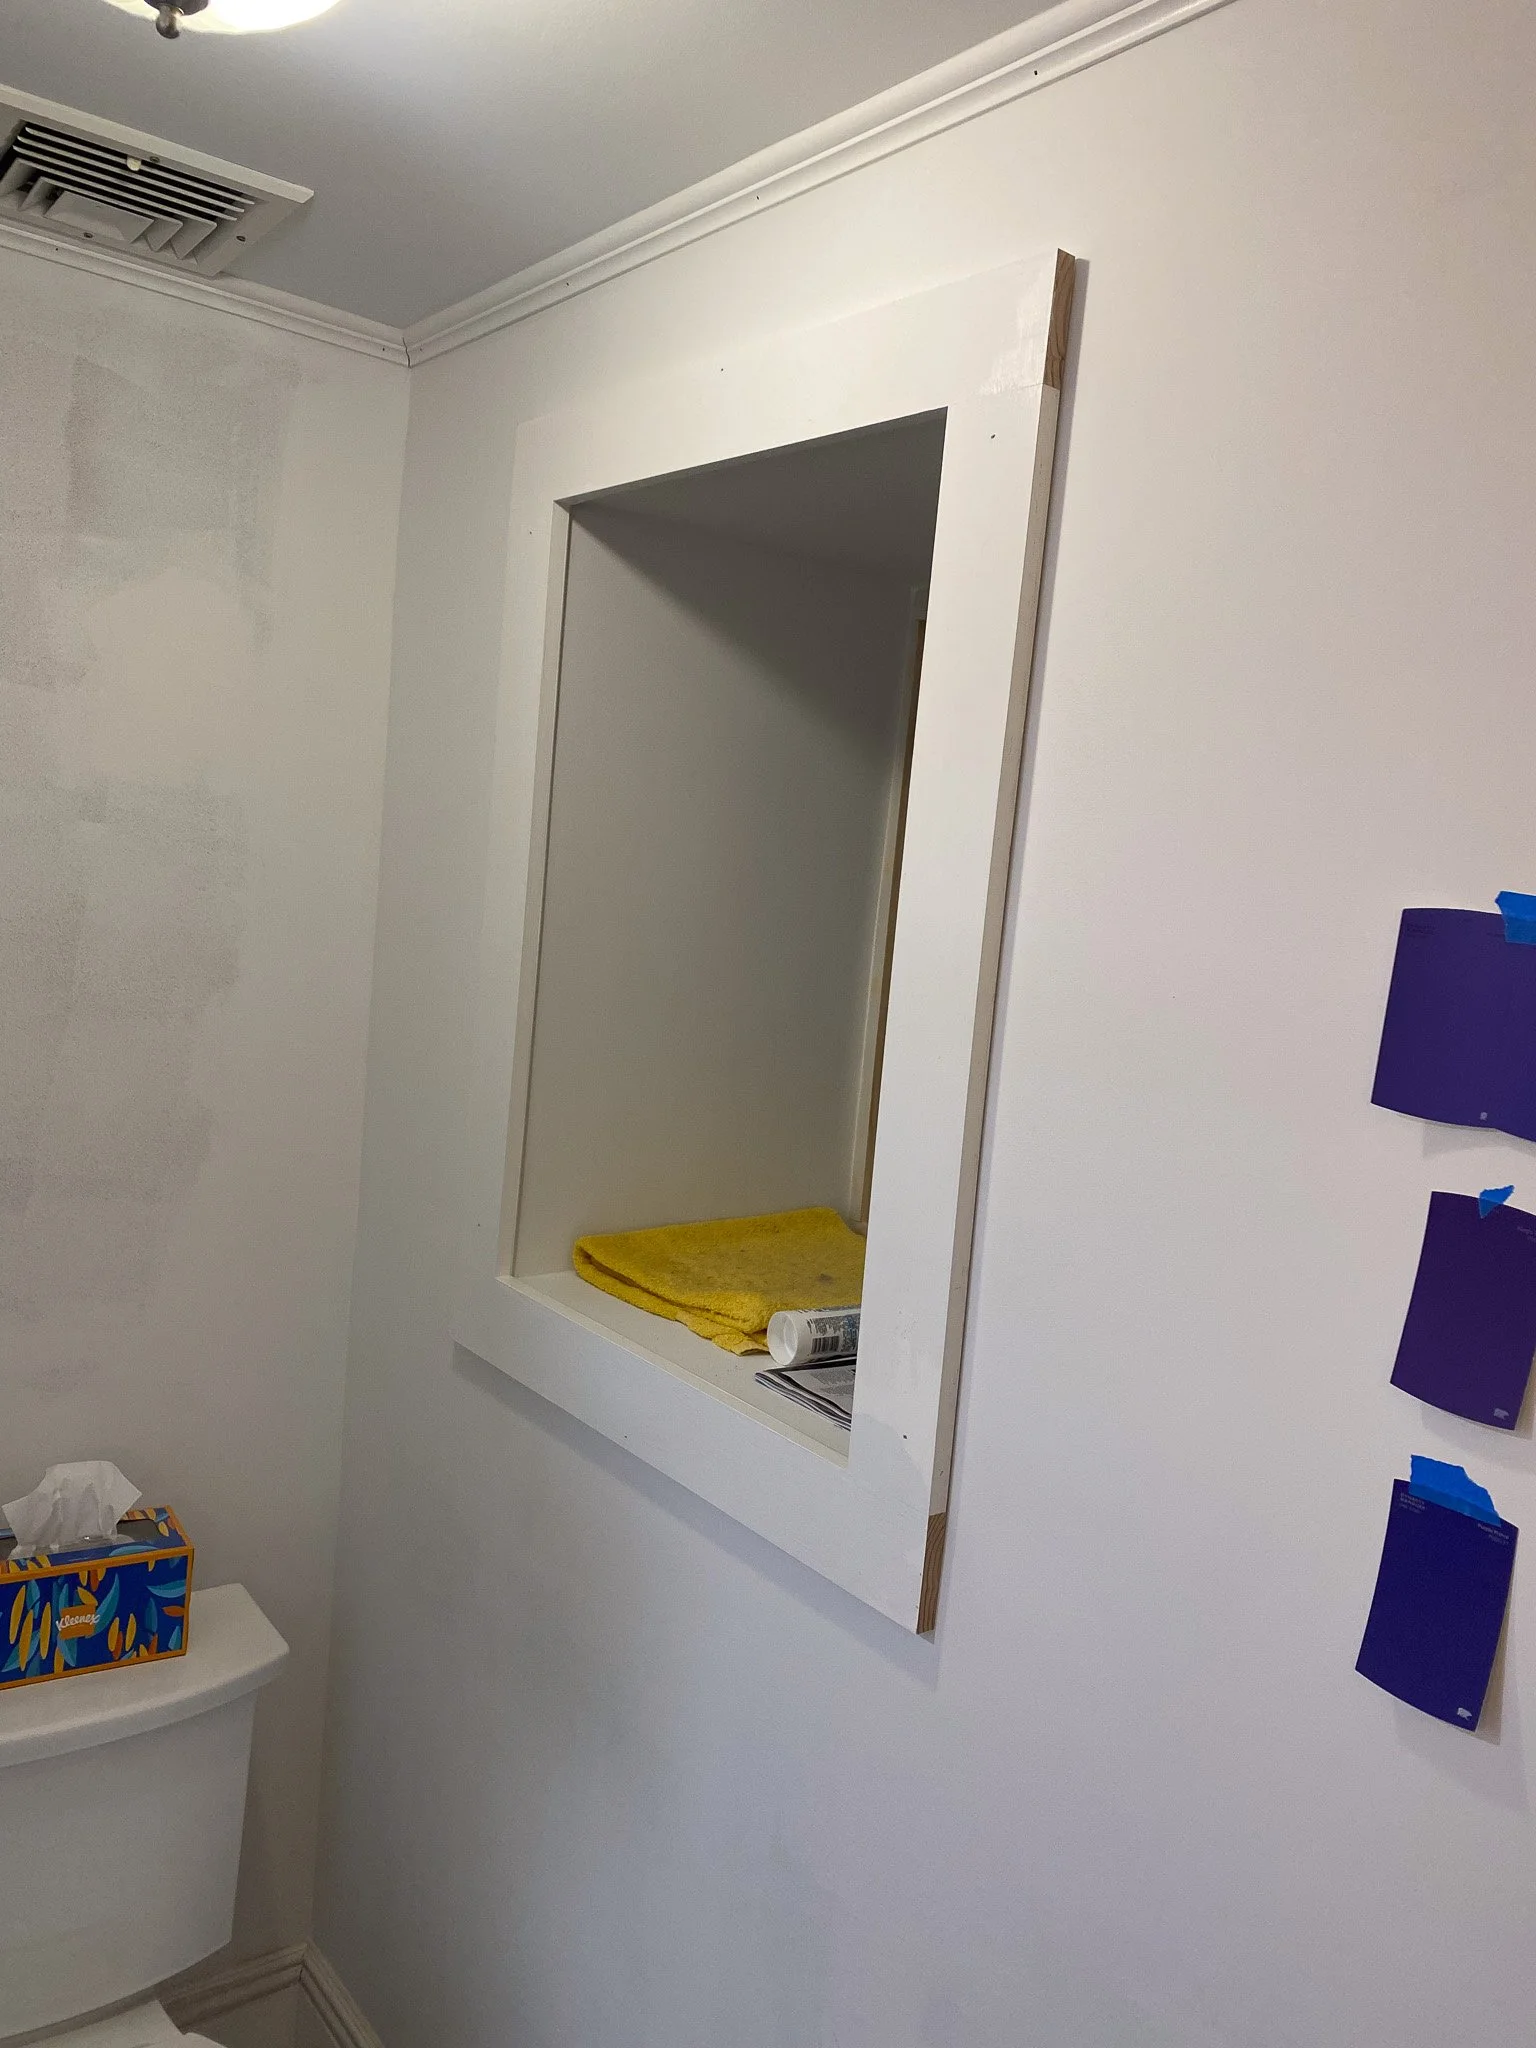
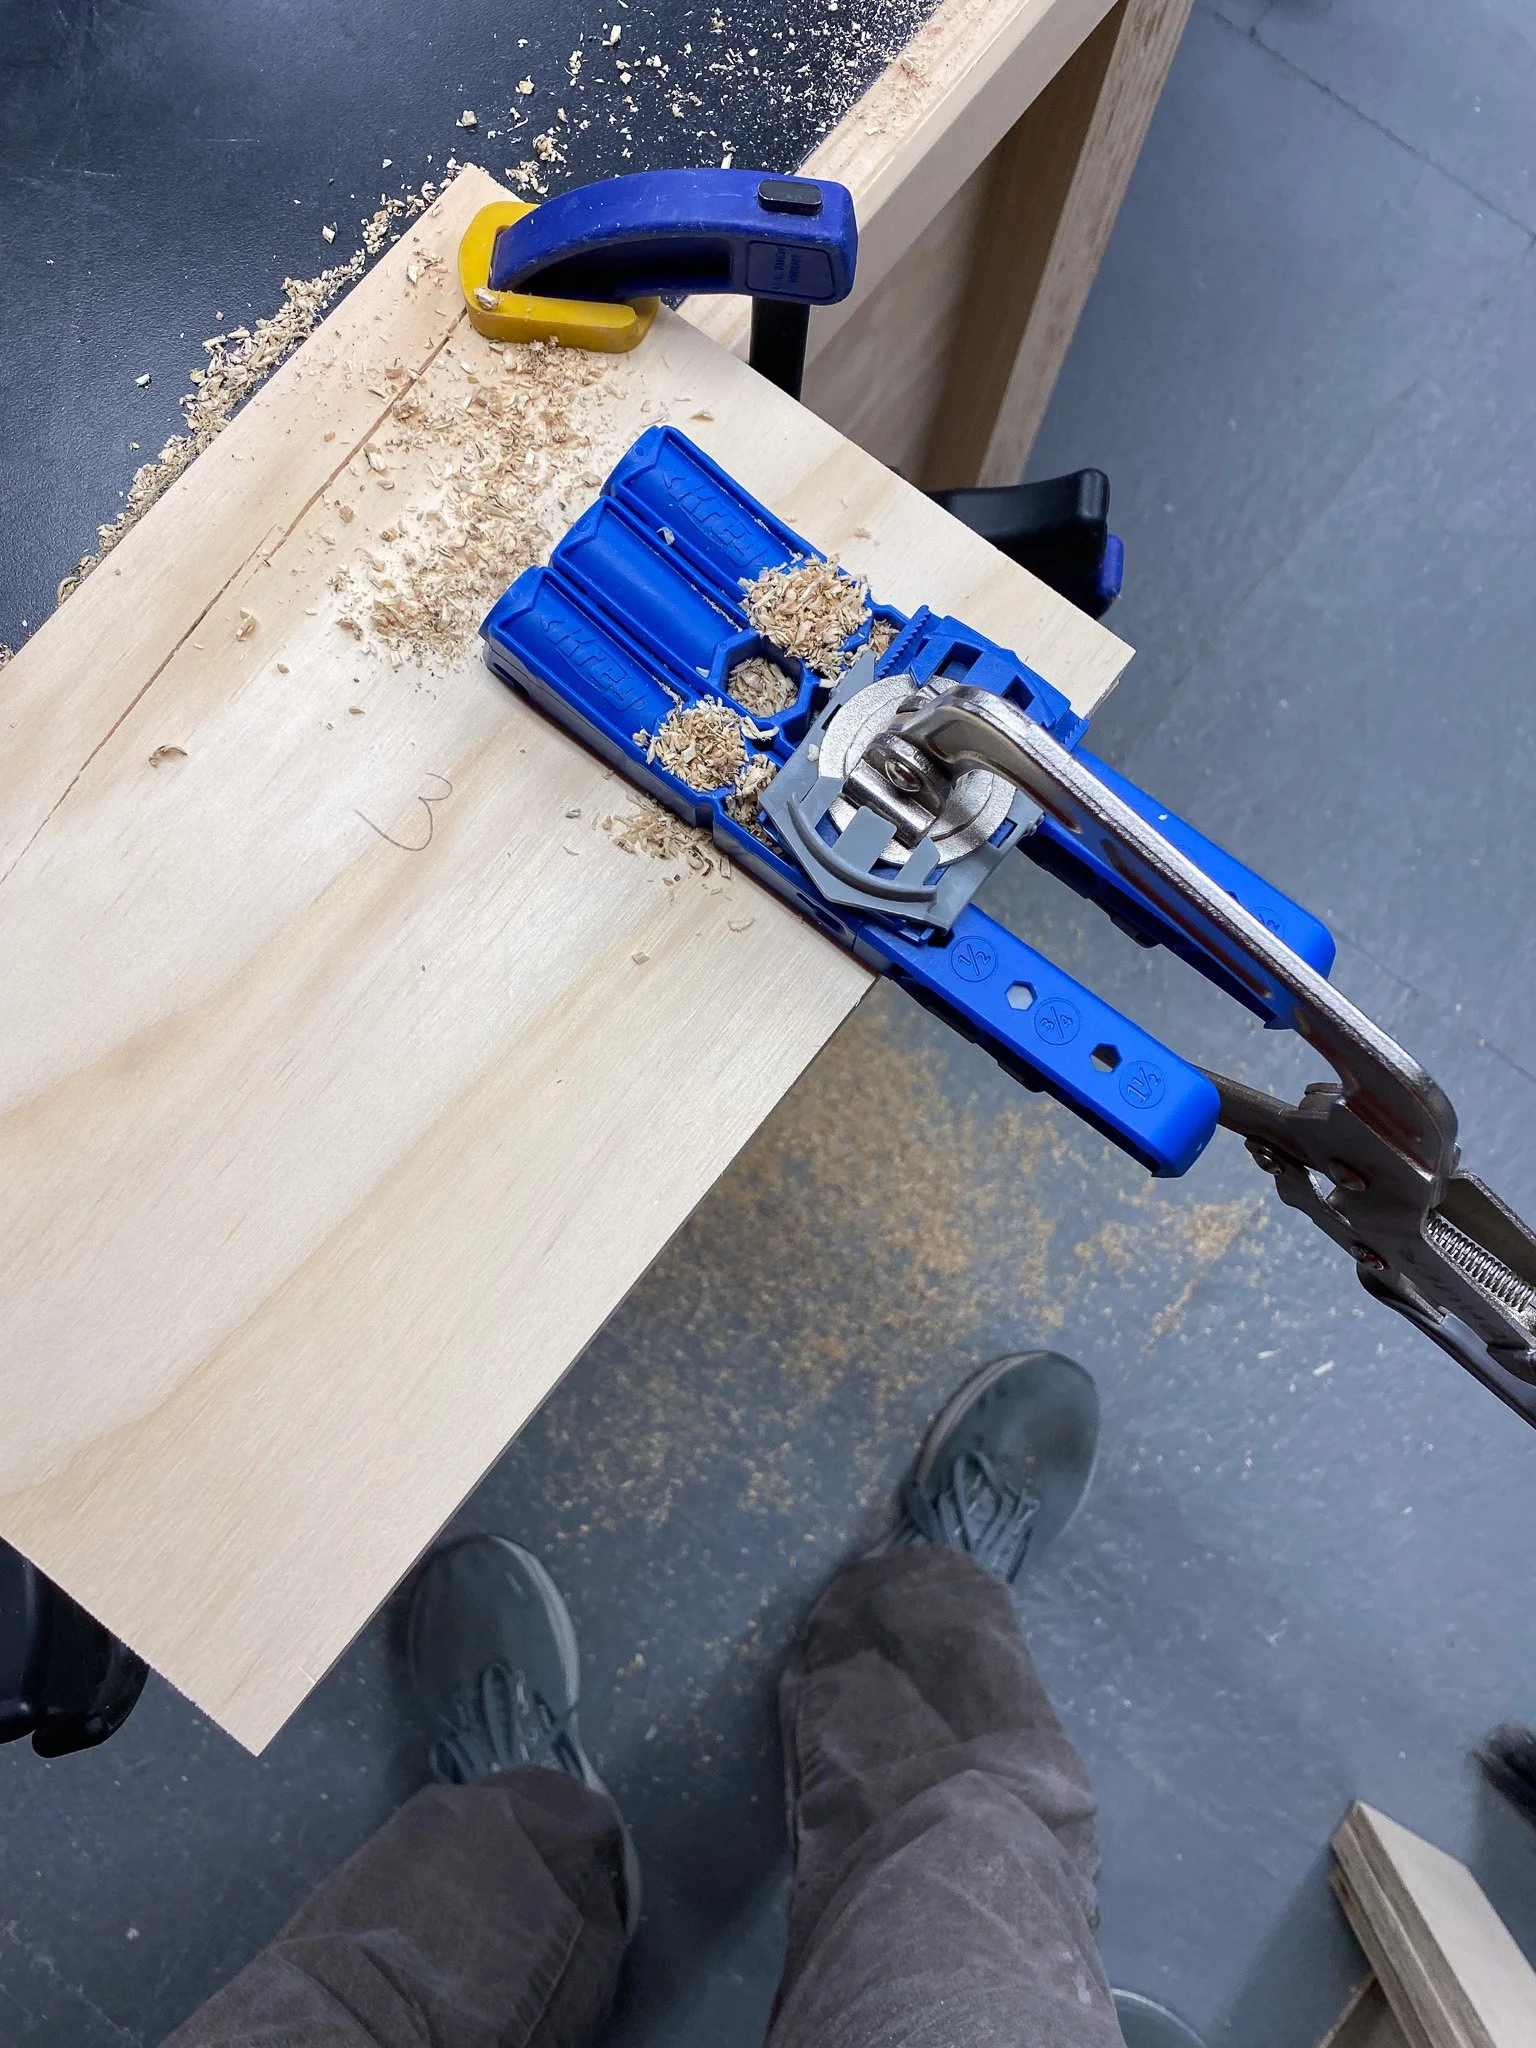
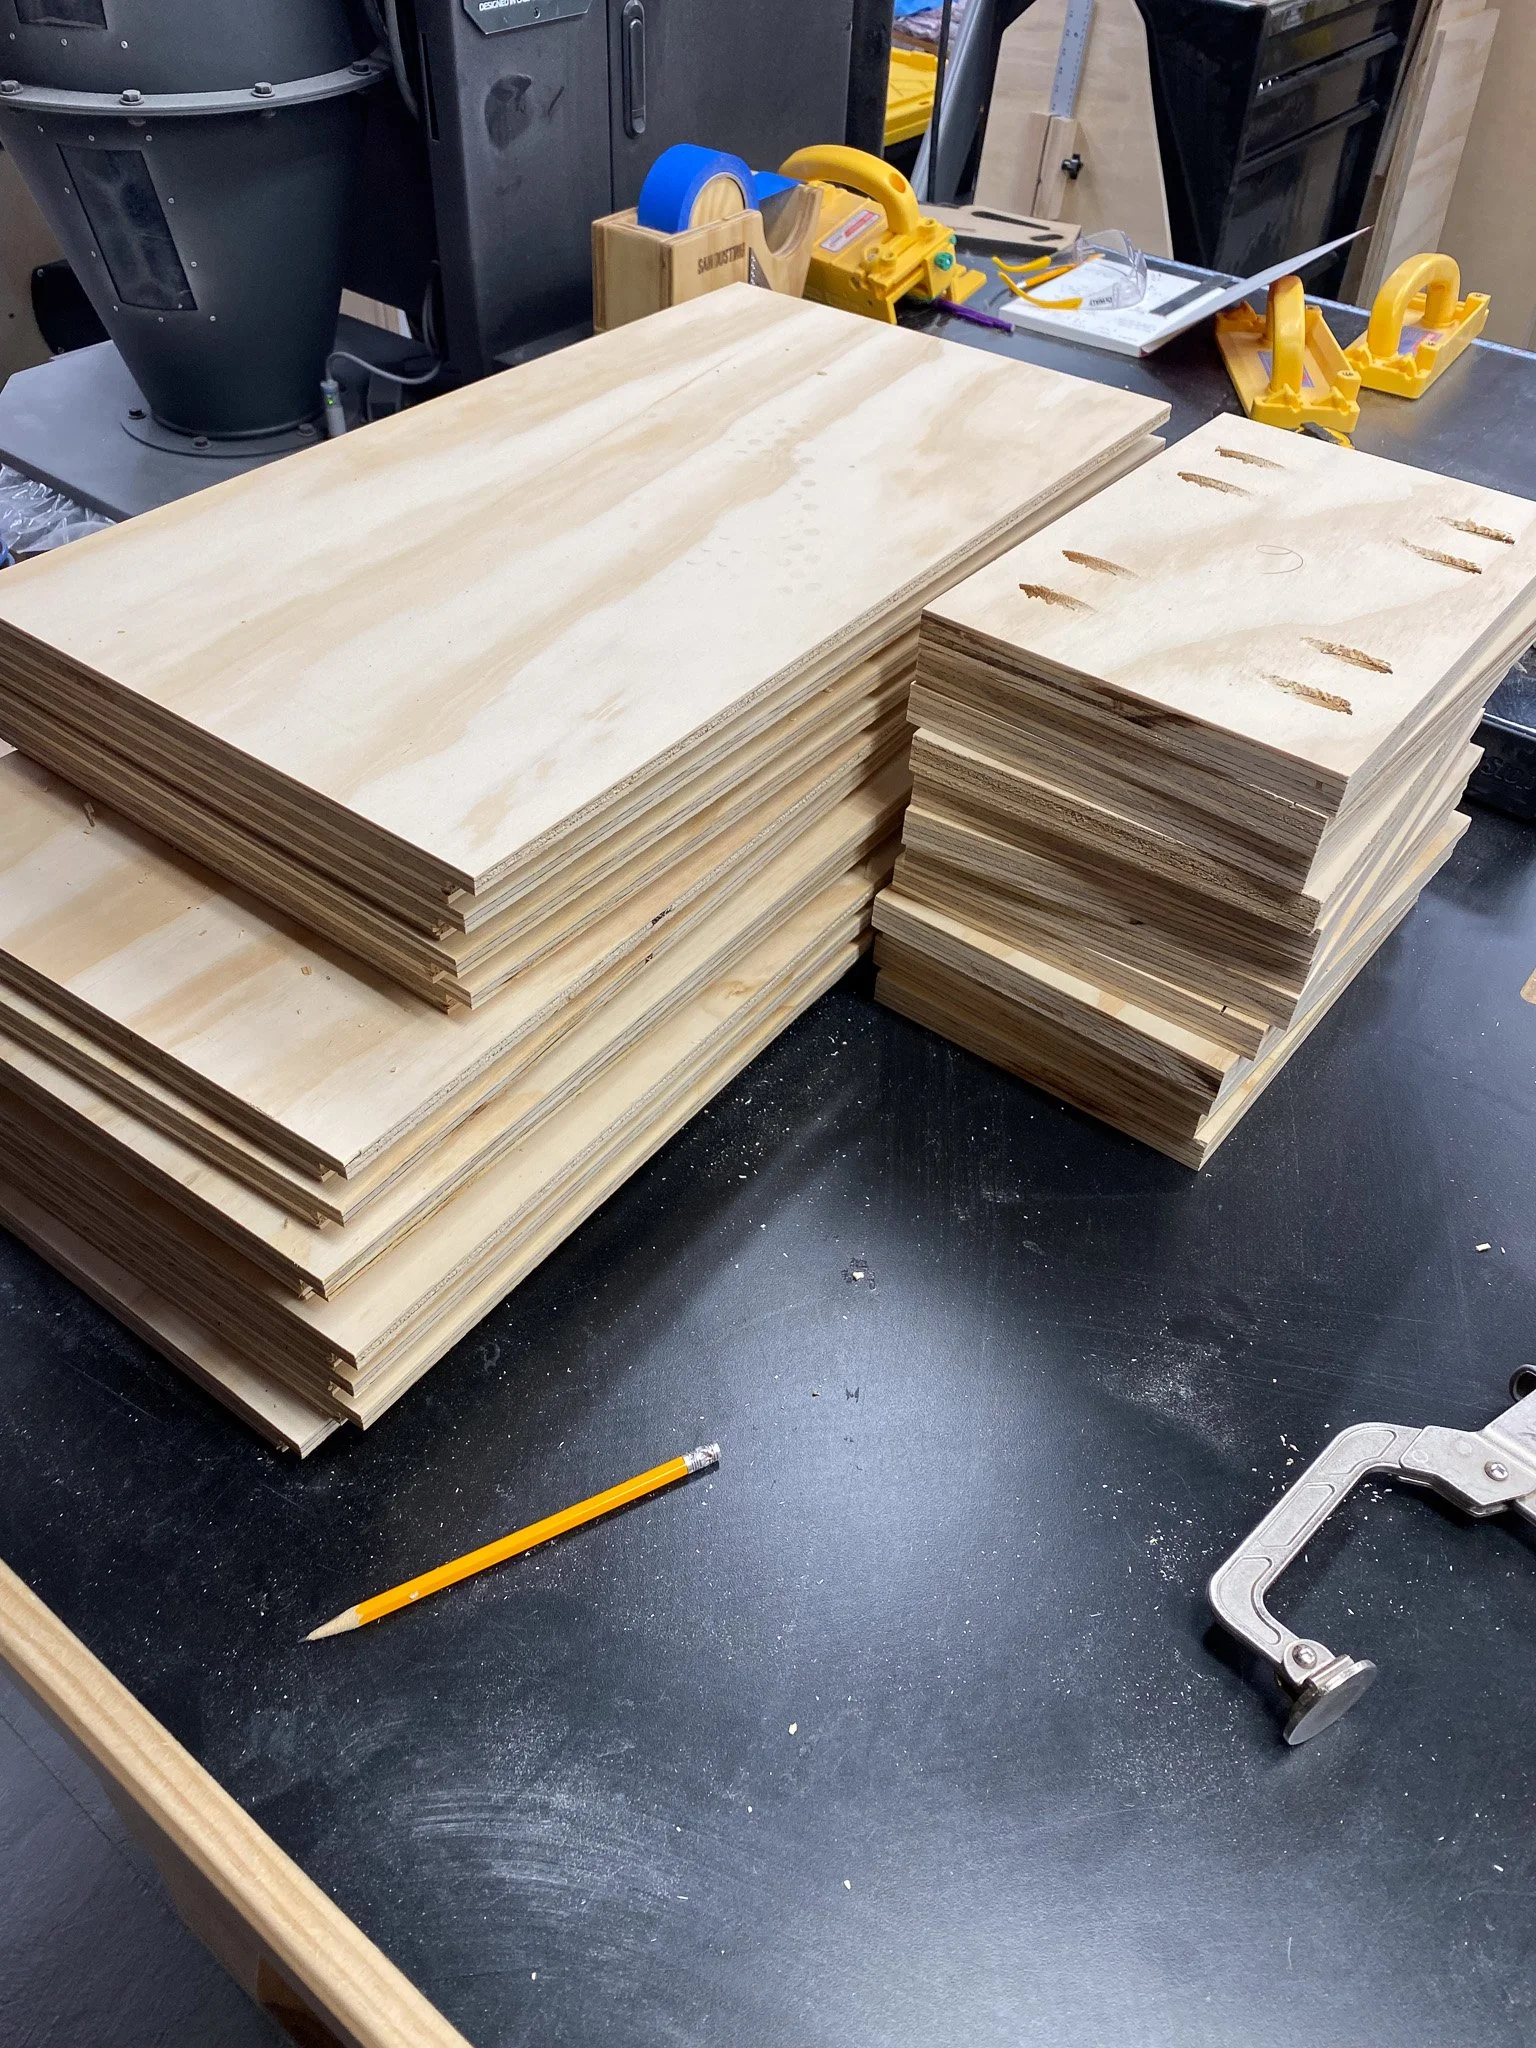
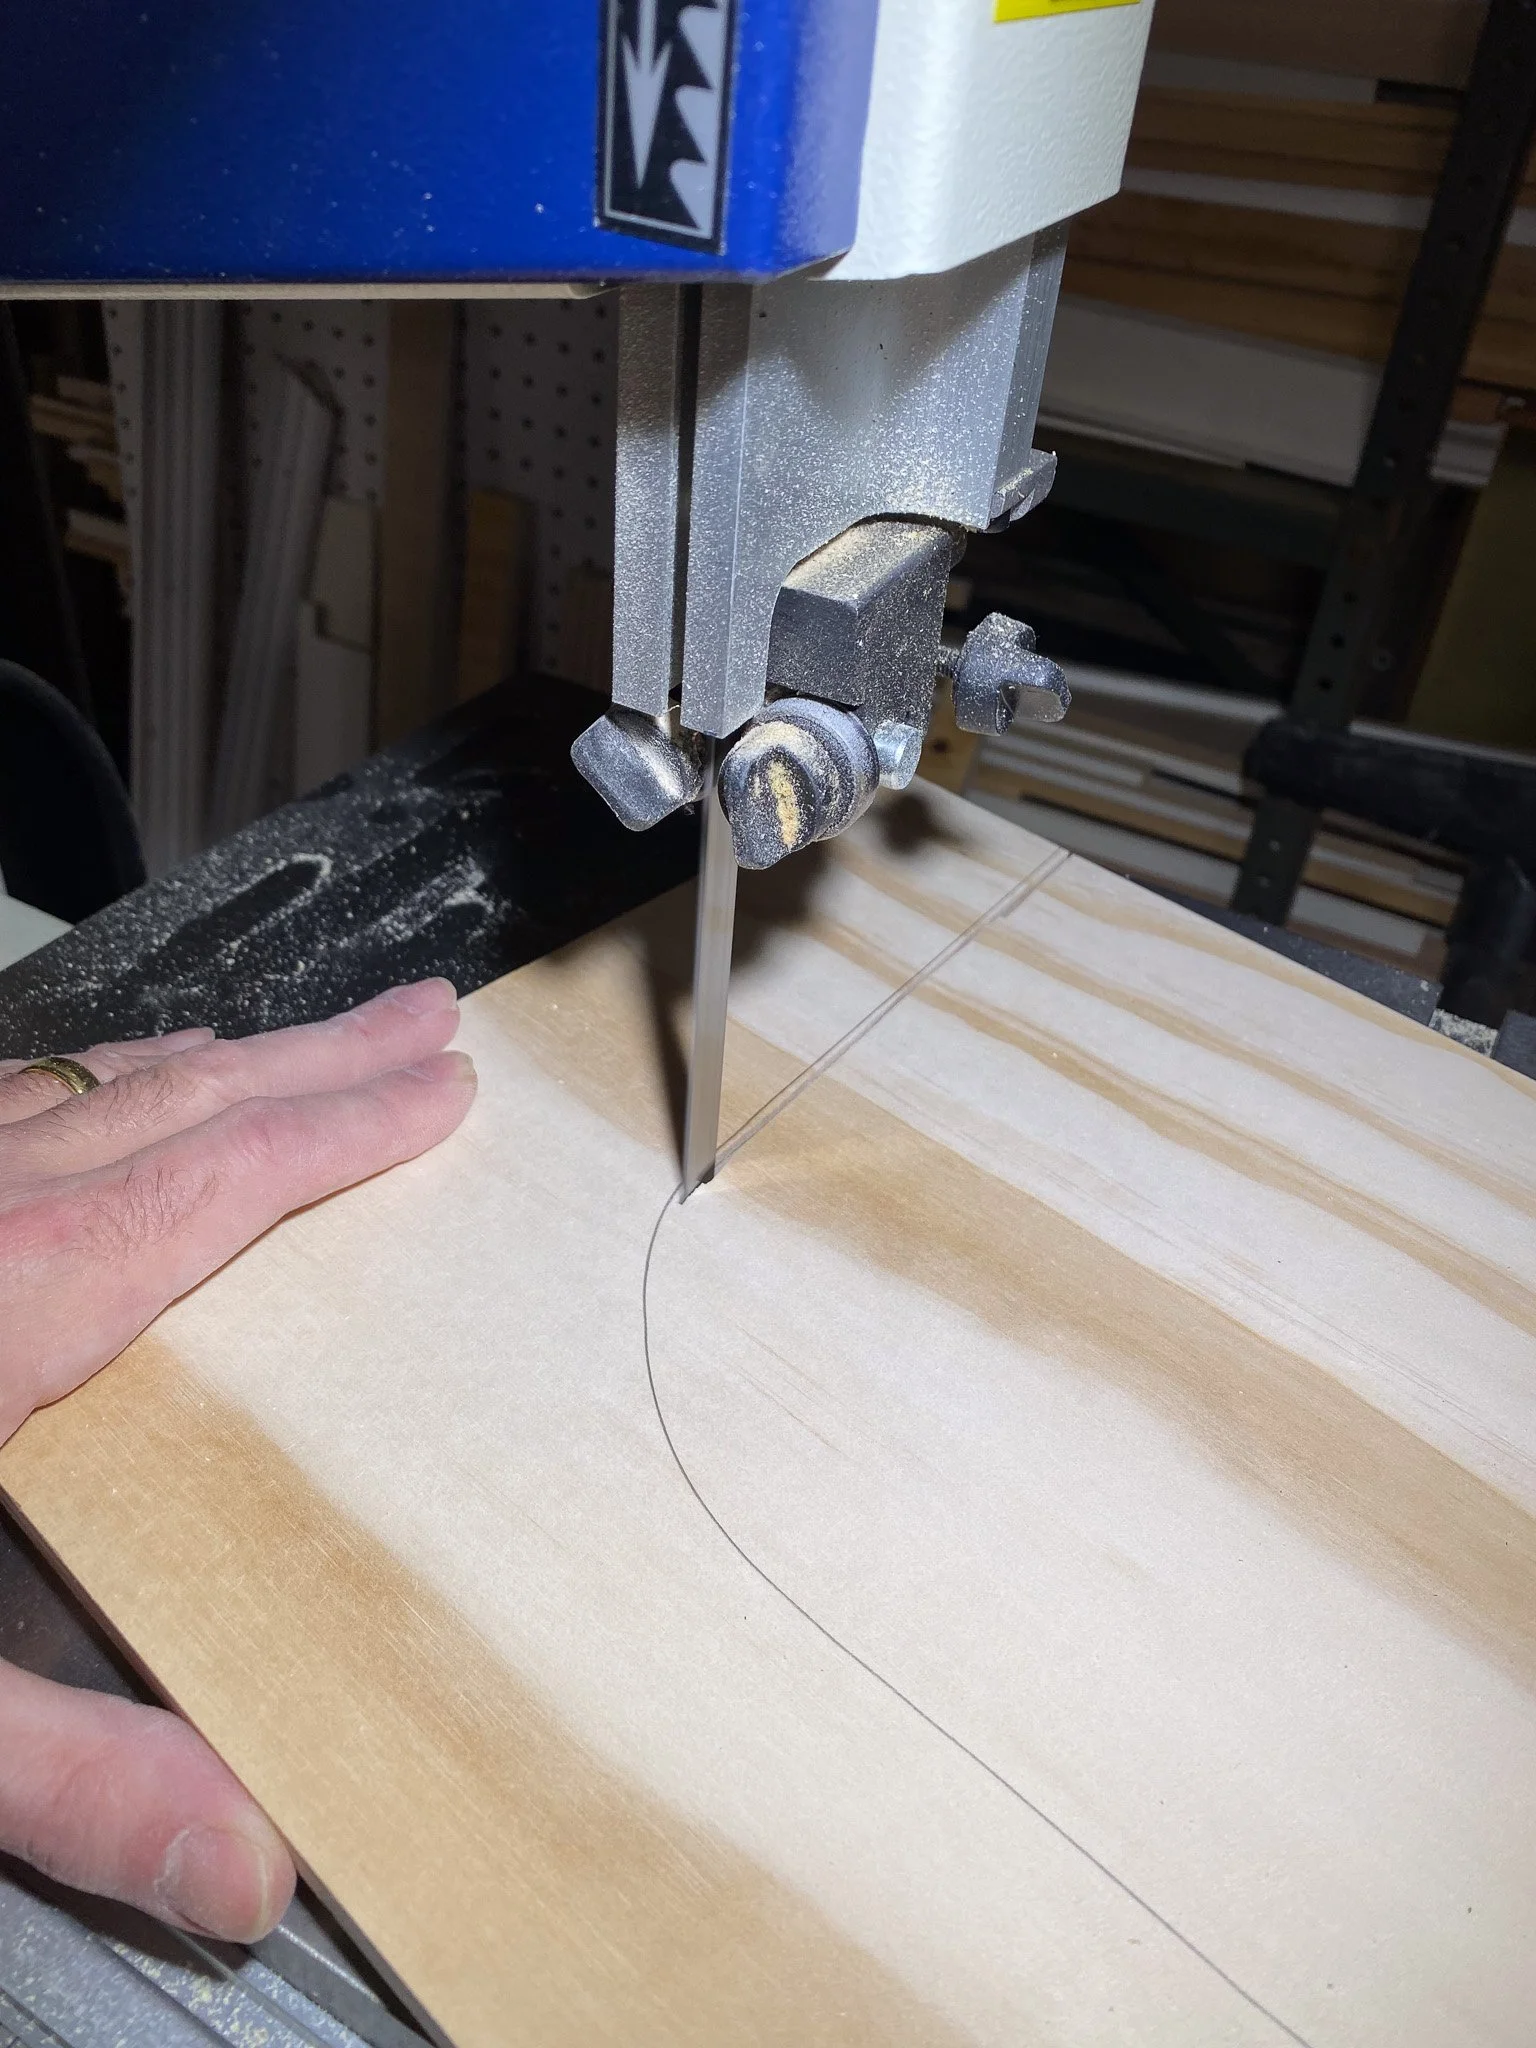
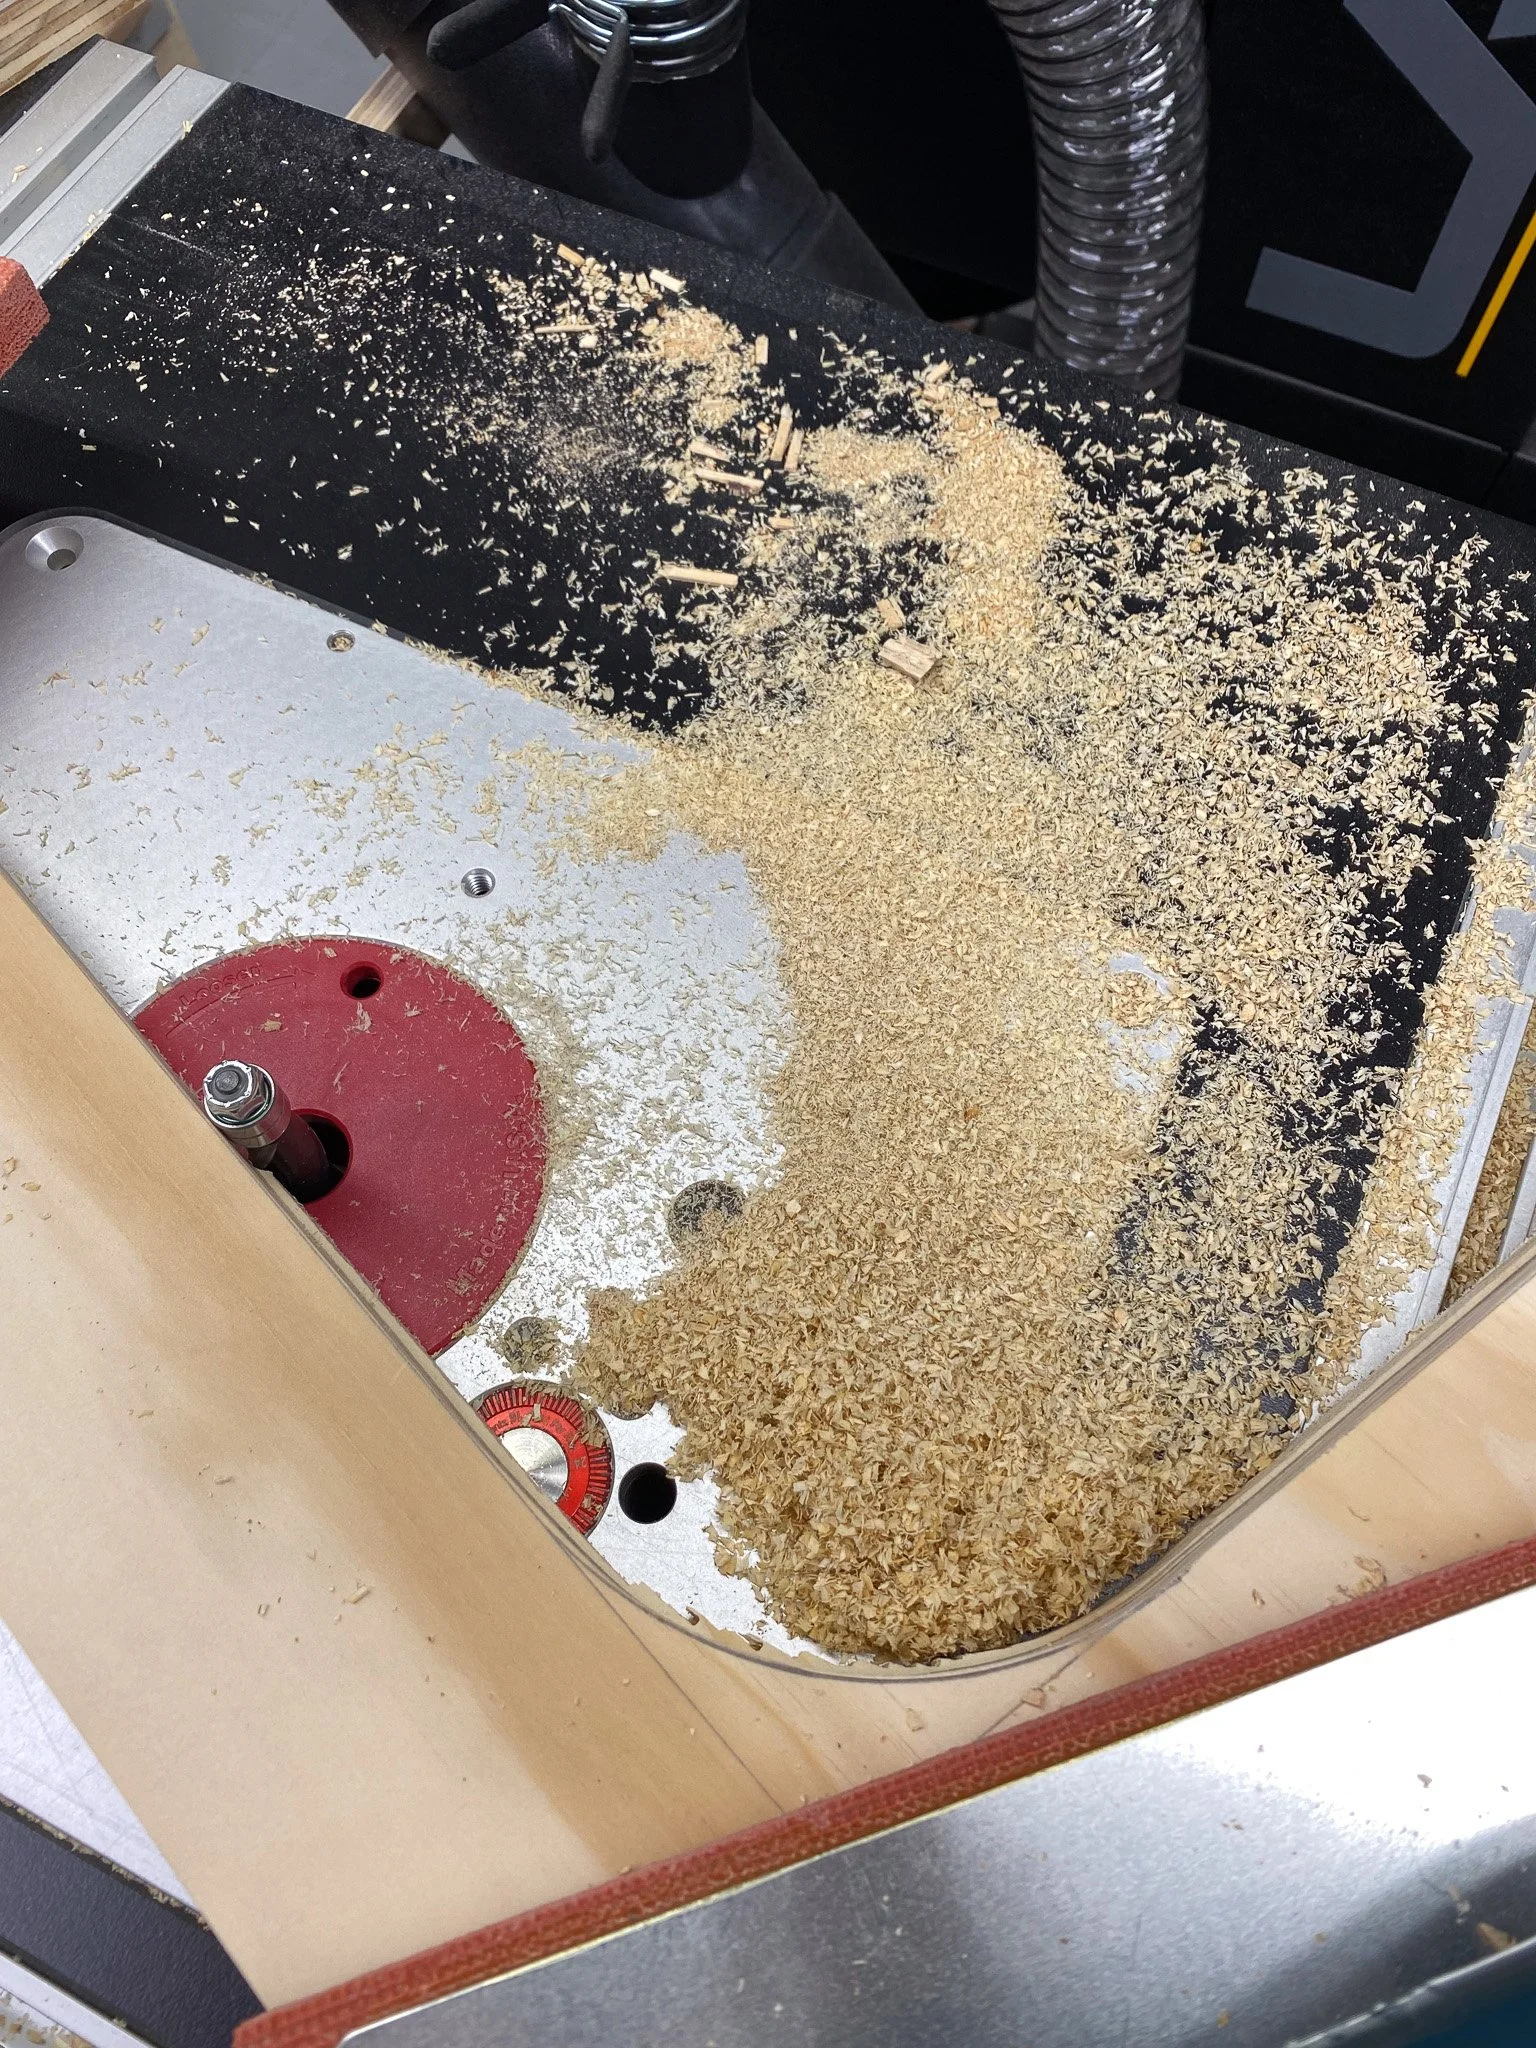
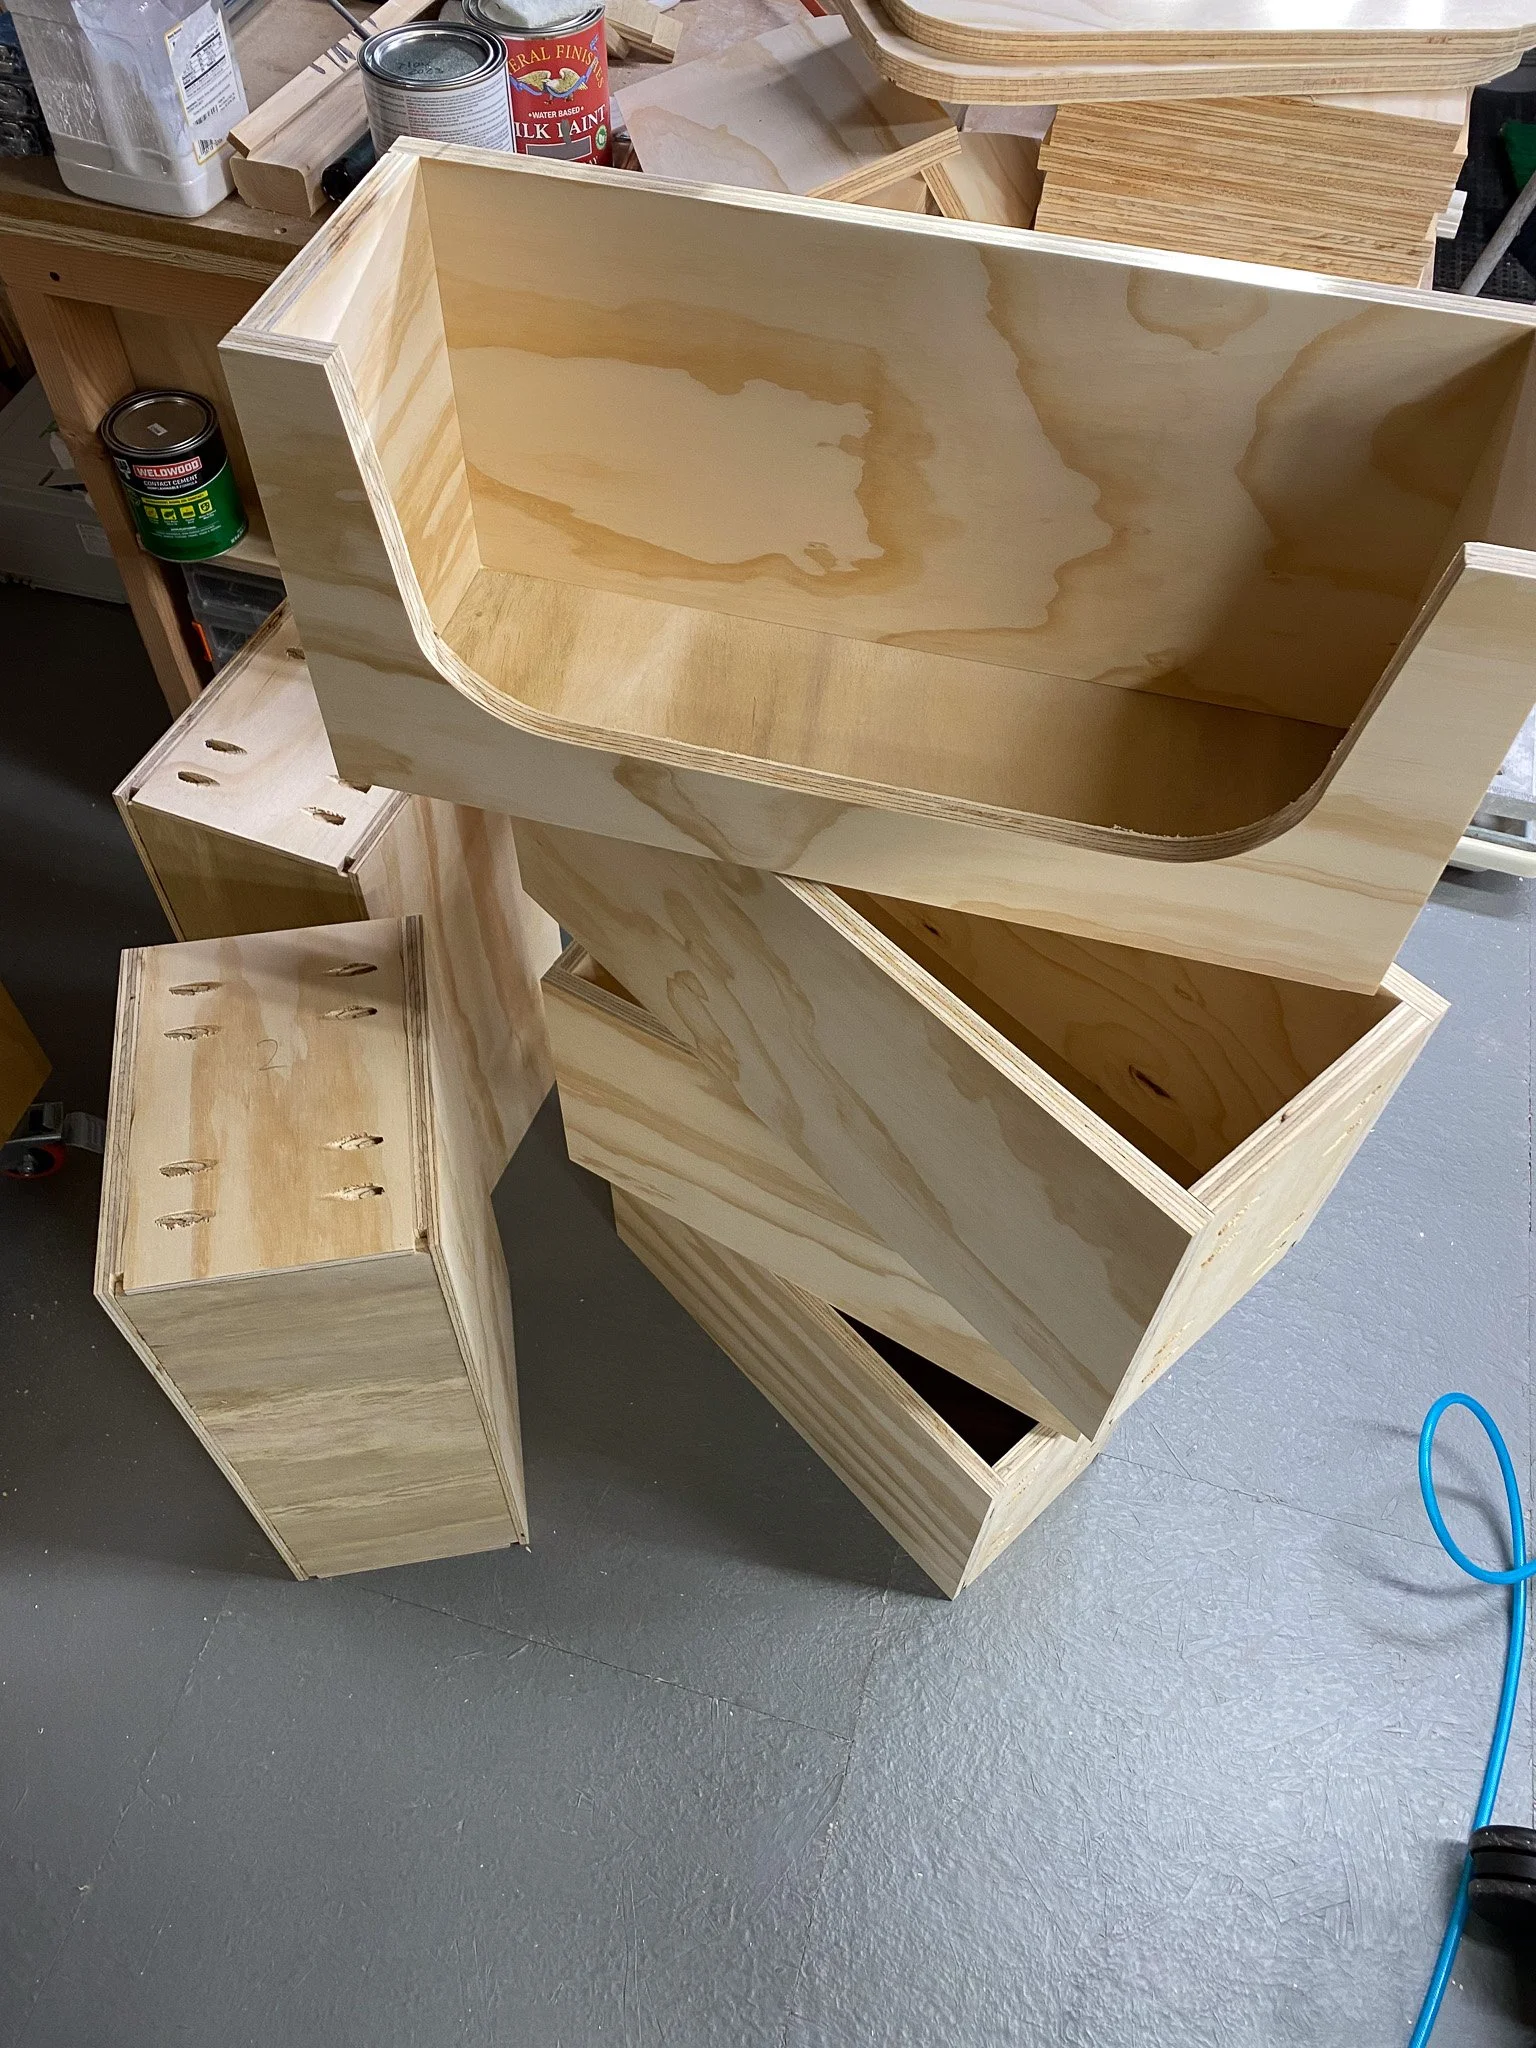
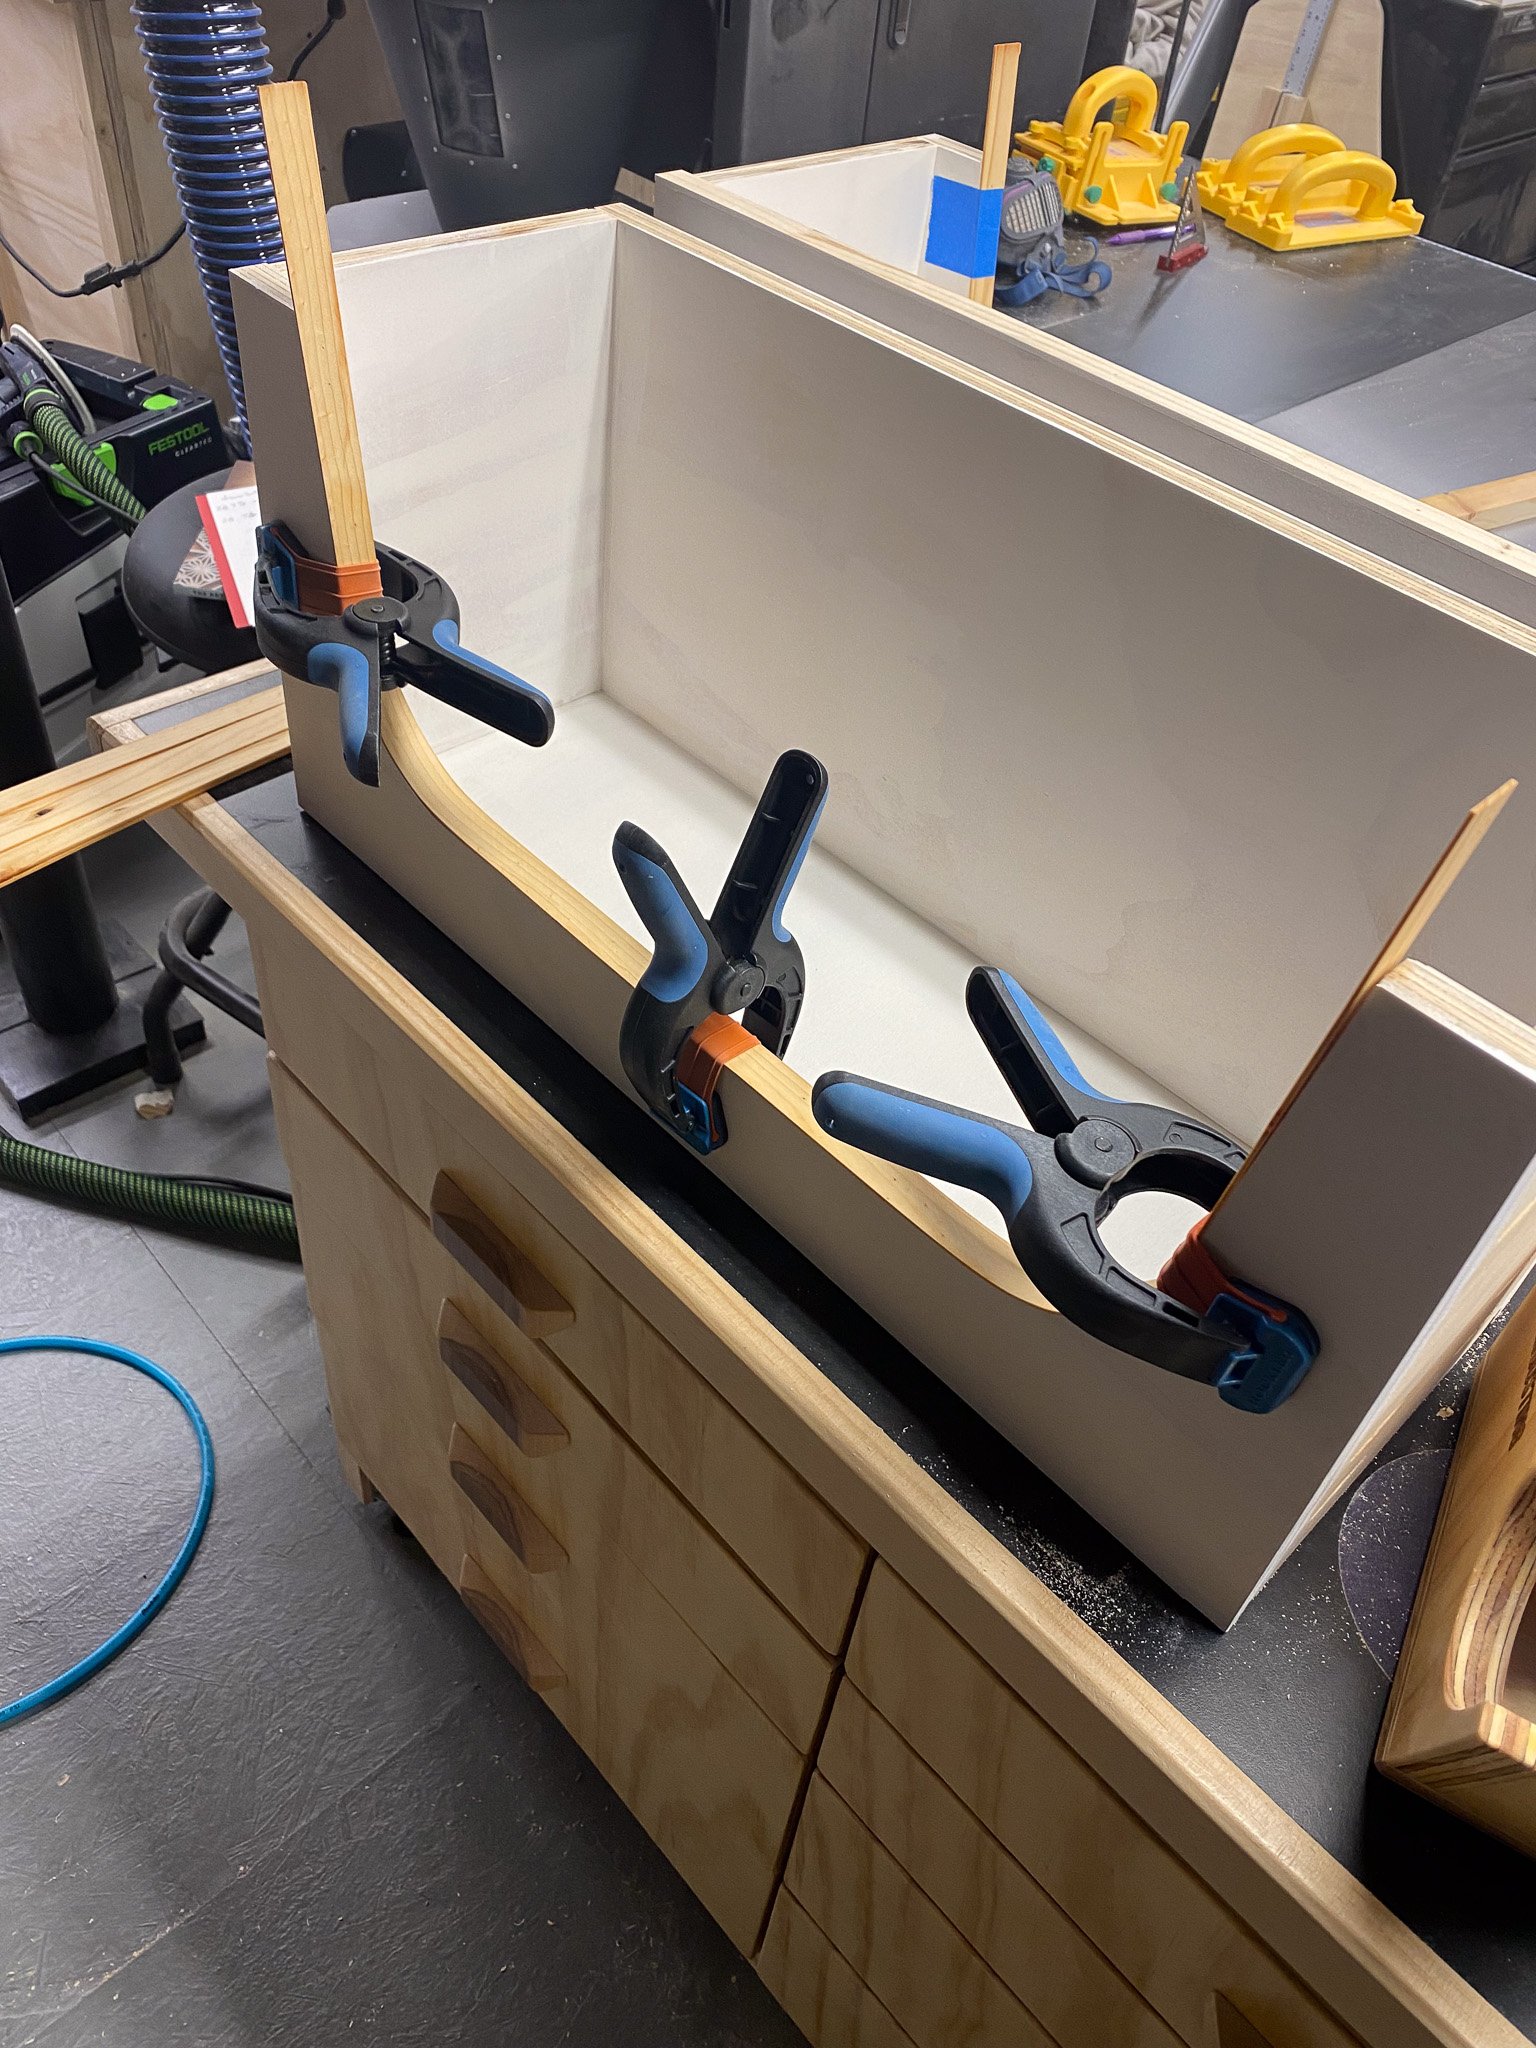
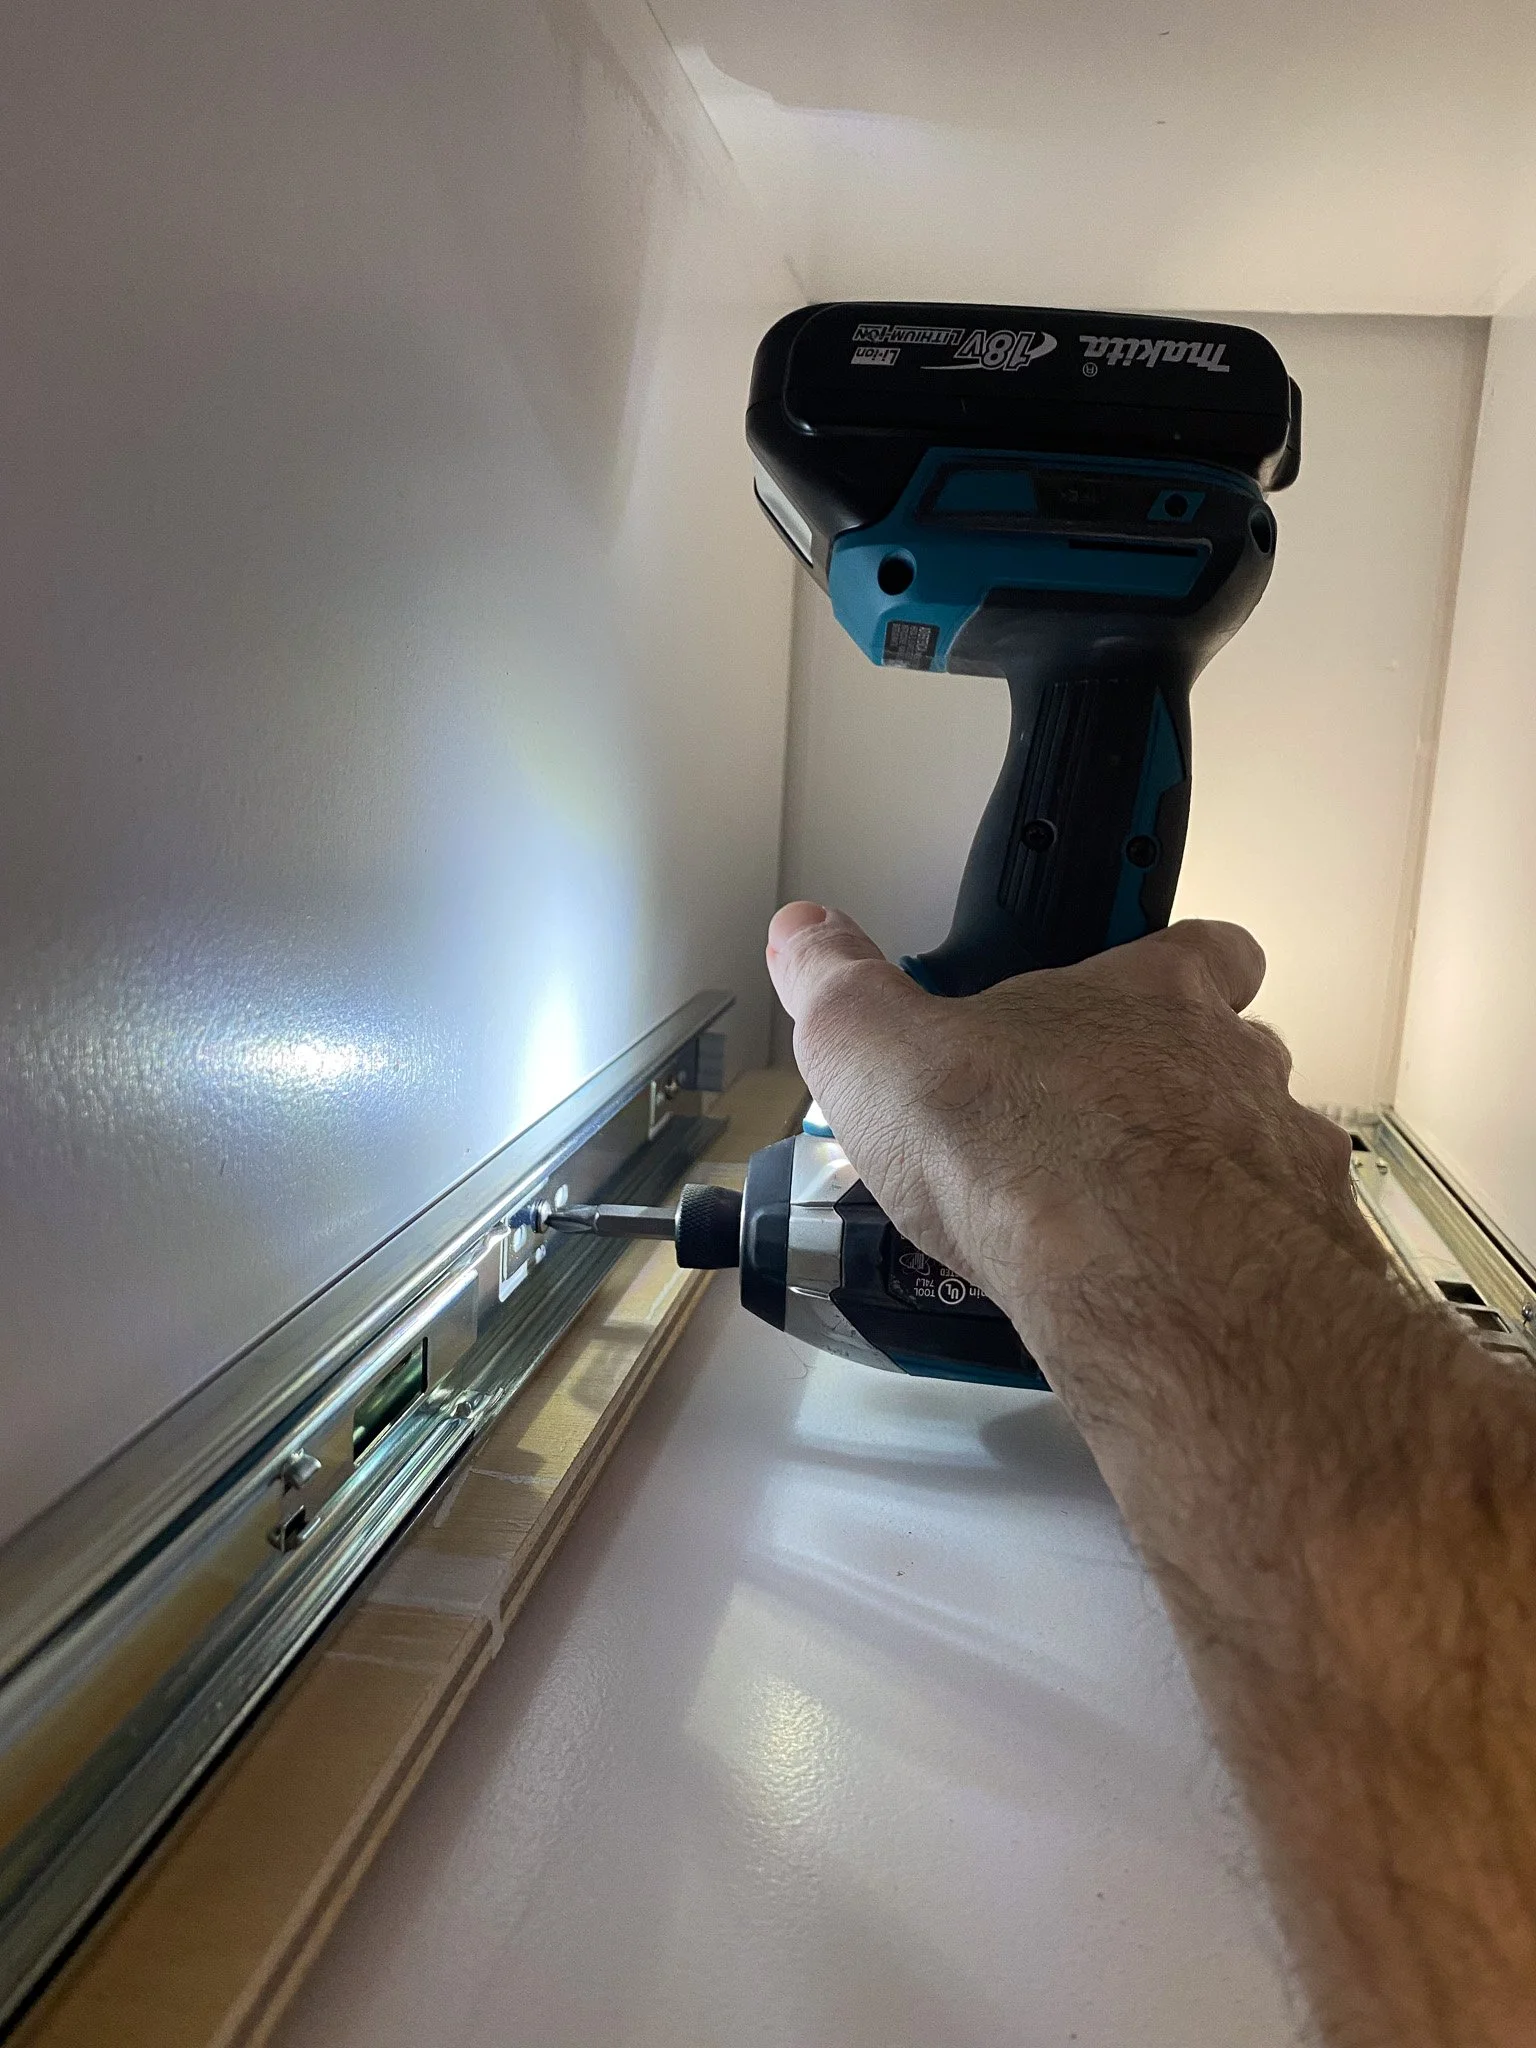
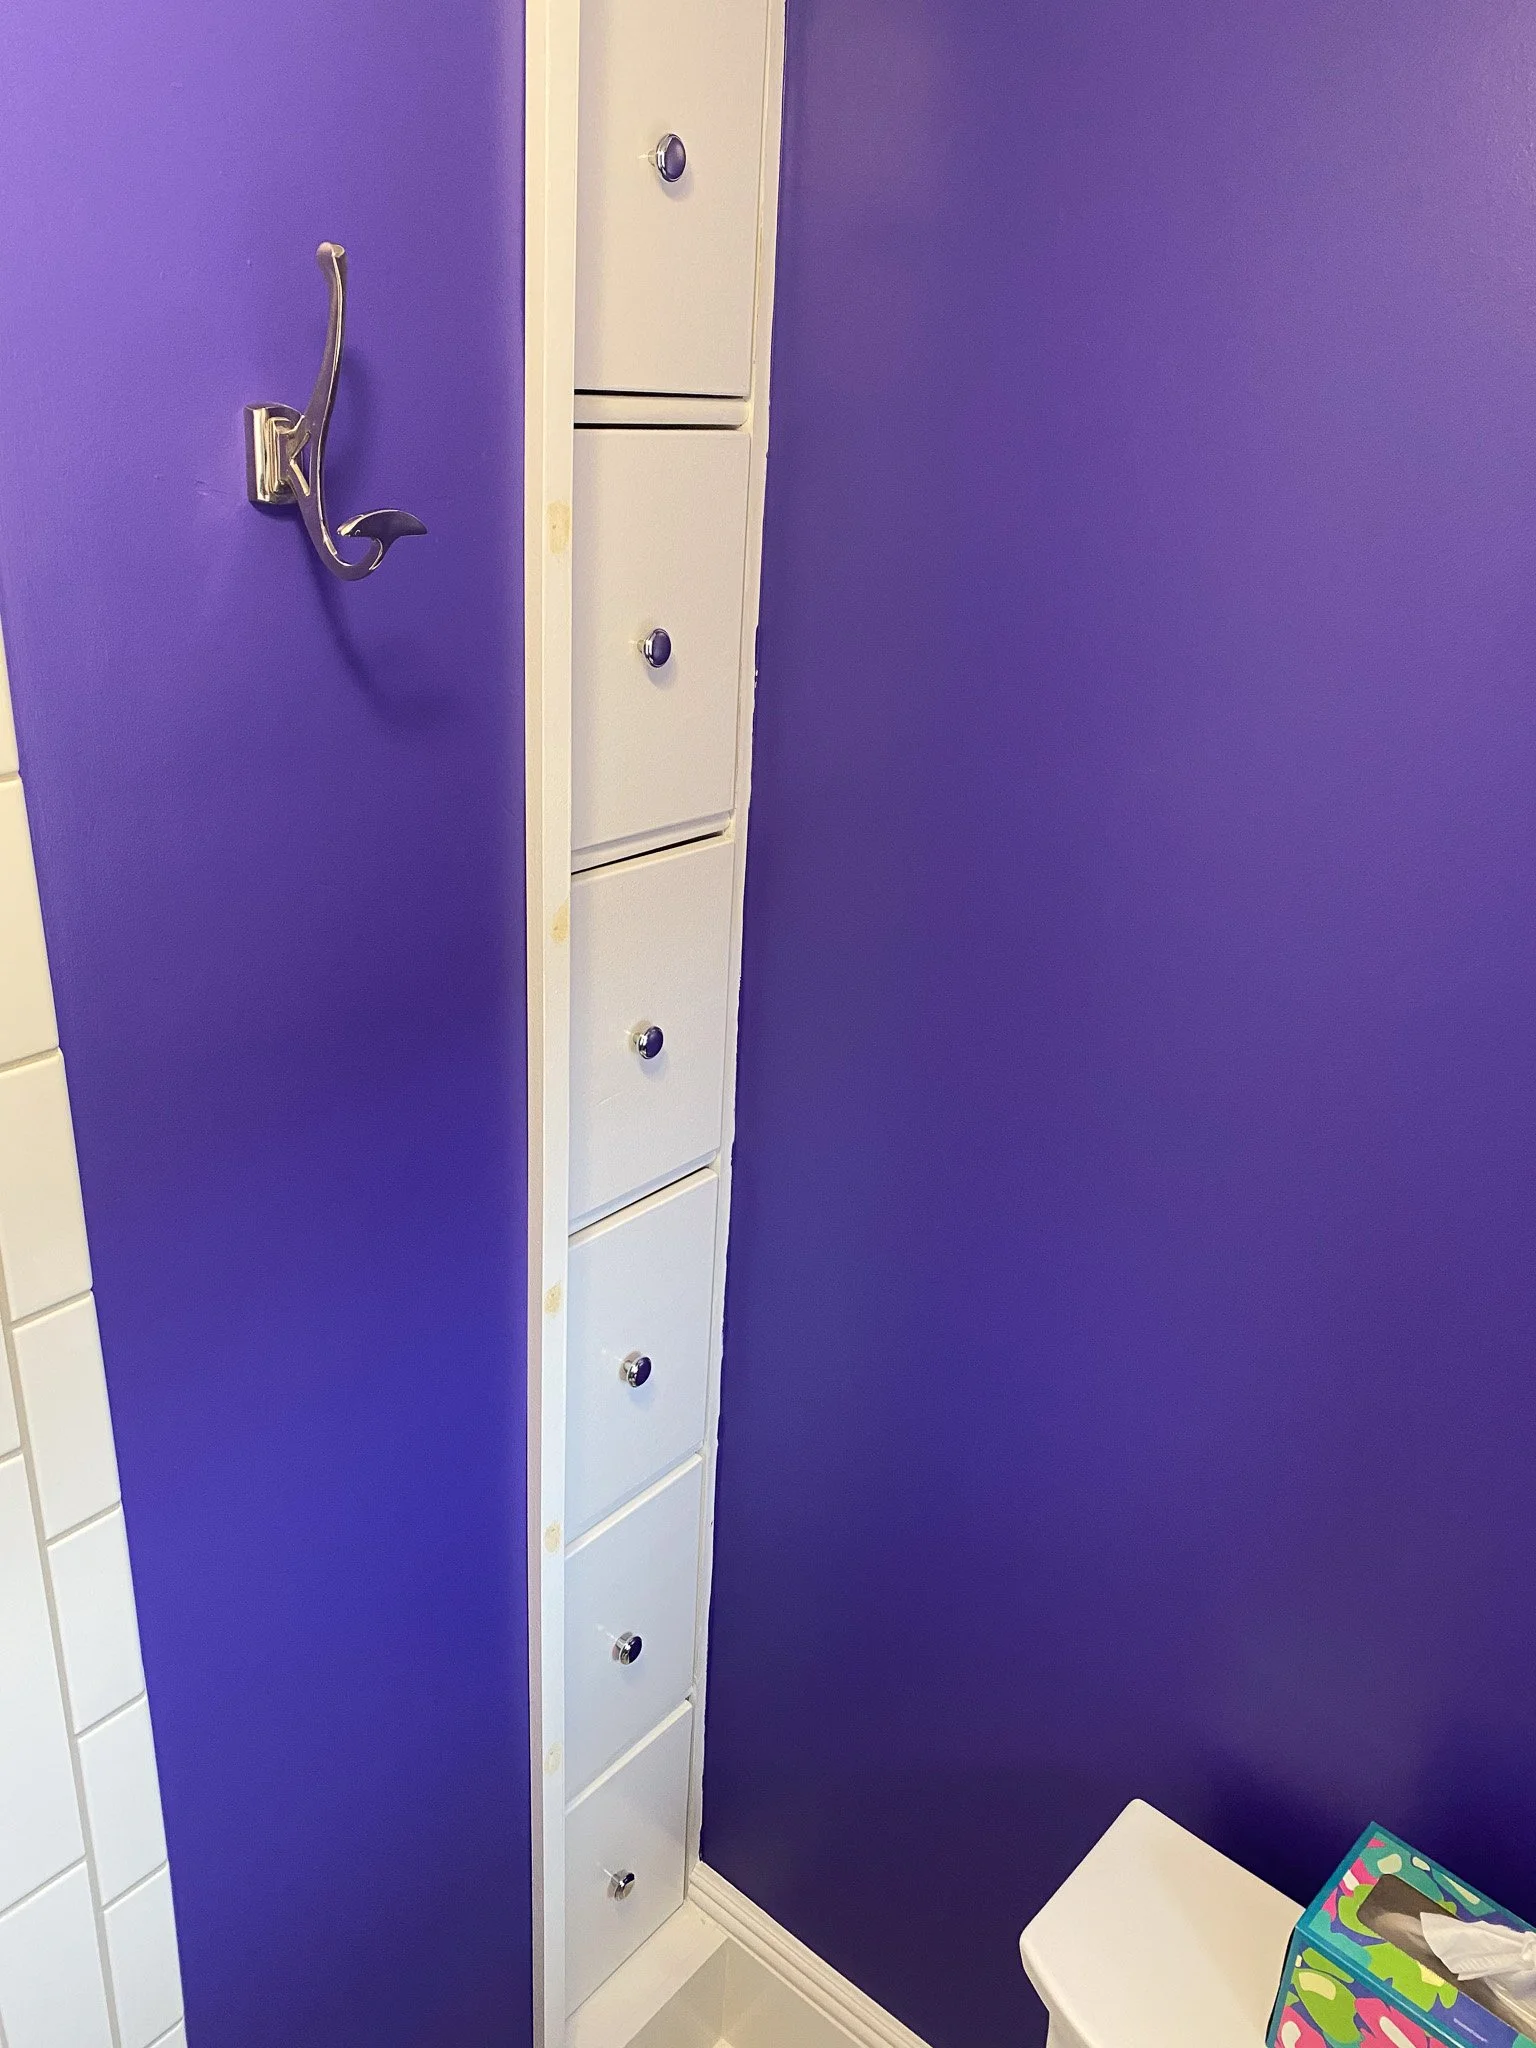
Now after all this time, it was finally a chance for some woodworking. I replaced all the trimwork in the room - baseboard, window and crown. Then I tackled the shelving unit behind the shower. It was very deep, meaning anything in the back was very hard to see or reach. My solution was drawers, but this was floor to ceiling. How to reach in to a drawer above your head? I addressed that by cutting away most of the side panel of the drawer, so you could reach in on the long side, rather than from the top. It’s a bit weird, but it actually works pretty well for things like towels and such. It would not work for little items, so I keep them in the lower drawers.
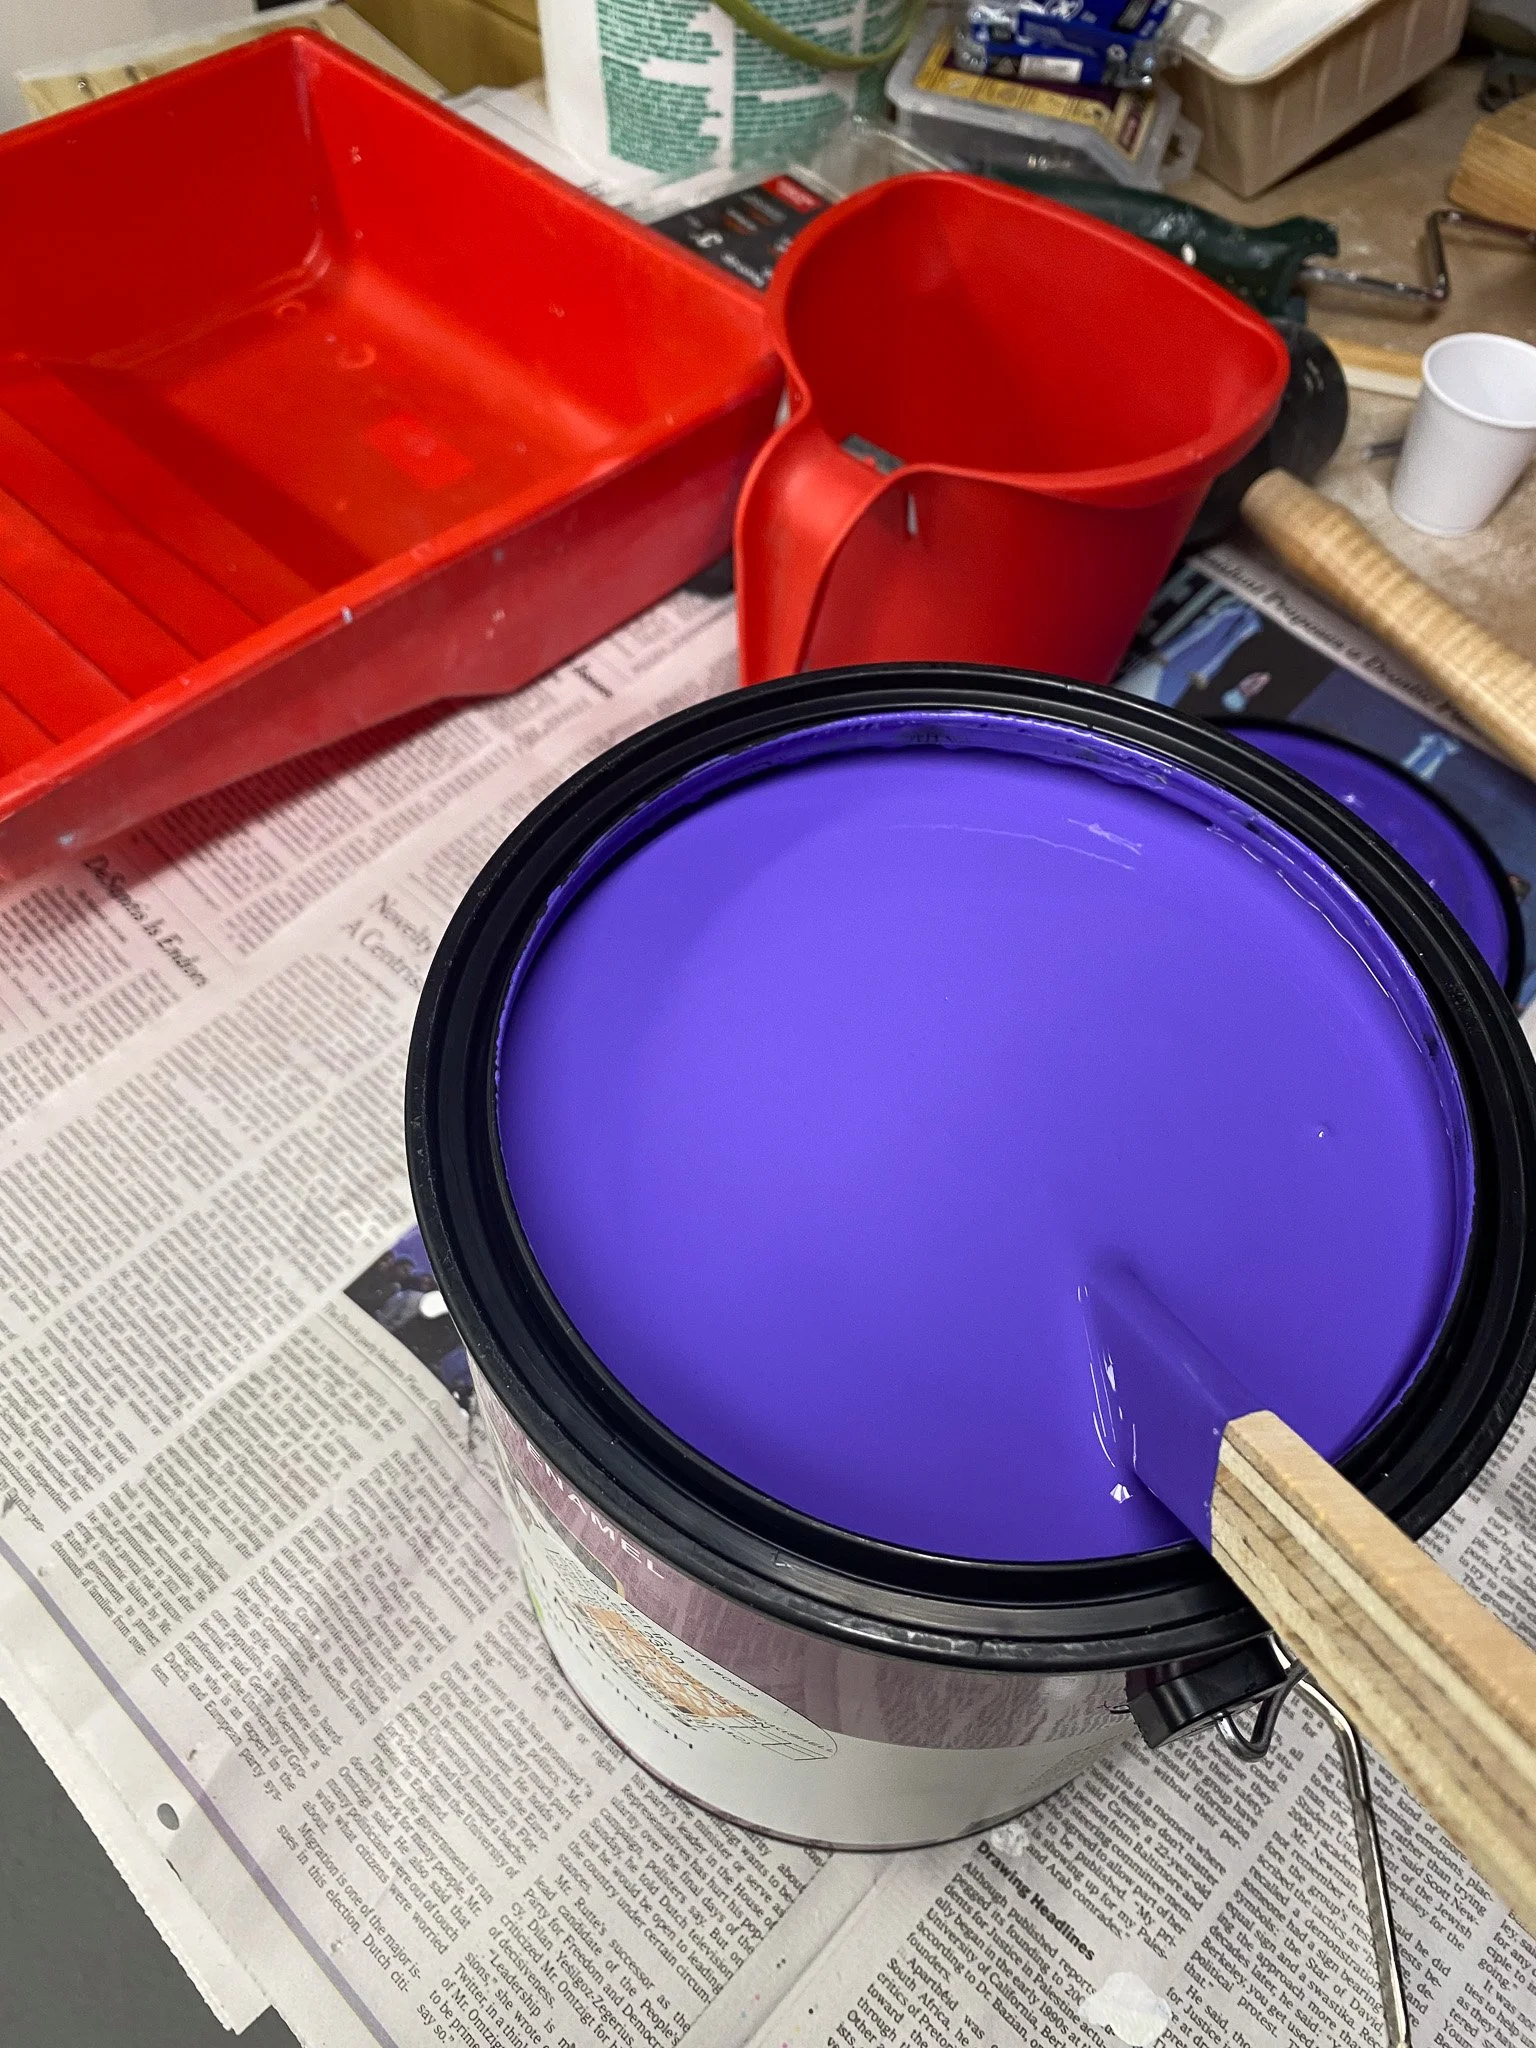
Once those were done, it was time for paint. White for all the trim, grey for the vanity (already applied) and yes, deep purple for the walls. A bit bold, but I like it. I did adjust the LEDs to be a bit whiter to make the purple stay purple, as the yellow of a normal incandescent bulb was not so great.


Now that the bathroom is complete, I can move on the living room. As much as it sounds like this was a 3 week project, it was far from it. Demo started at the beginning of July 2023, and the bathroom was completed over New Years break 6 months later. It was “functional” sooner than that - but actually finished, was 6 months. Speedy has never been my middle name.